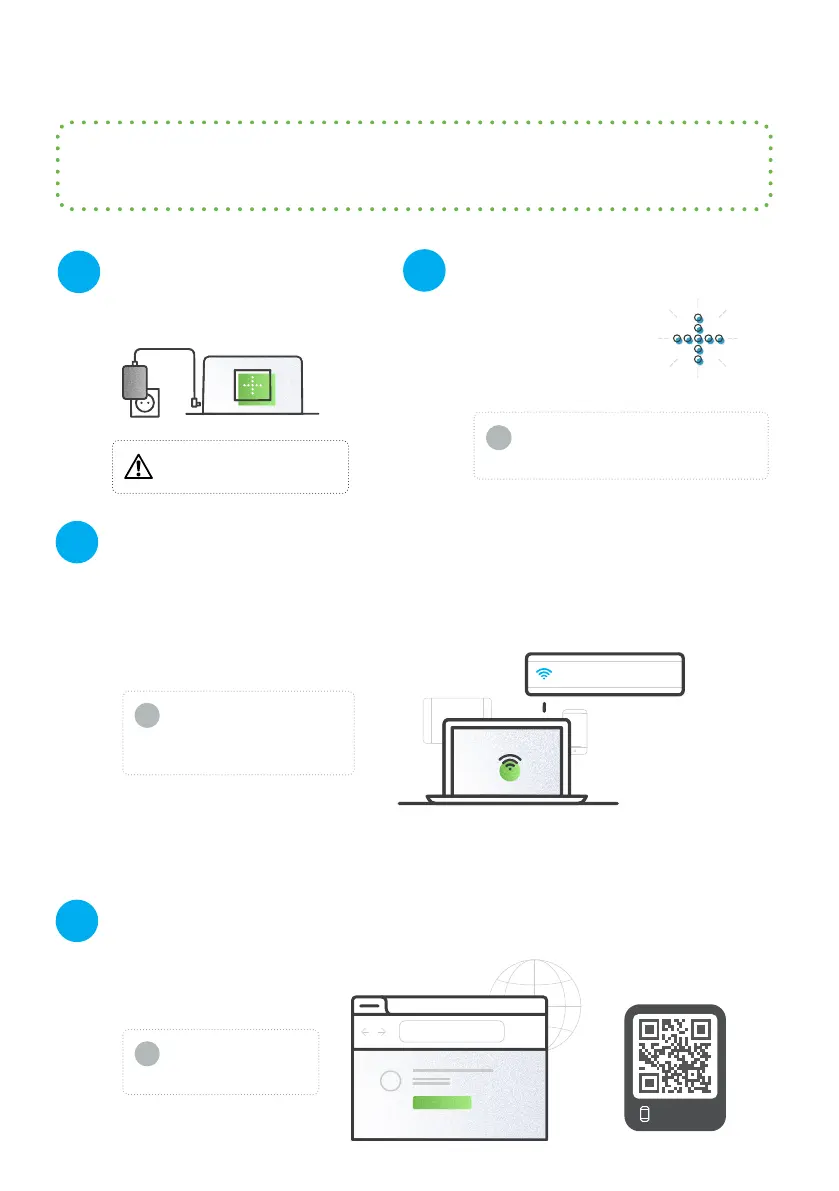
Getting started
Plug your Magnet+
into a power source.
Wait for the LED indicator to
turn blue and blink.
After a couple of mi-
nutes, the Magnet+ will
inform you when it is
in installation mode.
Connect your computer, tablet or smartphone to the Magnet+
Launch a web browser, type http://192.168.2.1
and follow the on-screen steps to continue installation.
A. Go to your Wi-Fi settings
and select the network named Magnet-5xx.4xxx.xxxxx
1
2
3
4
scan me
xxxx.xxxxx is the Magnet+ device serial number (you can nd it on top of your
device)
B. The LED indicator will stop blinking when it’s successfully connected.
Magnet-5xx.4xxx.xxxxx
If the Magnet+ doesn’t automatically
enter installation mode, press the power
button 5 times.
!
http://192.168.2.1
Before
you begin
If you do not have a OneLab account, please create one by going to:
https://onelab.andrewalliance.com/signup
The device will automatically start up.
Only use the provided AC/DC
power supply unit and cords.
Please note that the
installation page might
open automatically.
If you do not have access to a
Wi-Fi compatible device, please
refer to our online help:
help.andrewalliance.com
!
!