31
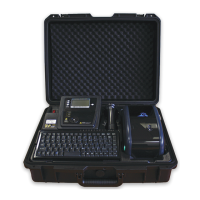
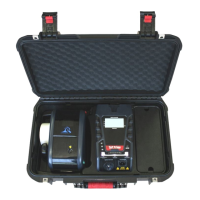
TnP-500 User Manual Wavecom
Loading the Ribbon
You need to remove the old ribbon (which will be spooled under the top cover shown in step 1) before loading a new
ribbon. To remove this ribbon, simply hold the ribbon roll and move it to the right (away from the blue gear).
1. To begin, open the printer top
cover by pulling the tabs located
on each side towards the front of
the printer, and then lift the top
cover to the maximum open angle.
4. Push the ribbon into the right axle
(black), then align the notches on
the left and insert the ribbon onto
the gear (blue)
2. Insert an empty core between the
gear and the axle - ensure the
notches align as shown
3. Open the printer and get the
thermal transfer ribbon ready.
Ensure the ribbon unwinds from
underneath as shown in Step 5
6. Attach the ribbon to the empty
roll using a piece of tape - try to
attach the ribbon as straight as
possible.
5. Next, gently pull the ribbon out, up and over the print
head, around to the empty core.
7. Use the ribbon rewind gear
to tighten the ribbon against
the print head, then close the
printer.