20 CHAPTER 1 INSTALLING THE SMARTSENSOR ADVANCE
Figure 1.5 – Connector Receptacle (left) and Grounding Lug (right)
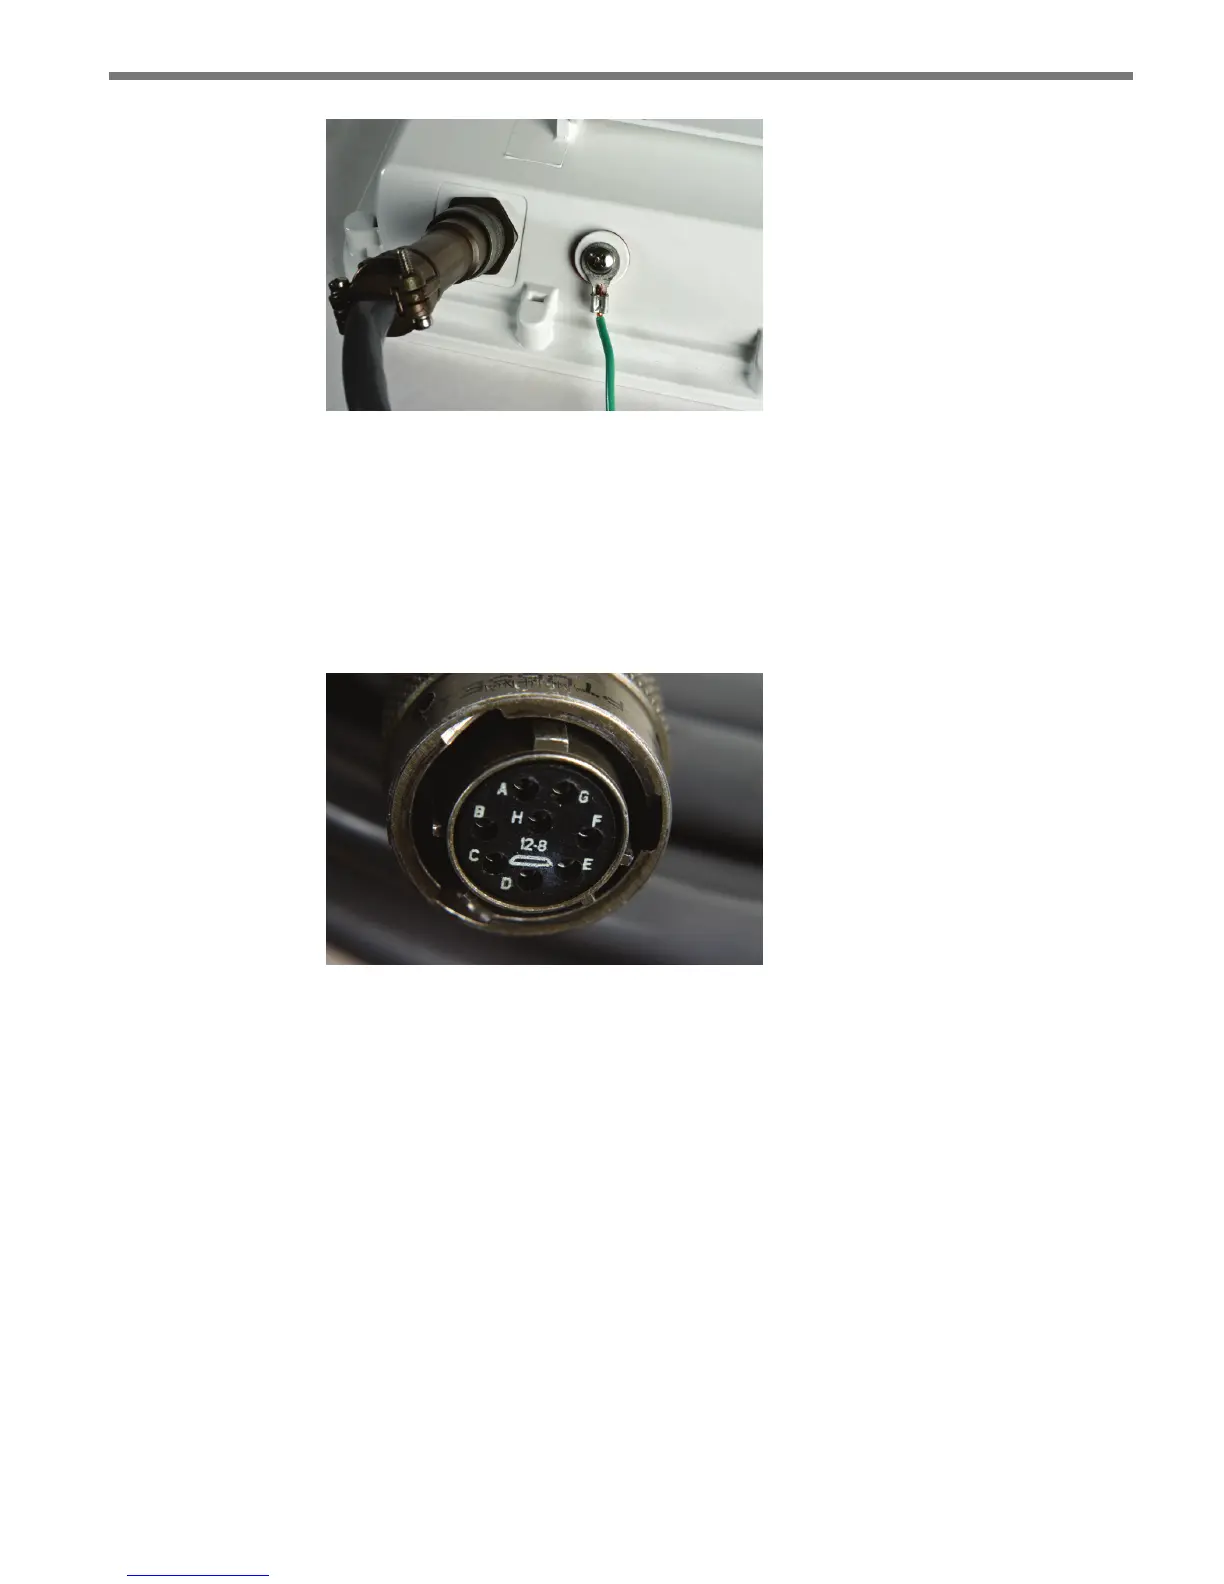
Connecting the SmartSensor 6-conductor Cable
e next step is to plug the SmartSensor 6-conductor cable into the connector. e sensor
connector is keyed to ensure proper connection (see Figure 1.6); simply twist the plug end
of the connector clockwise until you hear it click into place.
Figure 1.6 – Sensor 6-conductor Cable Connector
To avoid undue movement from the wind, strap the 6-conductor cable to the pole or run it
through a conduit, but leave a small amount of slack at the top of the cable to reduce cable
strain. Route the cable from the sensor location back to the main trac cabinet.
To set up your network in an orderly fashion, it is recommended that labeling be used on
the service end of each SmartSensor 6-conductor cable. A convenient way to label the
cables is to mark the last seven digits of the serial number on each sensor and the direction
of trac monitored (see Figure 1.7).