Frigo Top 10 - 43 | Pordoi 2000 - 4000 6
4 Parameter settings in 1st / 2nd level menus
For more information and overviews:
■
Chapter „10.3 Parameter description“
■
Chapter „10.4 Standard parameter settings“
For sake of overview the parameters are grouped per function:
1. Regulation
2. Display
3. Defrost
4. Fans
5. Alarms
6. Condenser temperature alarm
7. Digital input
8. Others
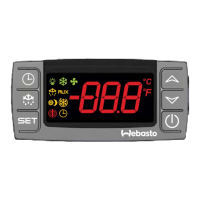
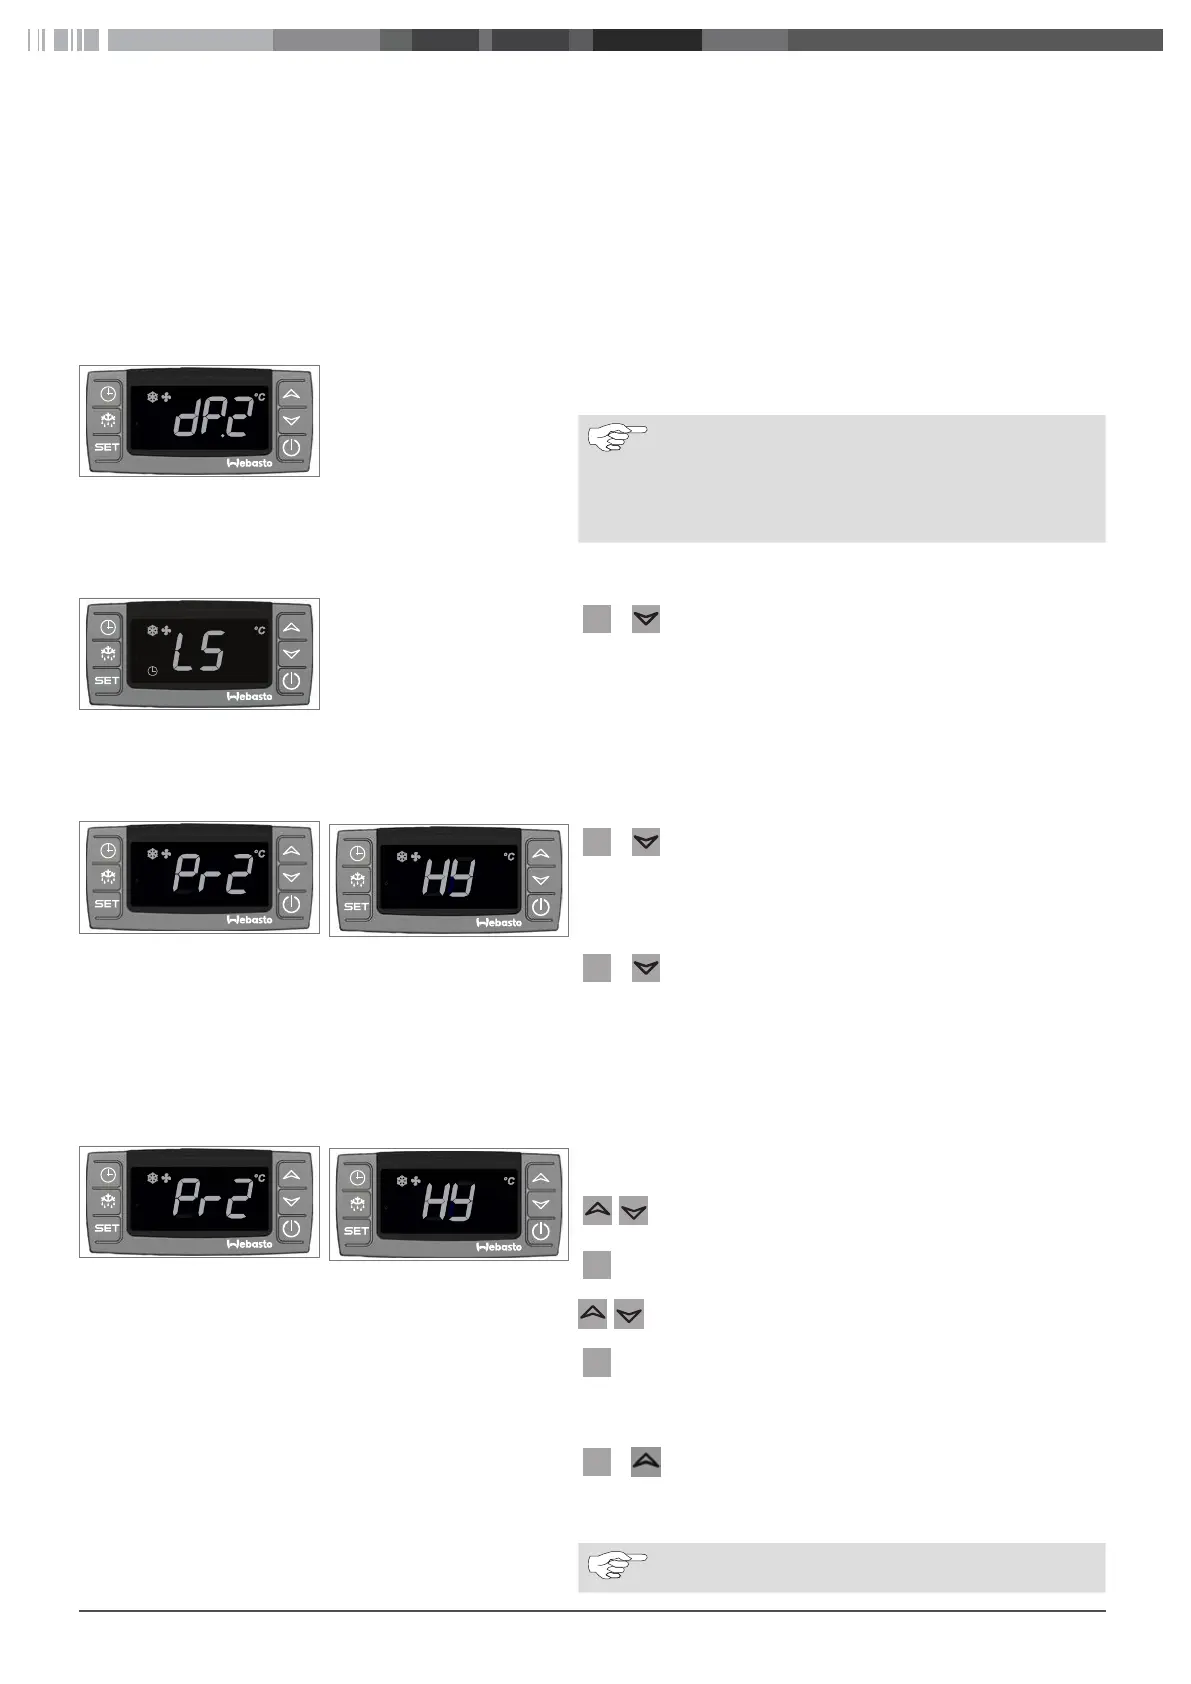
Fig. 04: Level 1 parameter in service
level 2
In service level 2 the decimal point is on to show that the parameter
is a level 1 parameter.
Parameters can be moved from one level to the other,
but it is better to keep the parameters in their original
level.
XPress “Set” and “Up” to move a 2nd level parameter
to service level 1 and visa versa.
4.1 Entering the 1st service level
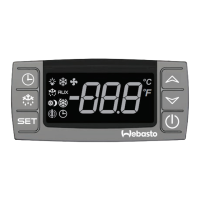
Fig. 05: First parameter of the 1
st
level service menu
+ XPress “Set” + “Down” and hold for 3 seconds.
–
The menu shows “LS”, the first parameter of the 1
st
service level.
–
The degree symbol starts blinking.
4.2 Entering the 2nd service level
Fig. 06: 2nd level service menu
Fig. 07: First parameter of the 2nd
level service menu
+ XPress “Set” + “Down” and hold for 3 seconds.
–
The menu shows “LS” (First parameter of the 1
st
service level).
–
The degree symbol starts blinking.
+
XPress “Set” + “Down” again and hold for 7 seconds.
–
The menu shows “Pr2” (2nd service level).
XRelease the keys.
–
The menus shows “HY”, the first parameter of the
2nd service level.
4.3 Change a parameter setting
Fig. 08: 2nd level service menu
Fig. 09: First parameter of the 2nd
level service menu
XEnter the desired service menu.
XSelect the required parameter with the “Up” or
“Down” key.
SE
XPress “Set”.
XSelect the required value with the “Up” or “Down”
key.
SE
XPress “Set” to store the selected value.
4.4 Exit a service menu
+ XPress “Set” + “Up” and hold for several seconds.
or
XWait 15s without pressing a key
A set value is stored even when you exit the service
menu by means of waiting 15s without pressing a key.
SE
SE
SE
SE
 Loading...