Do you have a question about the Weber S-335 and is the answer not in the manual?
Download the BILT™ app for interactive 3D step-by-step assembly instructions.
Important safety and preparation guidelines for assembling the grill.
List of necessary tools for the grill assembly process.
Install the wheels onto the grill frame using provided hardware.
Assemble the main structural components of the grill frame.
Secure the wheel hubs and associated components onto the frame.
Install the swivel casters for grill maneuverability.
Attach the lower and middle shelves to the grill frame.
Install the remaining casters onto the grill base.
Fasten the side panels to the grill structure.
Complete the attachment of the side panels to the grill.
Mount the primary grill cooking unit onto the assembled frame.
Properly route electrical wires and the gas line according to instructions.
Install various components using the specified hardware.
Install parts related to the ignition system and note troubleshooting references.
Install control knobs and connect gas lines securely.
Route wires and attach specific connectors for the ignition system.
Connect wires to the ignition module and route tubes.
Attach a component, leaving screws loose as instructed.
Secure the protective cover for the igniter module.
Install the battery and attach the ignition module.
Make the final connection for the gas line to the grill.
Install the side or access panels onto the grill.
Complete wire connections and attach the final panels.
Attach the doors, handles, and final wheel components.
Secure the remaining side panels to the grill body.
Learn how to raise or lower the warming rack, especially when the grill is hot.
Install the grill lid and adhere to safety warnings regarding lid closure.
Place the cooking grates and drip trays into the grill.
Install the flavorizer bars and cooking grates.
Information on how to register your Weber grill for warranty and support.
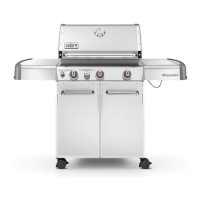
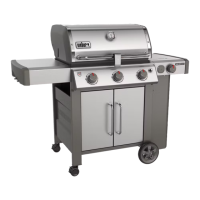
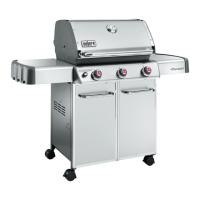
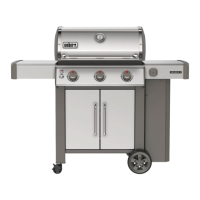
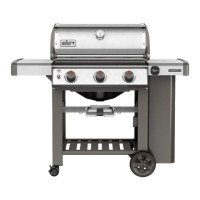
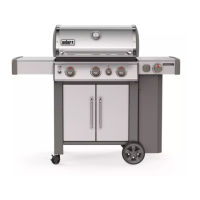
| Main Burners | 3 |
|---|---|
| Total Cooking Area | 669 square inches |
| BTU-per-hour Input | 39, 000 |
| Side Burner BTU-per-hour Input | 12, 000 |
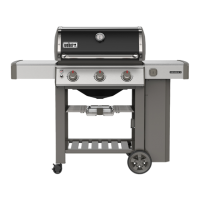
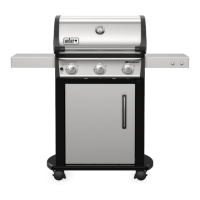
| Grill Type | Gas Grill |
| Burner Material | Stainless Steel |
| Side Burner | Yes |
| Sear Burner | Yes |
| Material | Stainless Steel |
| Fuel Type | Liquid Propane (LP) |
| Grate Material | Porcelain-enameled cast iron |
| Ignition | Electronic |
| Warranty | 10 years |
| Sear Station Burner BTU-per-hour Input | 9, 000 BTU |