9
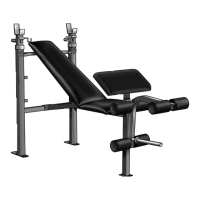
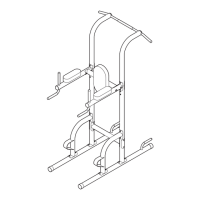
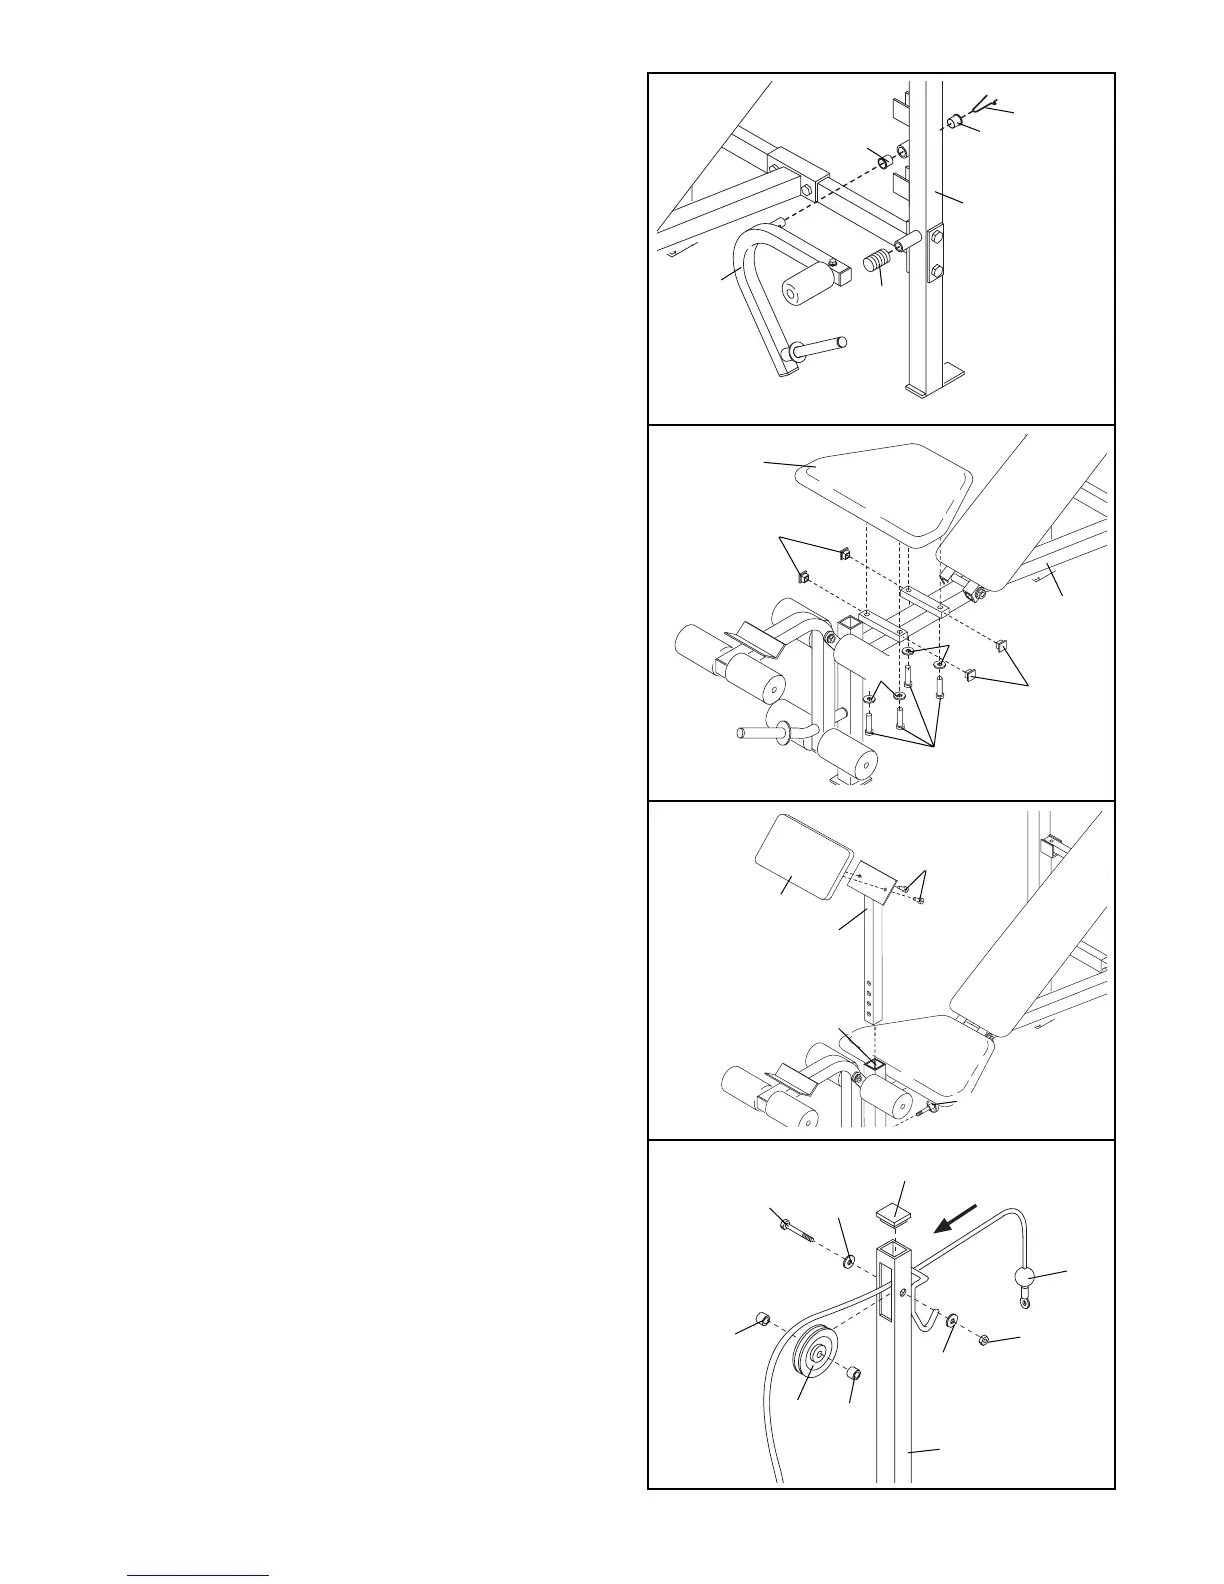
13. Attach the Curl Pad (12) to the Curl Upright (13)
with two M6 x 16mm Screws (24).
Slide the Curl Upright (13) into the Front Leg (8).
Align one of the adjustment holes in the Curl
Upright with the adjustment hole in the Front Leg.
Tighten the Small Threaded Knob (19) into the
adjustment hole in the Front Leg.
Note: The Lat Tower (see below) can be attached in
the same manner.
12. Press a 1” Square Inner Cap (18) into each end of
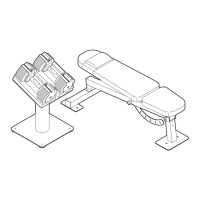
the seat support brackets on the Frame (2).
Attach the Seat (11) to the seat support brackets on
the Frame (2) with four M8 x 40mm Bolts (27) and
four M8 Washers (17).
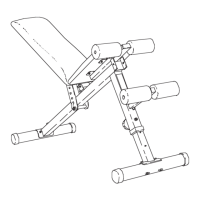
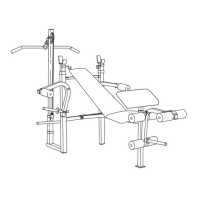
11. Press a 2” Fly Arm Bumper (53) onto the Left
Upright (15) and the Right Upright (1, not shown).
Attach the Left Fly Arm (52) to the Left Upright (15)
using two Nylon Bushings (57) and a Spring Clip
(56).
Attach the Right Fly Arm (51, not shown) to the
Right Upright (1, not shown) in the same manner.
13
12
13
19
8
24
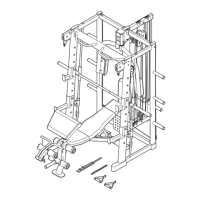
14. Locate the Cable (38) and note that it has a closed
loop on one end and a ball on the other. Slide the
closed loop through the slot in the Lat Tower (23)
from the direction shown.
Place the Cable (38) in the groove of the Pulley
(39) and attach the Pulley inside the slot in the Lat
Tower (23) with the M10 x 52mm Bolt (35), two M10
Washers (29), two Pulley Spacers (40) and an M10
Nylon Locknut (30).
Press a 38mm Square Inner Cap (32) into the top
of the Lat Tower (23).
14
40
29
23
30
39
29
40
32
38
35
12
2
11
17
27
17
18
18
11
56
57
15
52
57
53