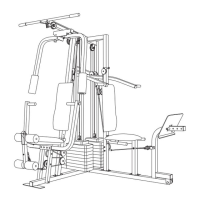
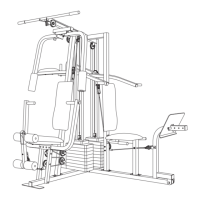
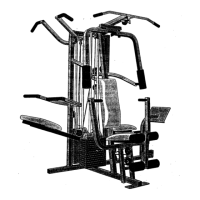
18
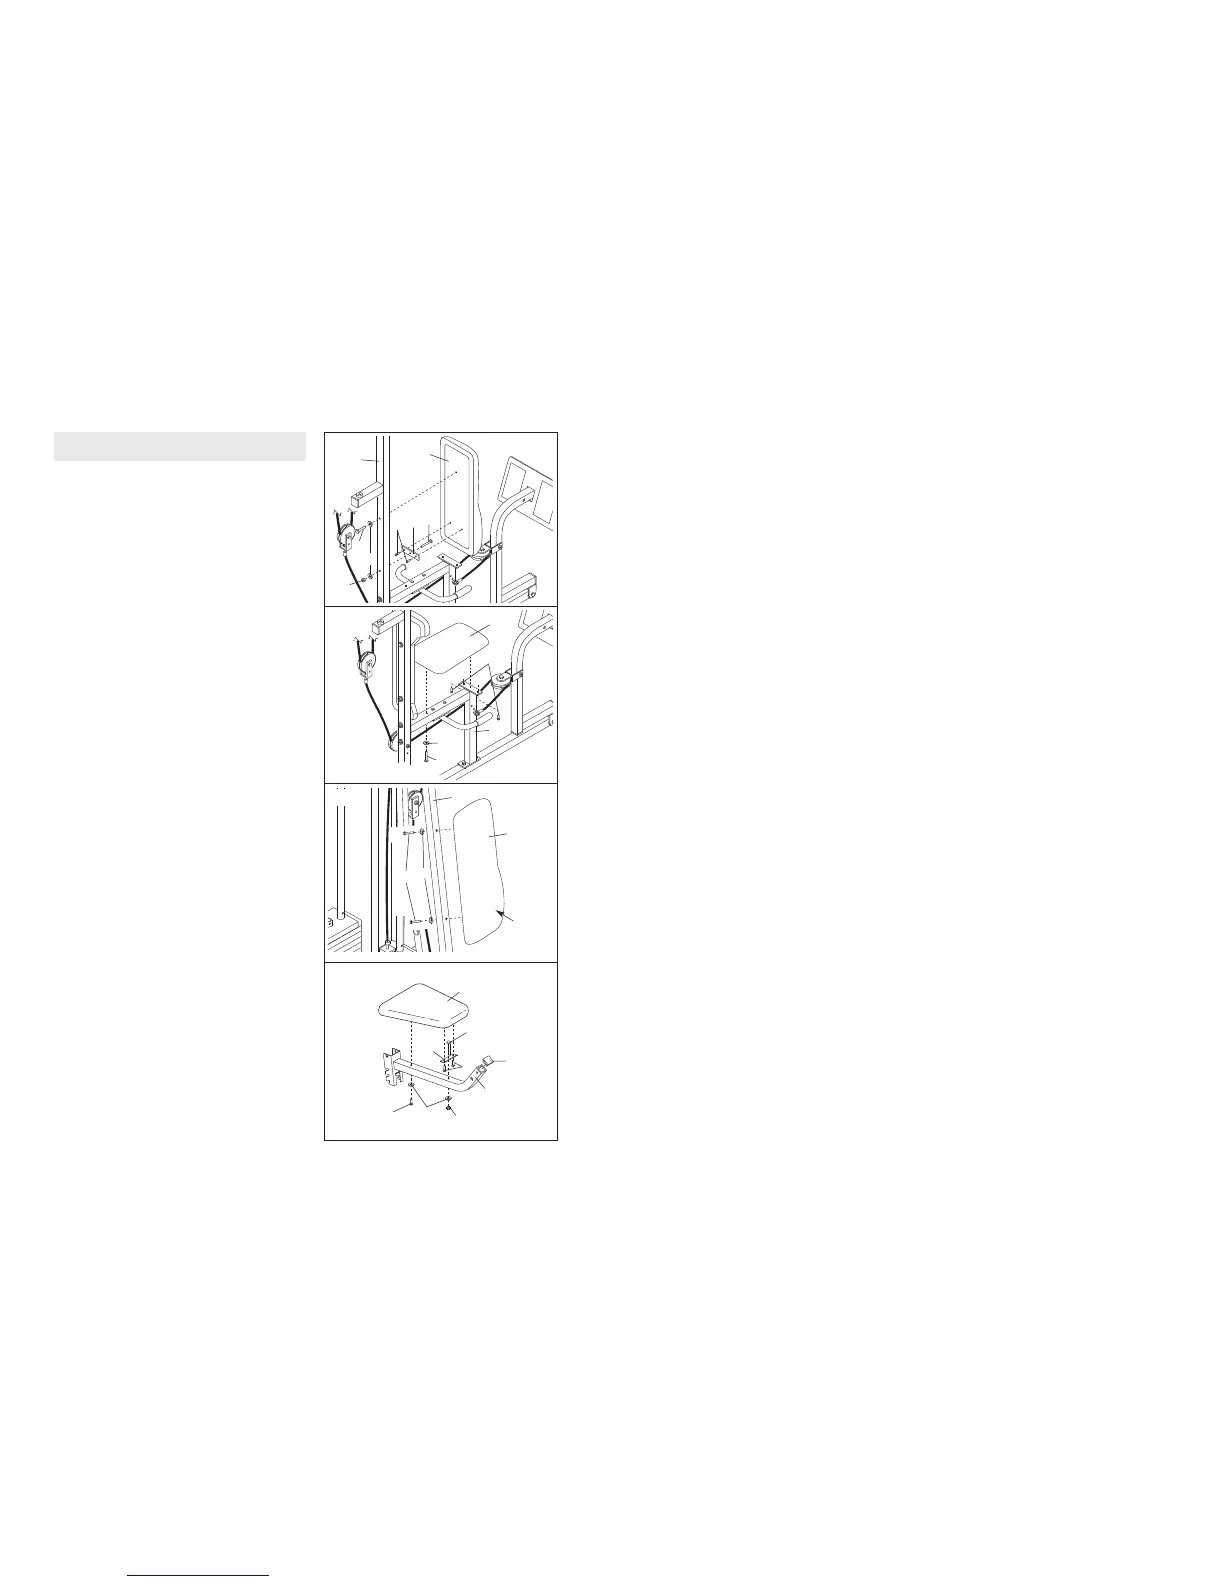
39. Attach the Front Backrest (41) to the Front Upright
(42) with two 1/4” x 2 1/2” Screws (43) and two 1/4”
Washers (10). Note: Make sure the Backrest is
oriented as shown.
40. Press a 1 1/2” Square Inner Cap (32) into the Front
Seat Frame (36).
Insert a 1/4” x 2” Carriage Bolt (38) through the cen-
tre hole in the Seat Plate (37). Attach the Seat Plate
to the Seat (13) with two 1/4” x 3/4” Screws (18).
Insert the 1/4” x 2” Carriage Bolt (38) through the
indicated hole in the Front Seat Frame (36). Tighten
a 1/4” Nylon Locknut (2) with a 1/4” W
asher (10)
onto the Carriage Bolt.
Attach the other end of the Seat (13) to the Front
Seat Frame (36) with a 1/4” W
asher (10) and a 1/4”
x 2” Machine Screw (81).
40
13
38
32
36
10
81
37
2
18
37. Locate and open the parts bag labelled “SEAT
ASSEMBLY.”
I
nsert a 1/4” x 2 1/2” Carriage Bolt (92) through the
centre hole in a Seat Plate (37). Attach the Seat
Plate to the Leg Press Backrest (85) with two 1/4” x
3/4” Screws (18).
Insert the 1/4” x 2 1/2” Carriage Bolt (92) through
the indicated hole in the Leg Press Upright (56).
Tighten a 1/4” Nylon Locknut (2) with a 1/4” Washer
(10) onto the Carriage Bolt. Attach the top of the
Leg Press Backrest (85) to the Leg Press Upright
with a 1/4” x 2 1/2” Screw (43) and a 1/4” Washer
(10).
38. Attach one end of a Seat (13) to the Leg Press
Seat Frame (79) with two 1/4” x 3/4” Screws (18).
Attach the other end of the Seat to the Leg Press
Seat Frame with a 1/4” Washer (10) and a 1/4” x 2
1/2” Screw (43).
SEAT ASSEMBLY
37
85
2
10
18
9
2
56
37
43
38
13
10
43
18
79
39
41
Thick
End
42
10
43