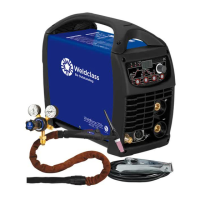
Weldforce 202T AC/DC
© Weldclass 2020 | E.&O.E. 25
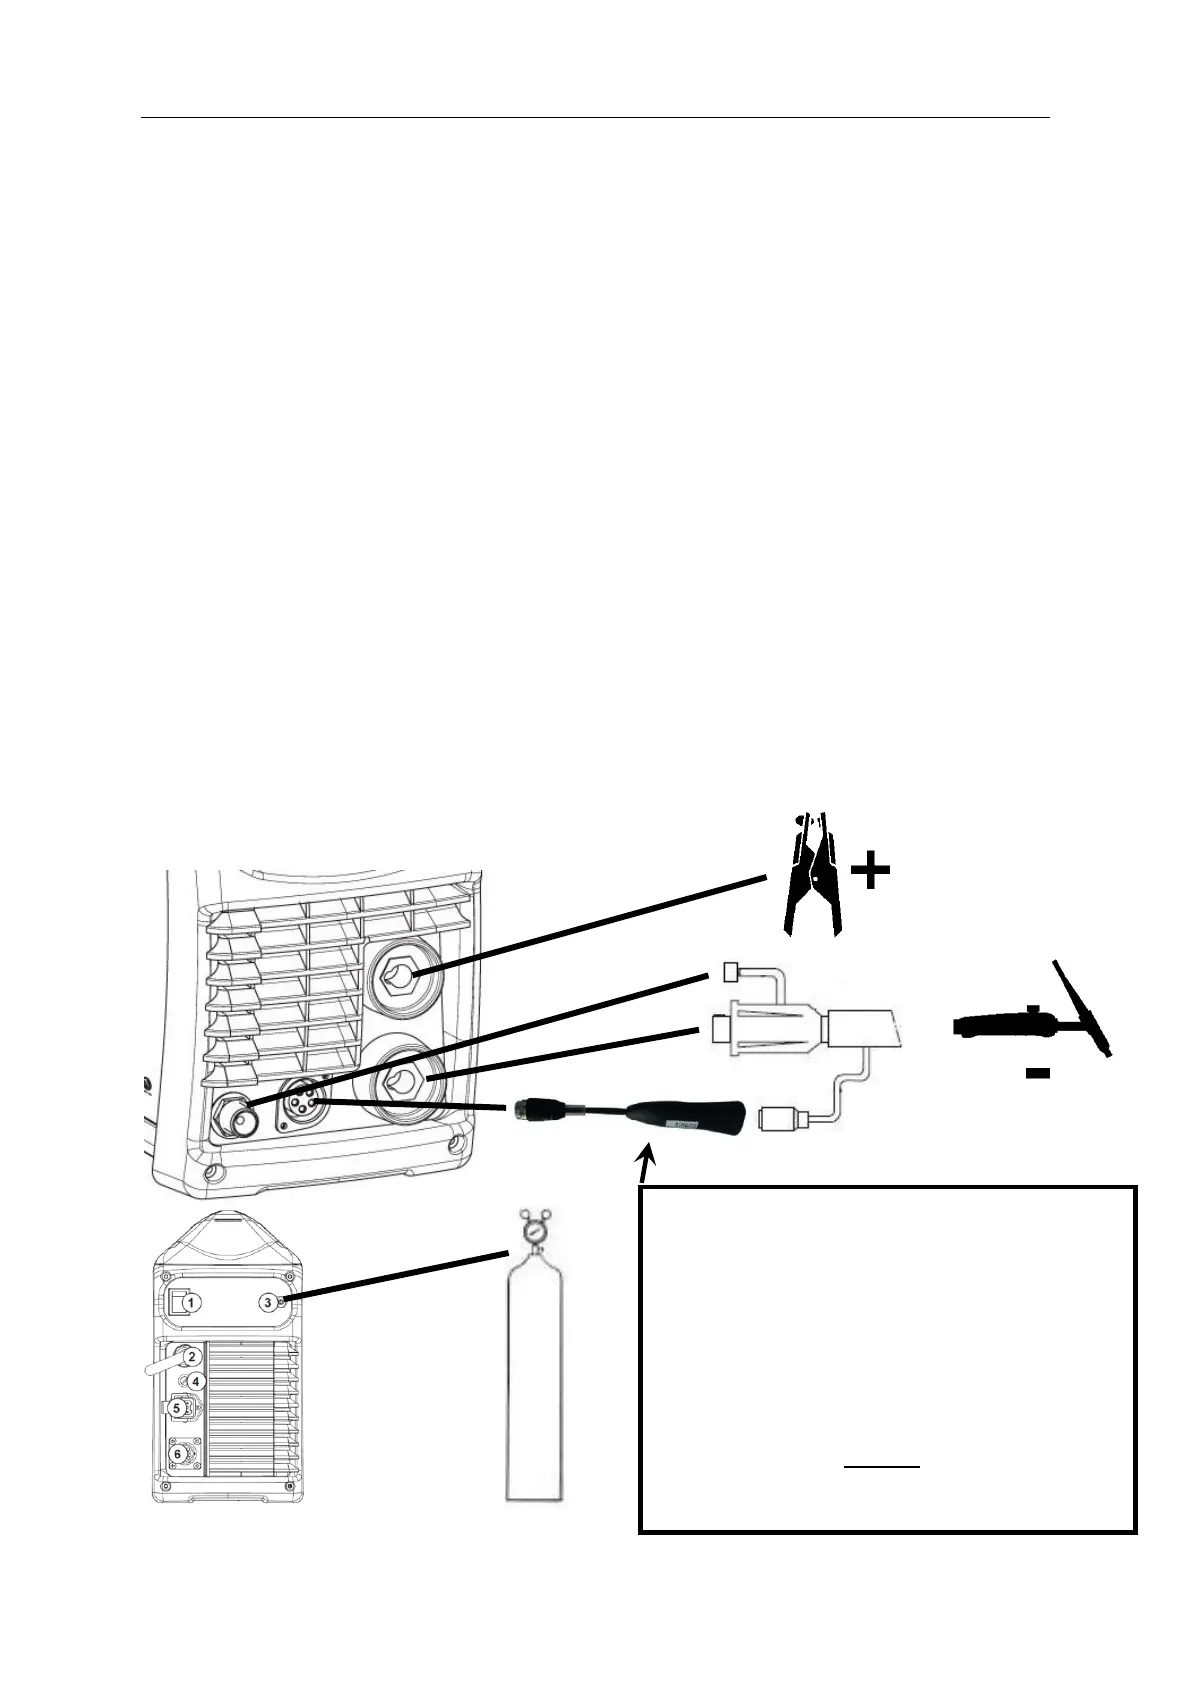
7.2 TIG Welding Setup
1. Connect the earth cable to the Positive (+) Dinse Socket.
2. Connect the earth clamp to the work piece. Contact with the work piece must be firm contact
with clean, bare metal, with no corrosion, paint or scale at the contact point.
3. Insert TIG torch power connection into the Negative (-) Dinse Socket.
4. Connect TIG multi-pin connector of the TIG Torch to the Remote Device adapter
5. Connect the Remote Device adapter to the TIG Torch Interface socket on the front of the machine
6. Connect TIG torch gas line to the TIG Torch Gas Connection on the front of the machine. Ensure
all connections are tight.
7. Assemble the female gas fitting to the gas hose securing it with the hose clamp provided.
8. Screw the female gas fitting onto the regulator outlet fitting.
9. Connect the gas regulator to a gas cylinder (not included with machine)
10. Connect the gas hose to the Gas Inlet Connection tail on the rear of the machine securing it with
the hose clamp provided.
11. Ensure all connections are tight.
12. Open gas cylinder valve carefully
13. Adjust regulator. Flow should be between 5-10 l/min depending on application. Re-check
regulator flow pressure with the torch triggered as static gas flow setting may drop once gas is
flowing.
14. Connect the machine to suitable power. Switch the mains power switch to ‘I’ to power up the
machine.
15. Set welding process selector to the desired TIG Process Mode
16. Select desired Output Current Mode
17. Select desired Trigger Mode
18. Select desired Pulse Function settings
19. Set the required Arc Parameters using the Selection Knob
20. You are now ready to weld!
Figure 13
VERY IMPORTANT!
It is essential that the Remote Torch Adapter is
used when using remote control torches, to
prevent damage to the machine from HF
current feedback through the torch.
(Remote adaptor Not required if using torch
with switch only, without remote amperage
control)