10
ASSEMBLY AND ADJUSTMENTS
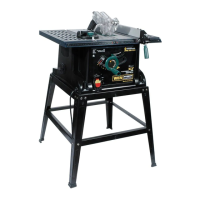
ALIGNING RIVING KNIFE
IMPORTANT: If riving knife is correctly mounted yet it is not
perfectly centered with the blade, proceed with the following
adjustment.
1. Using a straight edge (Fig 8), check if the riving knife is aligned
with the blade.
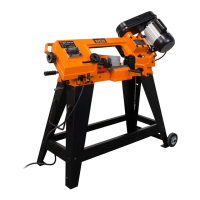
2. If an adjustment is necessary, loosen 2 cap screws (A, Fig 9)
that hold the mounting bracket (B, Fig 9). Adjust the position of
the riving knife to the right or left until it is perfectly aligned with
the blade. Retighten cap screws.
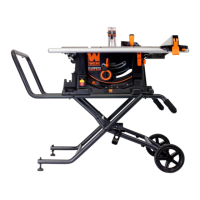
MOUNTING BLADE GUARD (Fig. 10)
1. Make sure the blade is raised to its highest position and the
riving knife is secured in the “up” position.
2. Make sure the table insert (A) is installed in the table top
opening.
3. Lower the back end shaft (B) into the middle slot (C) of the
riving knife. Pull the blade guard lock lever (D) toward the front
of the saw then pivot the blade guard towards the front of the
saw. Once the blade guard is parallel to the table, lock the blade
guard to the riving knife by pushing the lock lever down to the
lock position. Lift the blade guard up to check if it is locked
securely.
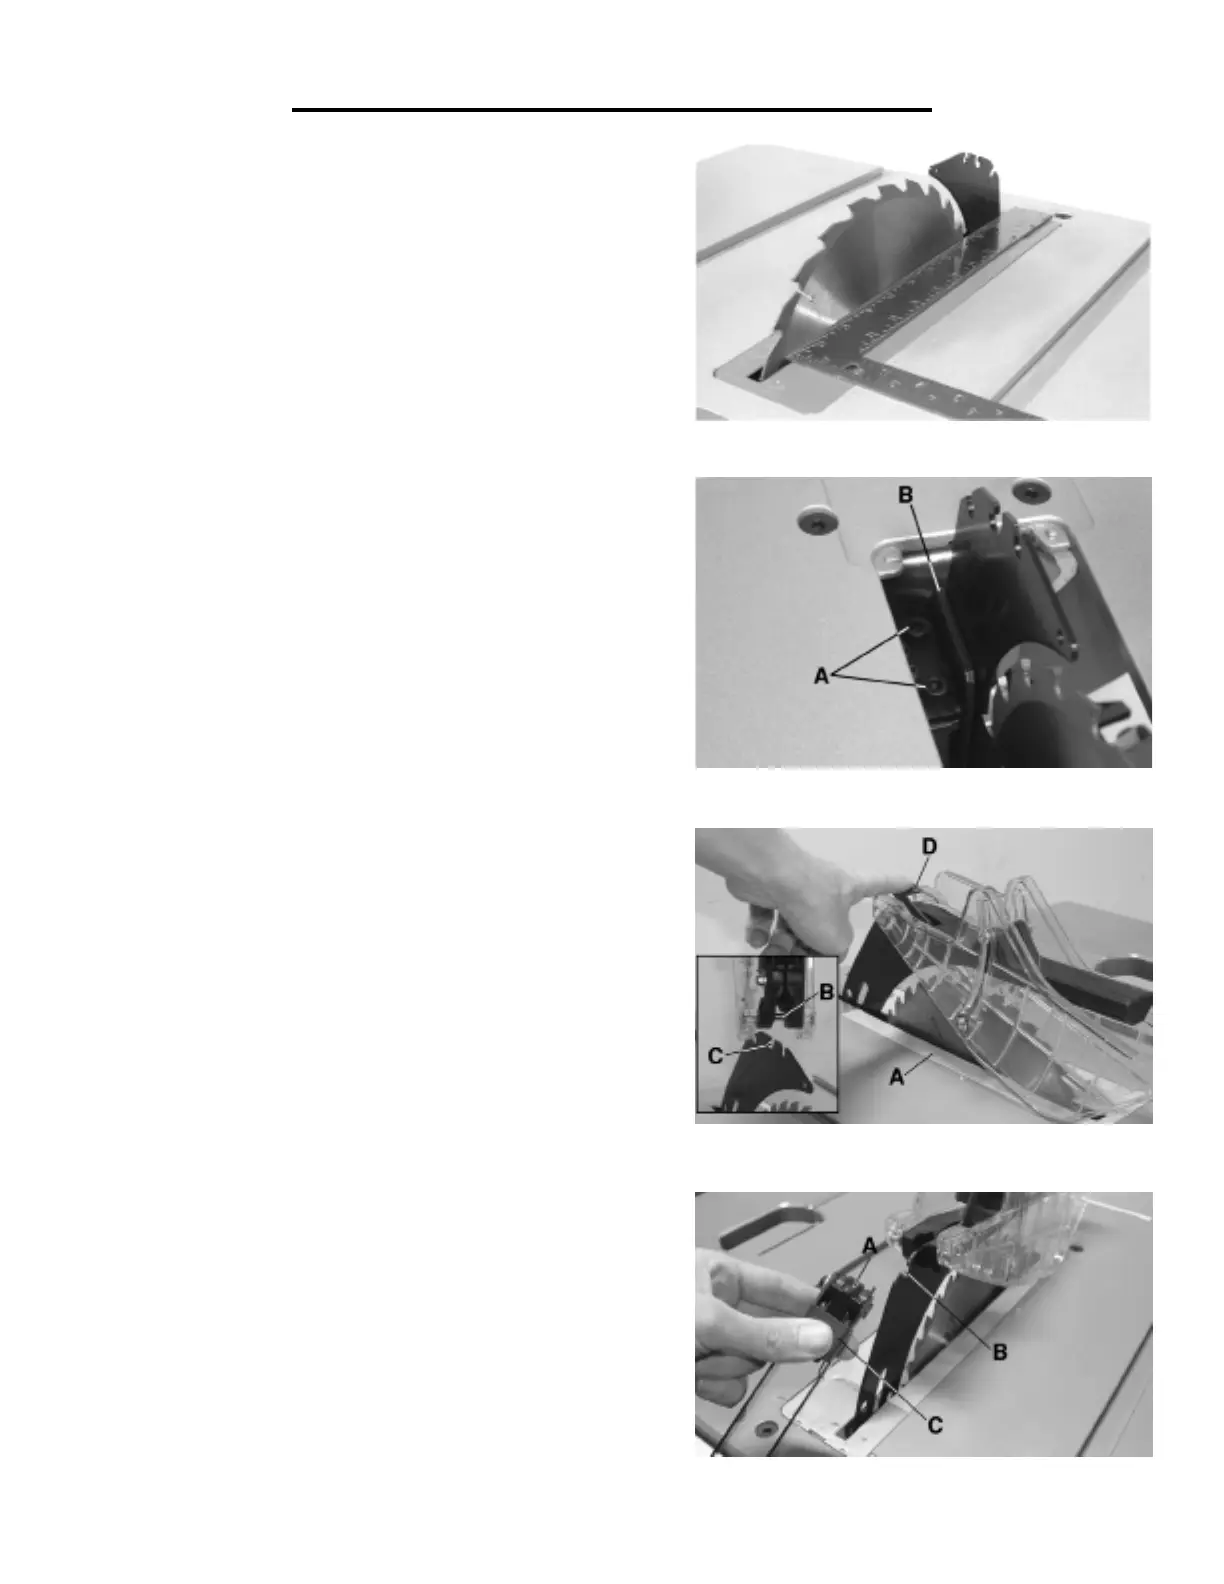
MOUNTING ANTI-KICKBACK FINGERS (Fig. 11)
1. Align the anti-kickback finger bracket slot (A) with the rear
slot (B) of the riving knife.
2. Push the assembly down and lift the lever (C) to lock the anti-
kickback finger assembly to the riving knife. Lift the assembly
up to check if it was locked securely.
Fig. 8
Fig. 9
Fig. 10
Fig. 11
 Loading...