PREPARATION & ADJUSTMENTS
INSTALLING/REMOVING SAW BLADE
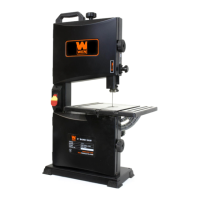
Your band saw is designed to fit saw blades 44-7/8" long, 1/2" wide
and 0.025" thick. Use the correct-sized blade that is suitable for the
material to be cut. A 10/14 TPI saw blade with is included with
your saw (pre-installed). Replacement blades can be ordered from
wenproducts.com by searching the part number 94396B.
WARNING: Saw blades are sharp. Wear work gloves and
safety goggles while handling the blades. Inspect blades for
cracks and missing teeth before each use.
To install the blade:
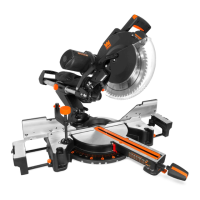
1. Turn the tension handle (Fig. 1 - 1) on the front side of your saw
clockwise to release the blade tension.
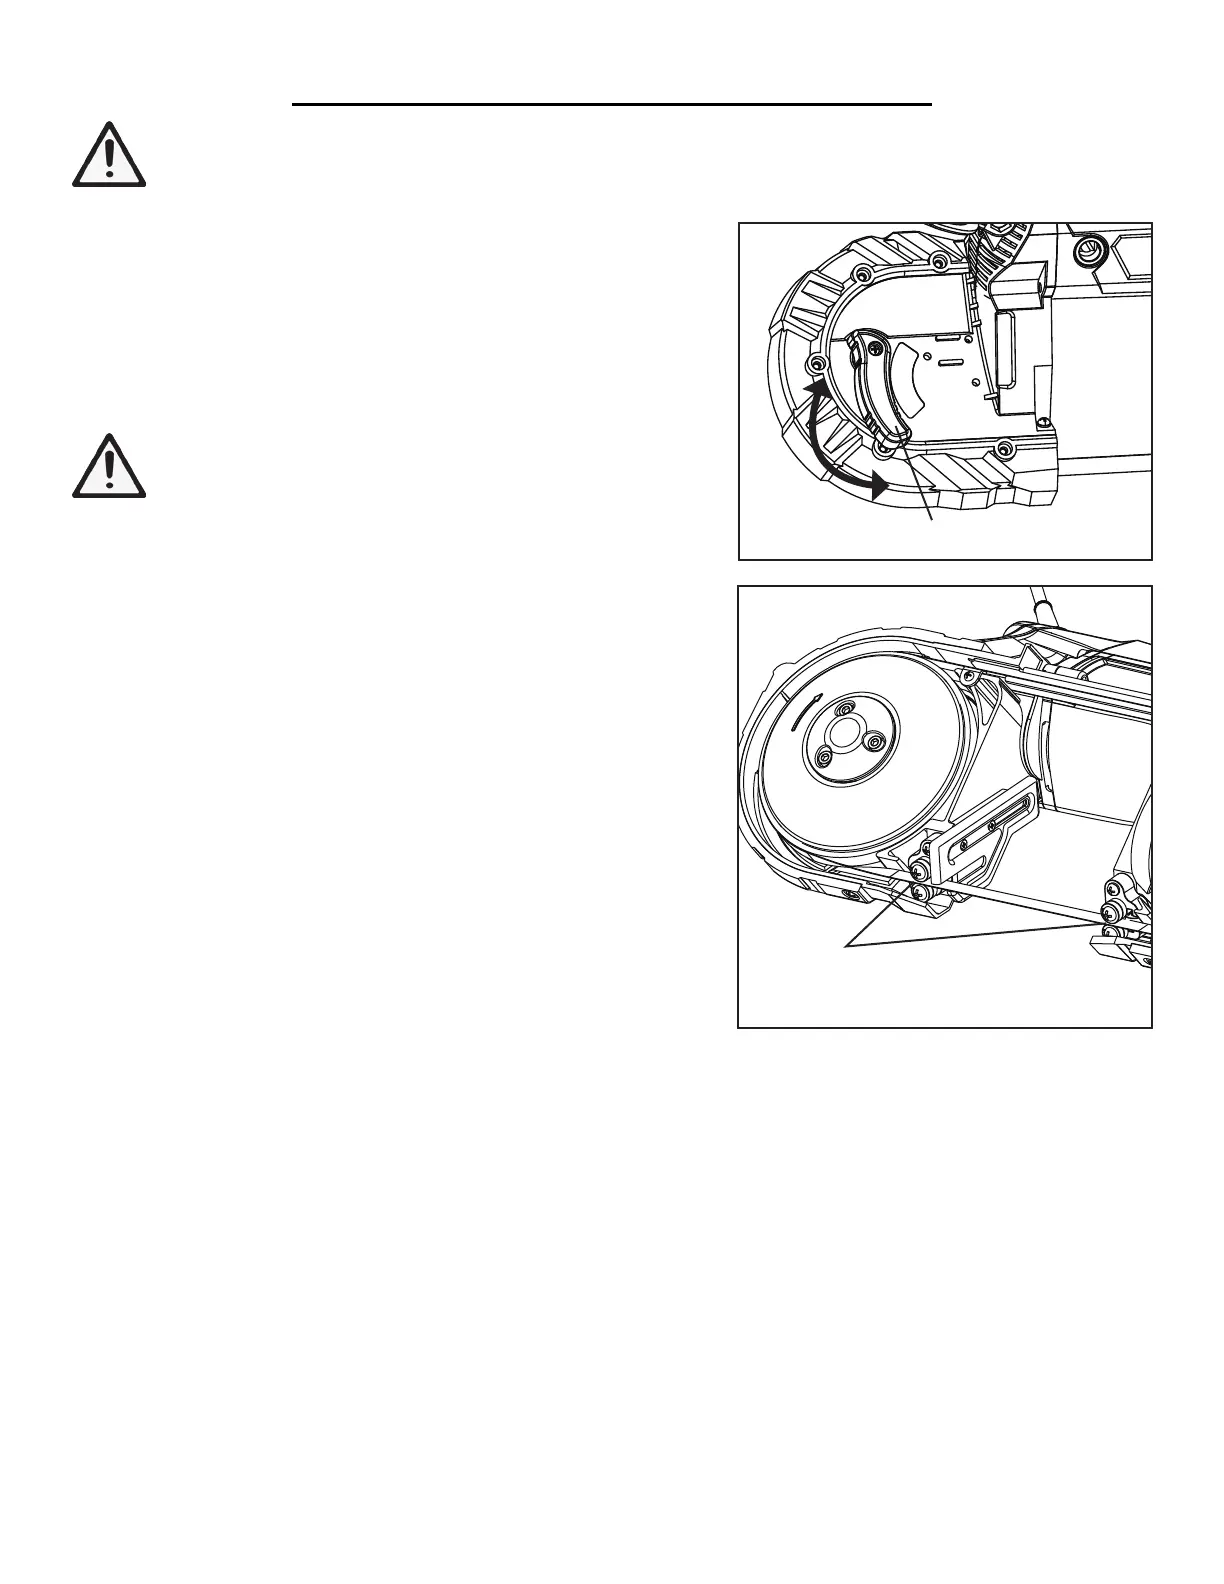
2. Flip the saw over to the back side. Hold the saw blade with the
blade teeth facing towards you, and insert it between the two sets
of guide bearings (Fig. 2 - 1). Make sure the blade is fully seated
between the guide bearings - the spine of the blade should be in
contact with the rear thrust bearing.
3. Guide the blade around the two guide wheelsand press it inwards.
Make sure the blade fits evenly around the wheels.
4. Turn the tension handle (Fig. 1 - 1) counterclockwise all the way
until the handle is tight. The blade is now properly tensioned.
5. Put on eye and hearing protection, and hold the tool away from
your body. Plug in and run the tool with no load for a few minutes
WARNING: To prevent injury from accidental operation, turn OFF and unplug the tool from the power
source before assembling or making any adjustments to the tool.
Fig. 1
Fig. 2
to inspect the blade and allow it to seat properly. Make sure the blade runs evenly and steadily around the guide
wheels.
To remove the blade:
1. Make sure the saw is switched off and the power is disconnected.
2. Turn the tension handle (Fig. 1 - 1) clockwise to release blade tension.
3. Wearing work gloves and safety goggles, carefully slide the blade off the top of the guide wheels and remove it
from the guide bearings.
NOTE: If the saw is not being used for a long time, release tension and remove the saw blade before storage.
This will prolong the life of the blade.
10
1
1

 Loading...