1110
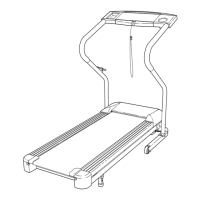
THE PRE-LUBRICATED WALKING BELT
Your treadmill features a walking belt coated with high-performance lubricant. IMPORTANT: Never apply sili-
cone spray or other substances to the walking belt or the walking platform. Such substances will deteri-
orate the walking belt and cause excessive wear.
HOW TO PLUG IN THE POWER CORD
This product must be earthed. If it should malfunction or break
down, earthing provides a path of least resistance for electric cur-
rent to reduce the risk of electric shock. This product is equipped
with a power cord having an equipment-earthing conductor and an
earthing plug.
Important: If the power cord is damaged, it must
be replaced with a manufacturer-recommended power cord.
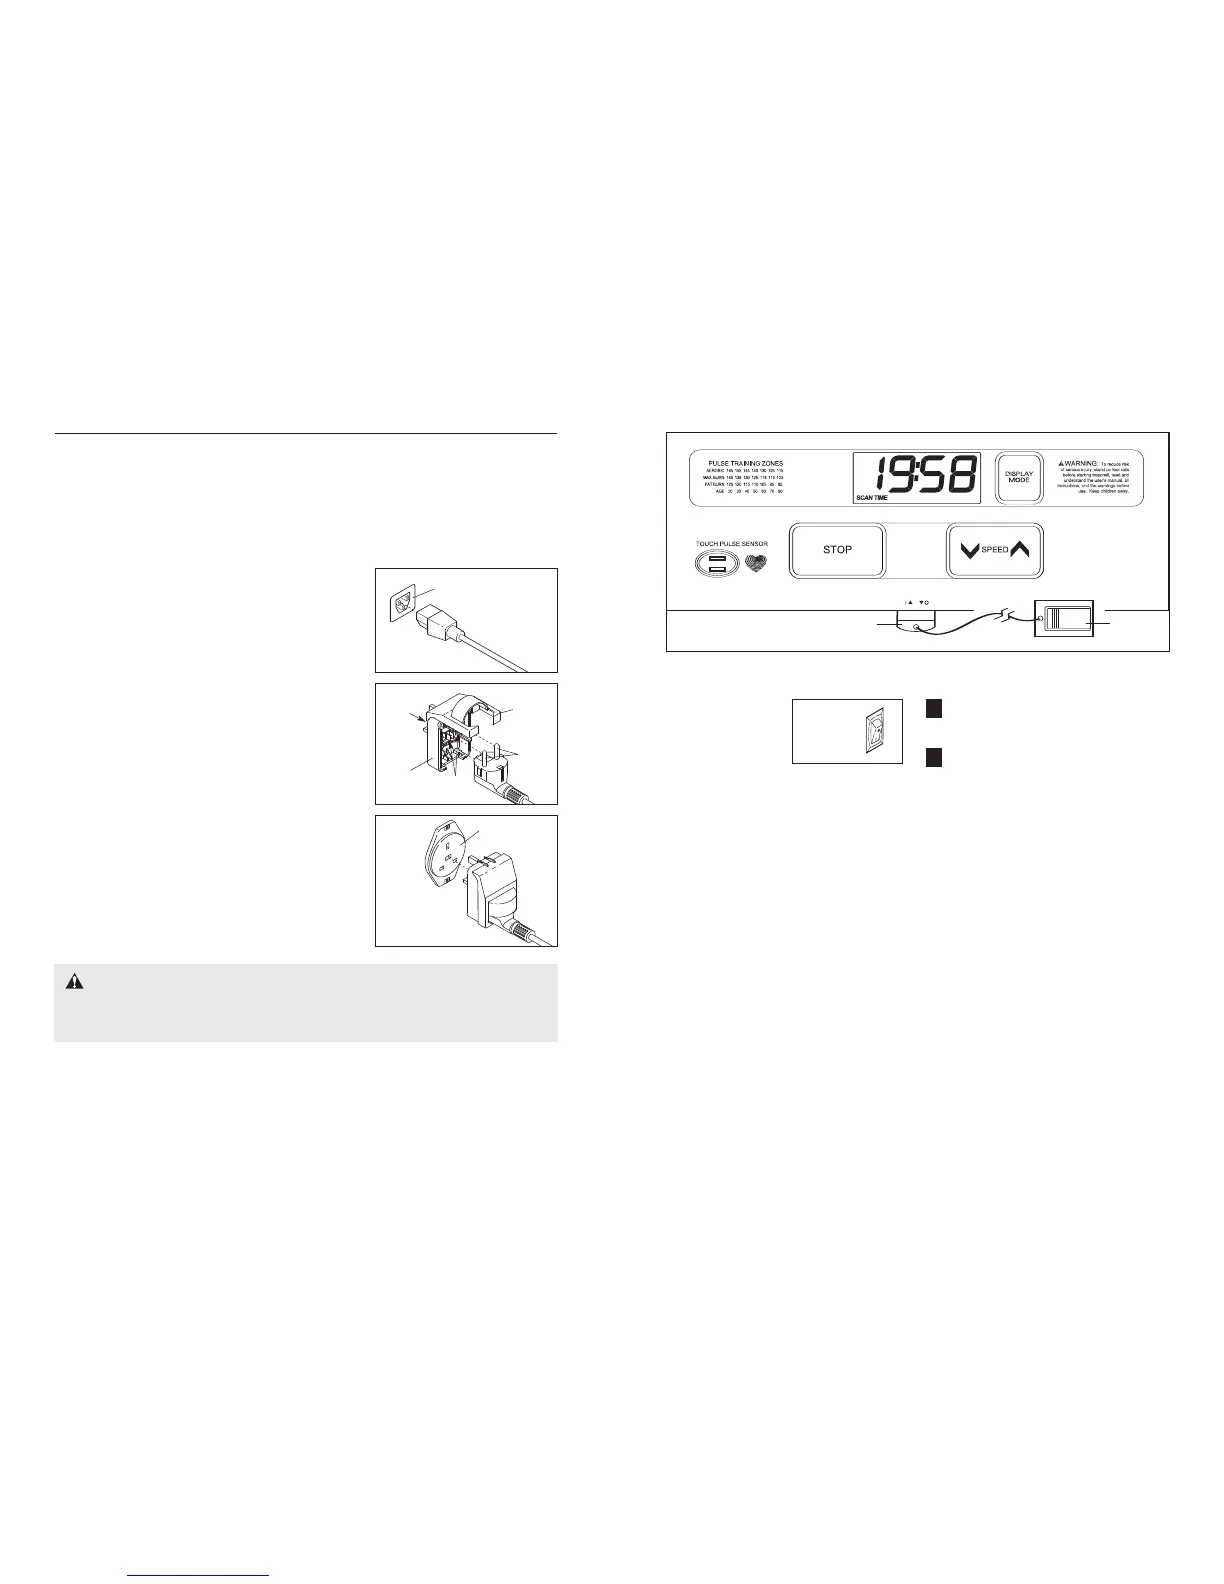
See drawing 1. Plug the indicated end of the power cord into the
socket on the treadmill.
See drawing 2. Press the pins on the power cord into the metal clips
in the adapter as shown. Close the adapter cover over the end of
the power cord and tighten the screw in the adapter.
Important:
Make sure that the adapter cover is secure and the screw has
been tightened before using the power cord.
See drawing 3. Plug the power cord into an appropriate outlet that is
properly installed and earthed in accordance with all local codes and
ordinances. Important: The treadmill is not compatible with
GFCI-equipped outlets.
DANGER: Improper connection of the equipment-earthing conductor can result in an
increased risk of electric shock. Check with a qualified electrician or serviceman if you are in doubt
as to whether the product is properly earthed. Do not modify the plug provided with the product—if it
will not fit the outlet, have a proper outlet installed by a qualified electrician.
Socket on treadmill
Metal
Clips
1
2
Pins
Screw
Adapter
Outlet
3
Adapter
Cover
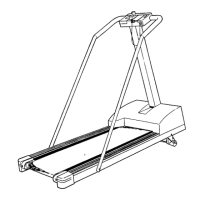
OPERATION AND ADJUSTMENT
STEP-BY-STEP CONSOLE OPERATION
Before operating the
console, make sure that
the power cord is prop-
erly plugged in (see
page 10). Next, locate
the on/off switch on the
treadmill frame near the
power cord, and make sure that the switch is in the
“on” position.
Next, stand on the foot rails of the treadmill. Find the
clip attached to the key (see the drawing at the top of
this page), and slide the clip onto the waistband of your
clothes. Then, insert the key into the console; a tone
will sound and the display will light.
Test the clip by
carefully taking a few steps backward until the key
is pulled from the console. If the key is not pulled
from the console, adjust the position of the clip.
Note: If there is a sheet of clear plastic on the face of
the console, peel of
f the plastic.
T
o prevent damage to
the walking platform, always wear clean athletic shoes
while using the treadmill. The first time the treadmill is
used, observe the alignment of the walking belt, and
center the walking belt if necessary (see page 17).
Follow the steps below to operate the console.
Insert the key fully into the console.
See the instructions at the left.
Start the walking belt.
To start the walking belt, press the Speed
increase button. The walking belt will begin to
move at 1 mph. As you exercise, change the
speed of the walking belt as desired by pressing
the Speed increase and decrease buttons. Each
time a button is pressed, the speed setting will
change by 0.1 mph; if a button is held down, the
speed setting will change in increments of 0.5
mph.
Note: After the buttons are pressed, it may take a
moment for the walking belt to reach the selected
speed setting. The console can display speed and
distance in either miles or kilometers (see step 3
on page 12). For simplicity
, all instructions in this
section refer to miles.
T
o stop the walking belt, press the Stop button.
The time will begin to
flash in the display
.
2
1
 Loading...