5 Maintenance Operator Manual for Gasoline Generators
page 28
4.
Move the blades to conform to the curved cam plate and push the impeller into the pumps housing.
5.
When assembling, apply a thin coating of glycerin lubricant to the impeller and gasket.
6.
Open the raw-water intake valve.
NOTE: If any of the blades have broken off the impeller they must be found to prevent blockage in the cooling circuit.
They can often be found in the heat exchanger.
5.4
Maintenance: Engine
Use a good brand of engine oil with API and SAE designations as listed in 9.6 Specifications: Lubrication
System. Change the engine oil and filter after an initial 50 hours of engine break-in operation. Then follow the
oil and filter change interval as specified in Chapter 5.1: Maintenance Schedule.
Westerbeke does not approve or disapprove the use of synthetic oils. If synthetic oils are used, engine break-in
must be performed using conventional oil. Oil change intervals must be as listed in 5.1: Maintenance Schedule
and cannot be extended if synthetic oils are used.
NOTE: The information above supersedes all previous statements regarding synthetic oil.
5.4.1 How to Change the Engine Oil
1.
Remove the oil drain hose from its attachment bracket and lower it into a container and allow the oil to drain.
2.
(Optional) You can also attach a pump to the end of the drain hose and pump the old oil out.
3.
Make sure the oil drain hose is properly secured in its holder after all the old oil has been drained.
4.
Always observe the old oil as it is removed. The engine oil should be warm. A yellow/gray emulsion indicates
the presence of water in the oil. Although this condition is rare, it does require prompt attention to prevent
serious damage. Call a competent mechanic if water is present in the oil. Raw water present in the oil can be
the result of a fault in the exhaust system attached to the engine and/or a siphoning through the raw-water
cooling circuit into the exhaust, filling into the engine.
WARNING: Used engine oil contains harmful contaminants. Avoid prolonged skin contact. Clean skin and nails
thoroughly using soap and water. Launder or discard clothing or rags containing used oil. Recycle used oil properly.
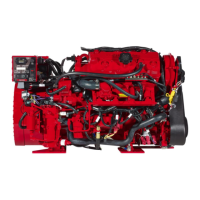
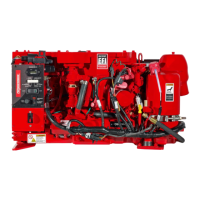
Figure 20: Engine Oil Drain Hose (Left) and Oil Filter Assembly (Right)
5.4.2 How to Replace the Engine Oil Filter
1.
Verify the current used filter can be loosened.
2.
(Optional) To minimize spills, you may find it helpful to punch a hole in the upper and lower portion of the
old filter to drain the oil into a container.
TIP: Before doing this, verify the filter can be loosened as suggested in Step 1.
3.
Remove the old oil filter with an automotive filter wrench. Place some paper towels and a plastic bag around
the filter when unscrewing it to catch any oil from inside the filter.
 Loading...