16
|
English
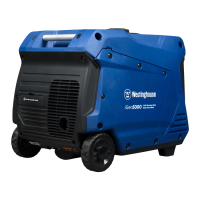
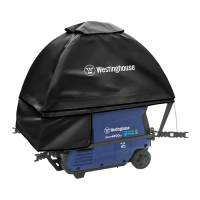
4. COVER THE GENTENT
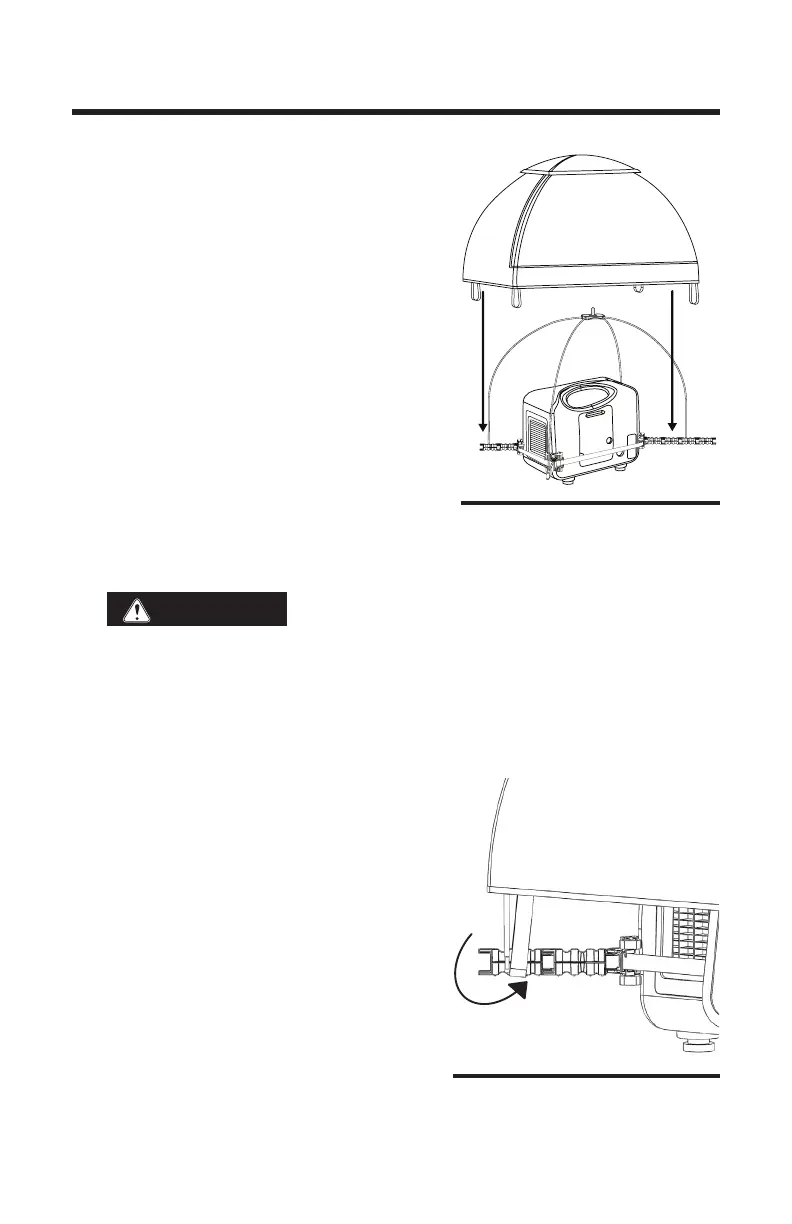
a. Grasping the GenTent by the center of the
top cap, open the GenTent Canopy and
place it onto the GenTent frame. Do not
pull the open corners of the top cap;
these are for ventilation.
b. Place the GenTent Canopy on the Frame
Rods. Center the top cap on the Center
Connector pin. (Fig. 4.1) Make sure the
GenTent Canopy coverage is generally
equal and level.
c. Slide one corner elastic under the end of
the Extender Arm and set it behind the
Frame Rods. (closer to the generator than
the Frame Rods) (Fig. 4.2)
d. Repeat on opposite corners. Review and adjust. Canopy if necessary,
to ensure it is level.
WARNING
Never position the refueling door on the same
side as the exhaust mufer. Spilled gasoline can result in re. Always
use a funnel for refueling.
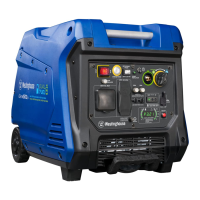
Install the Electrical Panel Apron
e. Along the bottom edge of the GenTent Canopy is an over-ap. Flip up
the over-ap from corner to corner above the electrical outlets. This will
reveal a fastener strip. (Fig. 4.3)
f. Center the Electrical Panel Apron in
front of the generator electrical panel
and press the apron rmly onto the fas-
tener strip. The Apron can be adjusted
to the left or right in order that it stays
a minimum four inches away from the
exhaust. Do not block the exhaust!
ASSEMBLY
Fig. 4.1
Fig. 4.2