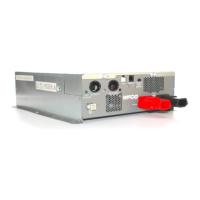
Operating the inverter without a proper ground connection may cause an electrical safety haz-
ard. An 8 AWG or larger ground wire is required to connect the inverter ground to the chassis.
INSTALLATION GUIDELINES
• Please determine the remote control panel cable route throughout the vehicle, both to and
from the inverter before connecting any wires.
• Always check for existing electrical, plumbing, or other areas of potential damage before
drilling or cutting into walls to mount the control panel.
• Make sure all wires have a smooth bend radius and do not become kinked. The allowable
bend radius depends on the type of cable and wire gauge.
• Please ensure that all conductors passing through walls, bulkheads, or other structural
members are protected. This minimizes insulation damage such as chang, which can be
caused by vibration or constant rubbing when installing in a vehicle.
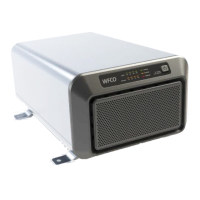
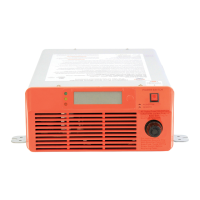
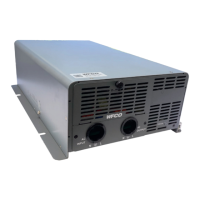
INSTALLATION LOCATION
The power inverter should be installed in a location that meets the following requirements:
• Dry – Do not allow water to drip or splash on the inverter.
• Cool – Ambient air temperature should be between -20°C and 40°C, but the cooler the better.
• Safety – Do not install inverter with lead-acid batteries in the compartment, or other areas
near ammable fumes such as fuel storage areas or engine compartments.
• Ventilated – Allow at least one cubic foot of clearance around the Inverter for air ow. Ensure
the vents on the ends and top of the unit are not obstructed.
• Dust-free – Do not install the Inverter in environments where dust, wood particles, or other
lings or shavings are present. The dust can be pulled into the unit when the cooling fan is in
operation.
• Close to batteries – Avoid excessive cable lengths but do not install the inverter in the same
compartment as lead-acid batteries.
• Do not mount the inverter where it is exposed to the gases produced by a lead-acid battery.
These gases are very corrosive and prolonged exposure will damage the inverter.
• Use the recommended wire lengths and sizes in accordance with this manual and the relevant
electrical codes.
11
WARNING
 Loading...