TESTING THE INVERTER
After the inverter is installed and wired, inspect all connections, verify all wire routing, and make
sure the connections are tight and properly made. Check that the relevant circuit breakers are
turned on. Then the system should be ready to be tested as follows:
1. Test the ac wiring with bypass by leaving the inverter o. Connect the shore power or external
power source. At this point the inverter-powered circuit should be energized.
2. Measure the voltage at an outlet to verify the correct voltage and connector wiring. The volt-
age should be the same as the external source voltage. Also check the voltage between the
neutral
terminal and the chassis of the vehicle or trailer. This voltage should be zero or very low, less
than a few volts.
3. Next, turn o or disconnect the external ac source. Then turn on the inverter. To do this, press
the power button on the control panel and hold it for two seconds.
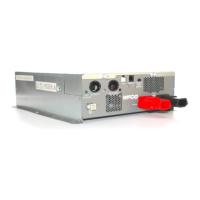
If the remote panel is not connected, the inverter can be turned on by using the convenient
“ON/OFF TEST SWITCH” pushbutton on the inverter. When it is pressed, the inverter will start
regardless of the control panel or whether it is connected. Be sure to leave the switch
out when done testing, otherwise the control panel will not function.
4. With the inverter operating, check the output voltage at an inverter outlet or receptacle. The
voltage should be about 115 volts ac from line to neutral or line to ground. The control panel will
read that out also. Check the voltage between the neutral terminal and the chassis of the vehicle
or trailer. This voltage should be zero or very low, less than a few volts.
5. Now reconnect the external ac voltage source. The inverter should go into bypass. Then mea-
sure the inverter outlet circuit voltage. This should match the external ac voltage again, while the
inverter is in standby.
23

 Loading...