Page 18
XLTP 041612
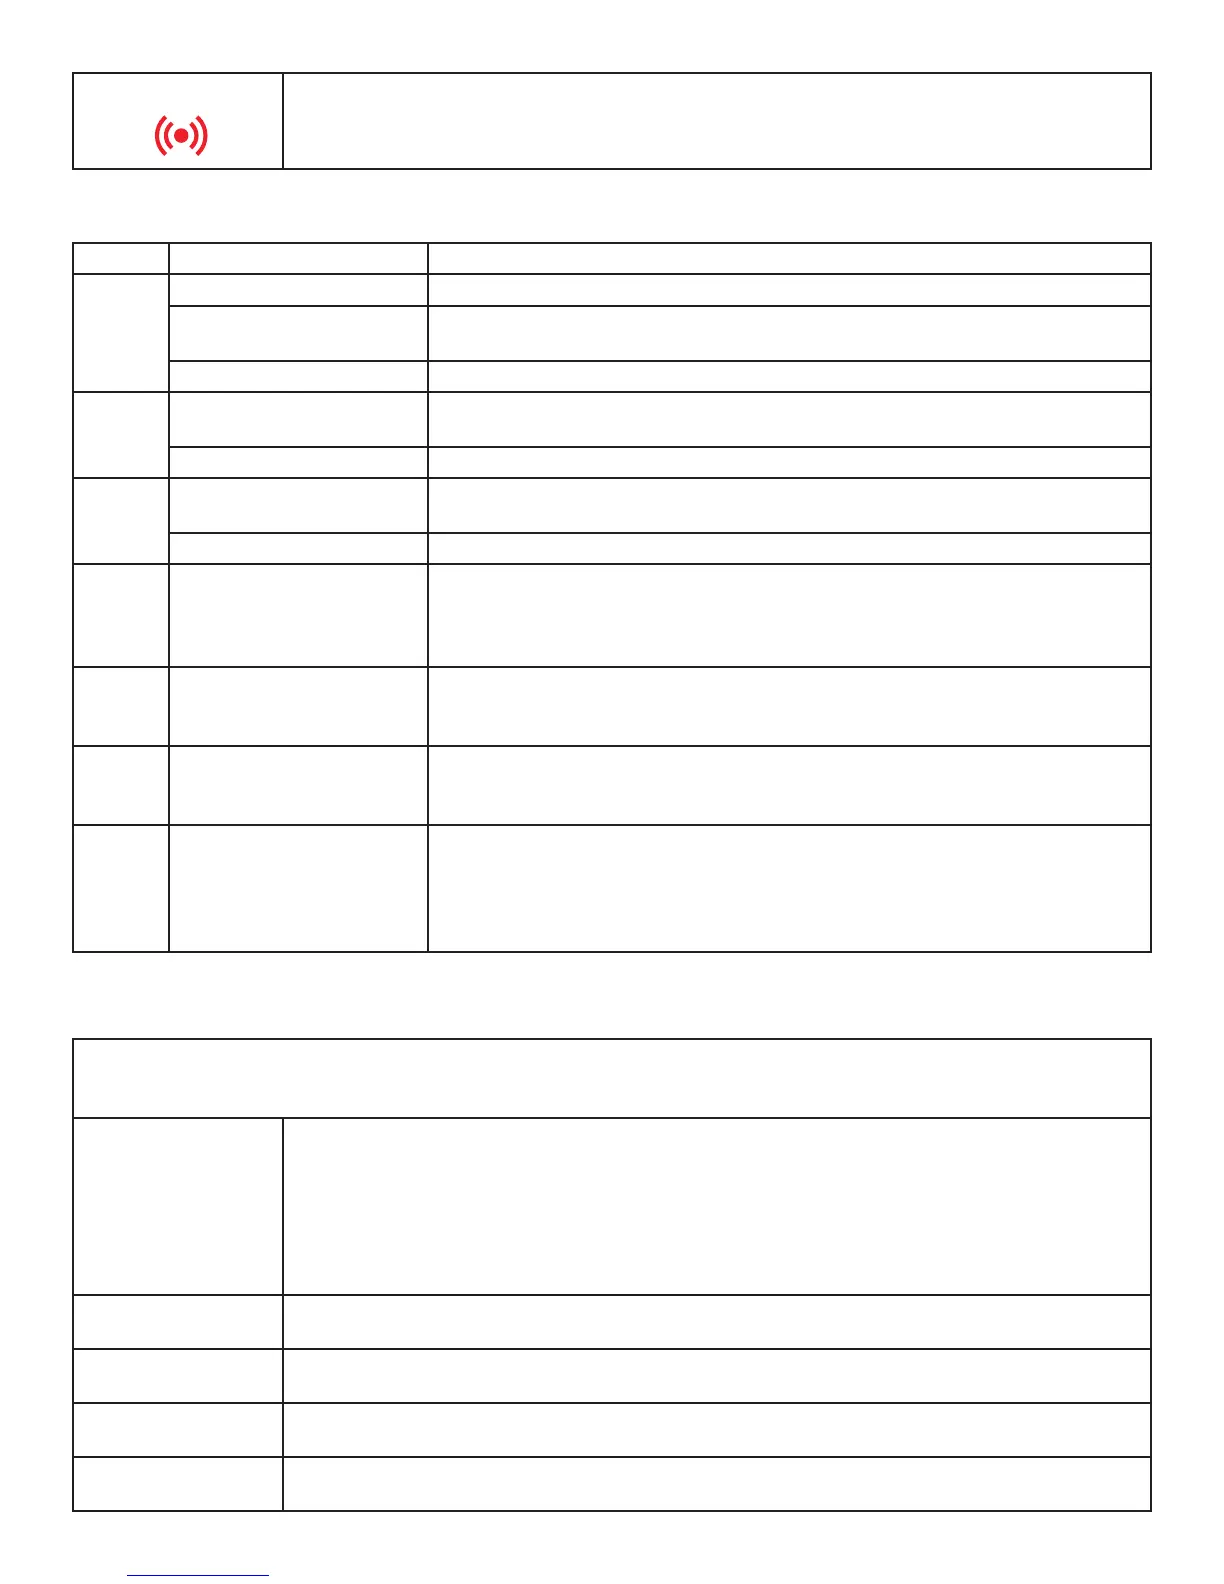
Alarm The Alarm symbol is shown and a audible buzzer will sound when the unit encounters an
issue that needs attention, the displayed alarm codes are explained below. To silence the
buzzer press any button, the alarm code will remain displayed until corrected.
Alarm Codes
CPSM (Customer Preference Selection Mode)
Message Cause Solution
“E1”
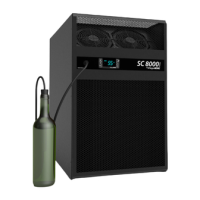
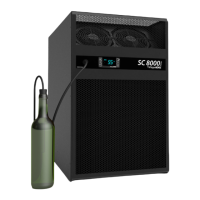
Bottle Probe is Unplugged Attach Bottle Probe to Unit.
Faulty Bottle Probe Connec-
tion
1. Check Bottle Probe attachment at circular connector.
2. Check Bottle Probe connection at the back of controller.
Defective Bottle Probe Replace the Bottle Probe.
“E2”
Faulty Evaporator Probe
Connection
Check Evaporator Probe connection at the back of controller.
Defective Evaporator Probe Replace the Evaporator Probe.
“E3”
Faulty Condenser Probe
Connection
Check the Condenser Probe connection at the back of the controller.
Defective Condenser Probe Replace the Condenser Probe.
“AH1”
The bottle probe is sensing a
temperature that is 4° above
the set point
1. Allow time for the wine to reach the desired temperature.
2. Make sure all windows and doors are closed and have a proper seal.
3. Follow the procedures in the pre-installation instructions to test the unit for proper
cooling.
“AL1”
The bottle probe is sensing a
temperature that is 4° below
the set point
1. Make sure unit is not in cooling mode. (the snowake symbol will not be lit)
2. Add heat to the room until the wine reaches the desired temperature.
“COH”
The condensing temperature
is above 145°
1. Check the condenser coil and clean if necessary.
2. Make sure the room to which the unit is exhausting is not more than 85°.
3. Make sure both condenser fans are working properly.
“Ad3”
Anti-frost ended on time-out 1. Check the evaporator coil for ice buildup. Unplug the unit and allow coil to thaw
before re-starting.
2. Make sure the room to which the unit is exhausting is not less than 60°.
3. If unit continues to go into continuous anti-frost cycles (every 5 minutes), call cus-
tomer service for more troubleshooting information.
Press and hold the set button for approximately 5 seconds to enter the CPSM menu.
“Fdc” will be displayed on the screen. Use the down arrow to access the following parameters.
Fdc
Humidity Management/
Enhancement
This parameter is set to 1 from the factory which should provide adequate relative humidity
for the cellar. An increase in this parameter will increase the Humidity Enhancement (%RH).
This parameter should not be adjusted below 1. Adjustments should be made in increments
of 5, with a maximum of 15 and a minimum of 1. After any adjustment to Humidity Enhance-
ment you should wait a minimum of three days before making any additional adjustments.
This will allow the cellar sucient time to acclimate to the new setting.
PA2 No adjustable settings in this parameter.
tab No adjustable settings in this parameter.
Rel No adjustable settings in this parameter.
loc Change this parameter from “n” to “y” to lock the keyboard from changes to the set point.