92
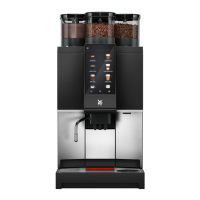
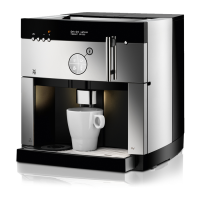
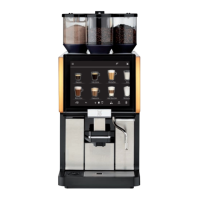
User Manual WMF1200 S
Overview of additional instructions
Overview of additional instructions
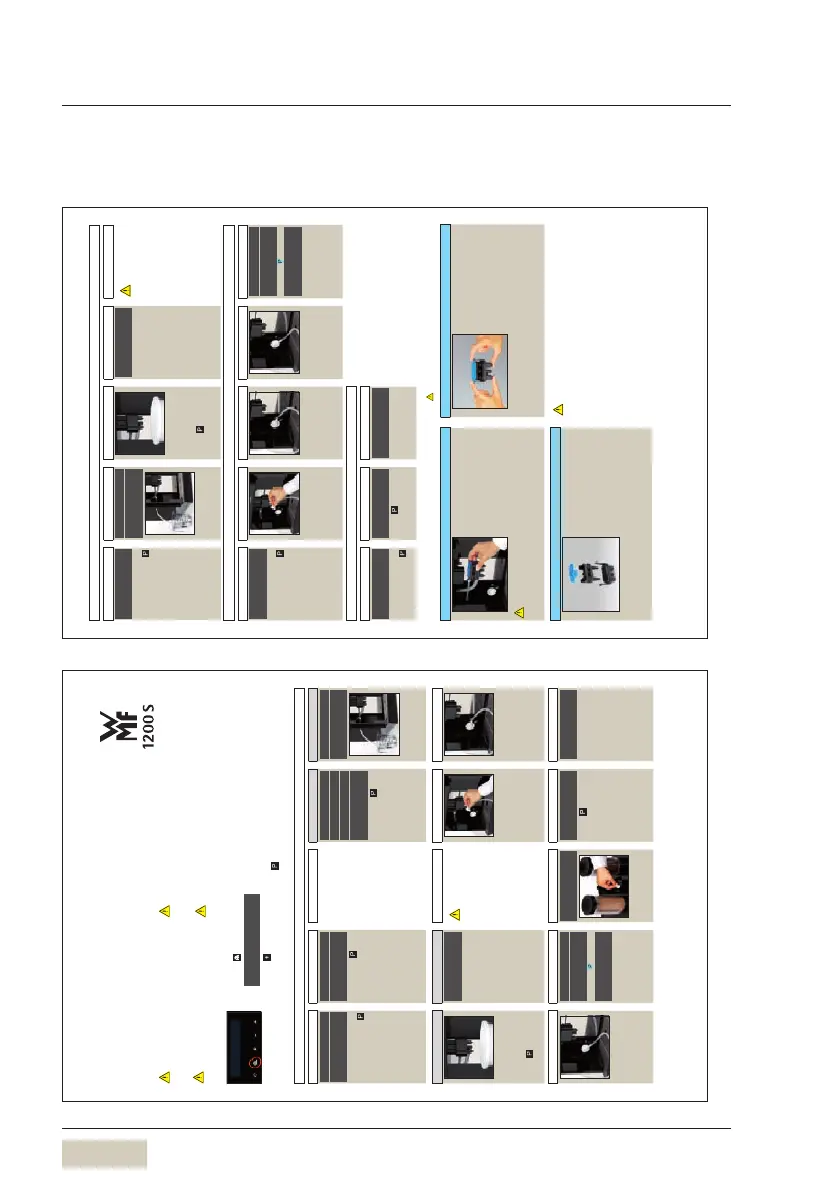
Milk system rinsing
1234
milk system rinsing
OK: P browse: -/+
Access the displayed
program by pressing
The display shows the
individual steps that must
be completed.
milk hose
in water
start: P cancel: C
Place acollection
container with approx.
2litres capacity under
the combi spout
Touch
Rinsing starts.
milk system rinsing
in progress
The milk system is rinsed
using hot water.
Hot water is drained
through the combi spout.
Caution
Never reach under
the spouts while
cleaning.
After the rinse, some
hot water remains in the
milk hose.
Hold the open end of the
milk hose over the drip
tray so that the remaining
rinse water can run out.
Prepare 0.3l of clear,
cold drinking water for
the water rinsing
Milk system cleaning Plug&Clean
Plug &C lea n
OK: P browse: -/+
Access the displayed
program by pressing
Open left machine door Insert the milk hose
with the Plug&Clean
adapter into the
Plug&Clean socket
Turn the adapter in
the socket by ⅛turn,
clockwise, until it stops
P&C adapter locked
in socket?
start: P cancel: C
Plug &C lea n
in progress
Remove the adapter
from the Plug&Clean
socket after rinsing
Mixer rinsing
123
mixer r insing
OK: P browse: -/+
Access the displayed
program by pressing
mixer r insing
start: P cancel: C
Touch
Mixer rinsing starts.
your selection pls
08:15 09.01.2013
After the mixer is rinsed,
the “Ready to operate”
display appears.
Clean the milk system manually at least 1x daily
Prior to cleaning switch off using the ON/OFF button. Disconnect mains plug.
Caution.
Carefully disconnect
themilk hose.
Pull forward the lever behind
the combi spout
Remove combi spout
Remove milk hose from milk
container and release from
combi spout
If fitted:
Release the mixer hose
ZUser Manual
Mix 5ml of WMFSpecial
cleaner with 0.5l of lukewarm
water
Dismantle combi spout
Immerse one end of the milk
hose in the cleaning solution
Immerse the length of the
remaining milk hose in the
cleaning solution
This procedure prevents air
bubbles from remaining in the
milk hose.
Place all parts of combi spout
in the cleaning solution
(3parts)
All parts must be completely
immersed in the cleaning
solution.
C
Notes
Foamer cleaning:
for intermediate milk system cleaning, see “Milk system cleaning”.
Clean combi spout manually - without Plug&Clean
perform at least once per day.
Clean combi spout manually - with Plug&Clean
perform at least once per week.
After Plug&Clean cleaning:
the cleaned milk hose can be stored with the adapter in the closed
cooler.
After 5hours, rinse all combi
spout and milk hose parts
If fitted:
Rinse mixer hose very
thoroughly
Reassemble combi spout
Replace combi spout
Insert milk hose
If fitted:
Insert mixer hose
33 2603 0010 12.2014
Cleaning instructions WMF1200 S
Please refer to the User Manual.
Prior to the first cleaning, read and follow the User Manual 1200 S.
Follow the overview of the cleaning interval
schedule in the Care chapter in the User Manual.
Prior to the first cleaning, read the Care chapter in
the User Manual.
For all automatic cleaning programs, the combi
spout, the milk nozzle, and the milk hose must
beinstalled.
Never reach under the spouts while cleaning. Always firmly attach the mixer hose so that no
hotwater accidentally drips down.
Call up the care programs
Access acare program without amessage having appeared on the display.
Touch
Touch until the desired program is displayed
Access the displayed program by pressing
Cleaning programs
Machine cleaning
1 2 3Standard 4standard
cleaning
switching off
OK: P browse: -/+
Access the displayed
program by pressing
The display shows the
individual steps that must
be completed.
empty drip tray
empty grounds cont.
OK: P cancel: C
Confirm with that
the drip tray and the
grounds container has
been emptied
Using standard cleaning
Continue with steps
3–6, standard
With Plug&Clean
Continue with steps
3–6, Plug&Clean
Soak co mbi spout
in cleaning solution
at least
once p er day
OK: P cancel: C
Confirm with
milk hose
in water
start: P cancel: C
Prepare 0.3l of clear,
cold drinking water for
the water rinsing
5standard 6standard 3Plug&Clean 4Plug&Clean
Place acollection
container with approx.
2litres capacity under
the combi spout
Touch
Rinsing starts.
milk system rinsing
in progress
The milk system is rinsed
using hot water.
Hot water is drained
through the combi spout.
Continue with Step 7
Caution
Never reach under
the spouts while
cleaning.
After the rinse, some
hot water remains in the
milk hose.
Hold the open end of the
milk hose over the drip
tray so that the remaining
rinse water can run out.
Open left machine door Insert the milk hose
with the Plug&Clean
adapter into the
Plug&Clean socket
5Plug&Clean 6Plug&Clean 7 8 9
Turn the adapter in
the socket by ⅛turn,
clockwise, until it stops
P&C adapter lockedP&C adapter locked
in socket?
start: P cancel: C
Plug &C lea n
in progress
Remove the adapter
from the Plug&Clean
socket after rinsing
insert tablet
into manual insert
Add acleaning tablet
and close the cover
start: P
Touch
Machine cleaning starts.
If choc beverages have
been dispensed, the
machine cleaning starts
with mixer rinsing.
cleaning in progress
time re main: 7 min
Duration approx.
7minutes.
A minute countdown timer
shows the time remaining
in the cleaning cycle.
your selection pls
08:15 09.01.2013
Care pad
select clean.program
browse: -/+


 To Next Page