13
Compartment installation
The appliance may be installed in any room, although
particular attention is drawn to the requirements of the
IEE regulations applicable and in Scotland the electrical
provisions with respect to installation in a room containing
a bath or shower.
1. The room in which the appliance is installed does not
require a purpose provided air vent.
2. If the appliance is installed in a cupboard or
compartment with dimensions that allow the following
minimum clearances, then no ventilation is required:
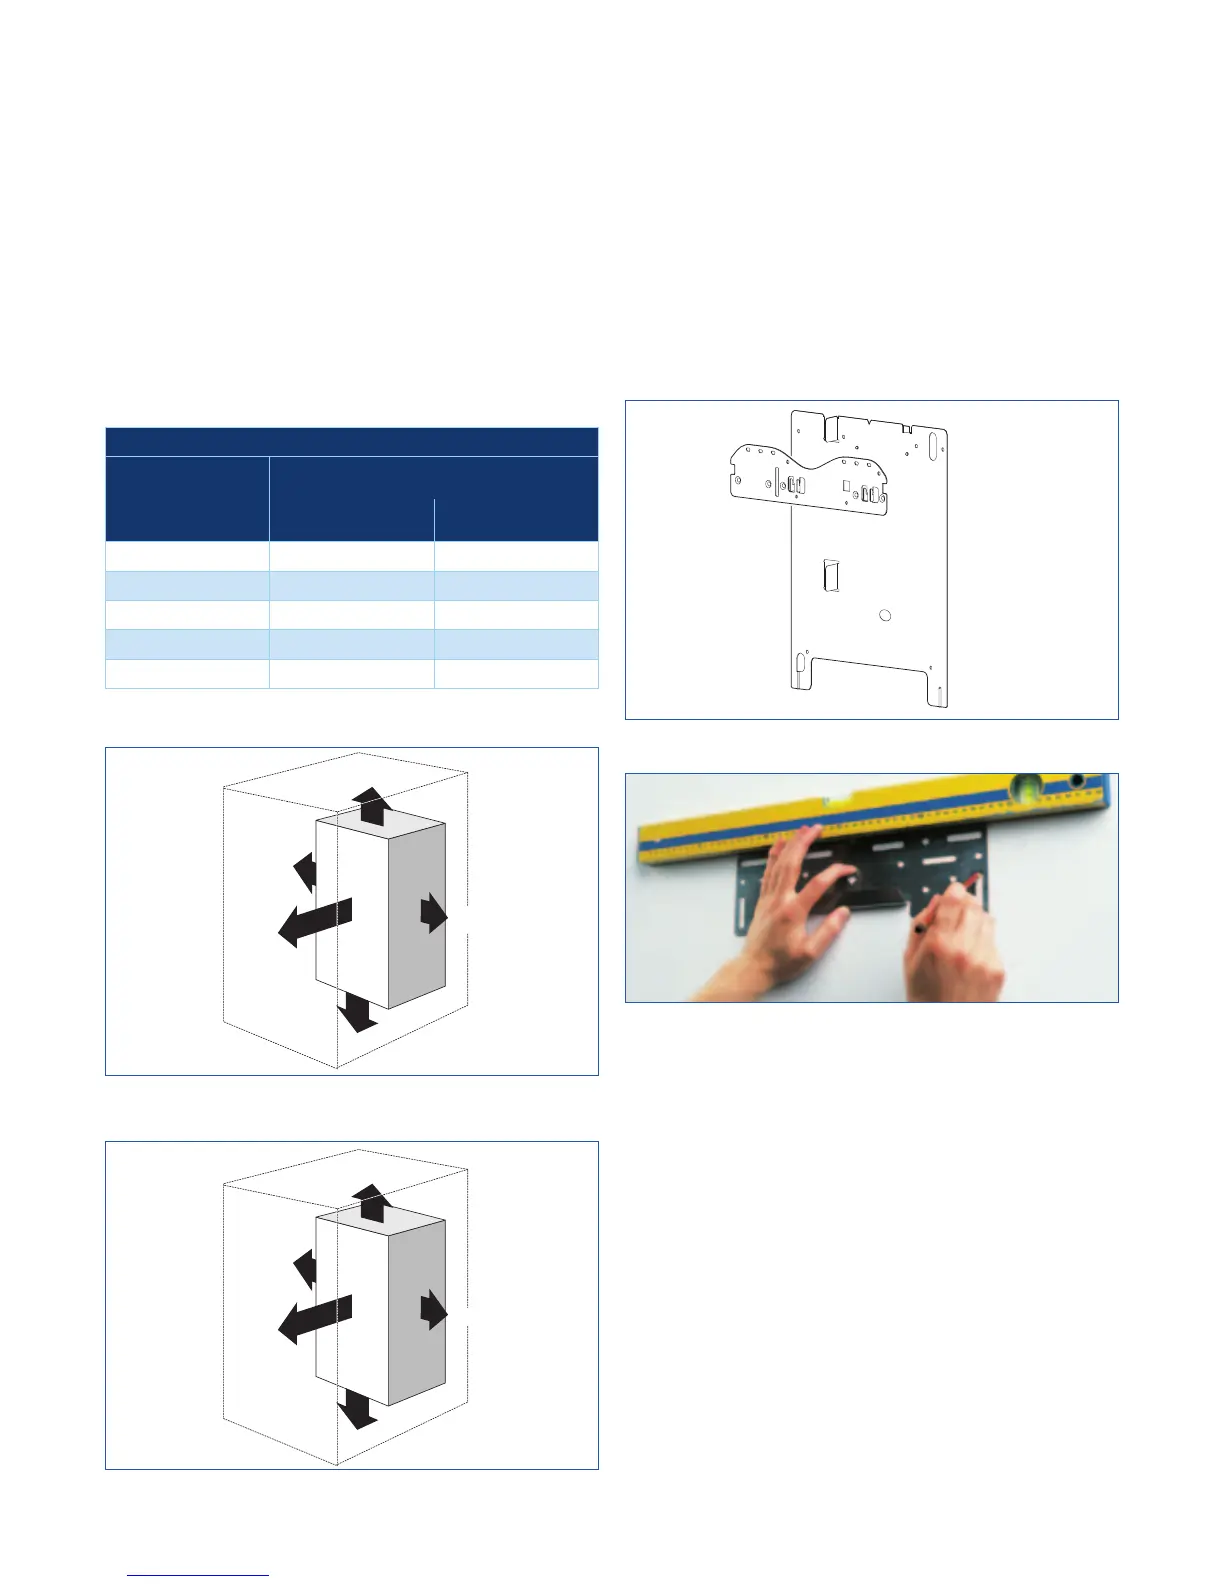
Greenstar CDi Classic Regular wall mounting jig
Wall preparation
The following diagrams show the wall mounting jigs which
enable a simple and straightforward method of attaching
the boiler to the wall surface.
The wall mounting jig for the Greenstar CDi Classic Regular
has additional optional fixing points and provides improved
engagement. After fixing the jig to the wall, the appliance
can be lifted onto the jig and the union connections
tightened. The pipework can be routed behind the boiler
without the need for an additional wall spacing frame.
Greenstar Ri boilers come complete with a wall mounting
bracket which enables a simple and straightforward method
of attaching the boiler to the wall surface. After fixing to the
wall, the flow, return and gas supply can be connected. The
boiler also features levelling screws which allow the alignment
to the wall to be adjusted in line with the wall finish. This is
particularly useful on uneven walls and tiled surfaces.
Greenstar Ri pipe re-orientation
The flow and return pipework can be orientated to exit out
of the bottom of the appliance if desired. The pipework tails
are simply removed from the compression fittings and are
directed downwards behind the chassis.
+30mm
above elbow
200mm*
200mm*
200mm
100mm to
removable door
600mm front
clearance for
service



 To Next Page