SHARPENING OUTDOOR KNIVES | 17
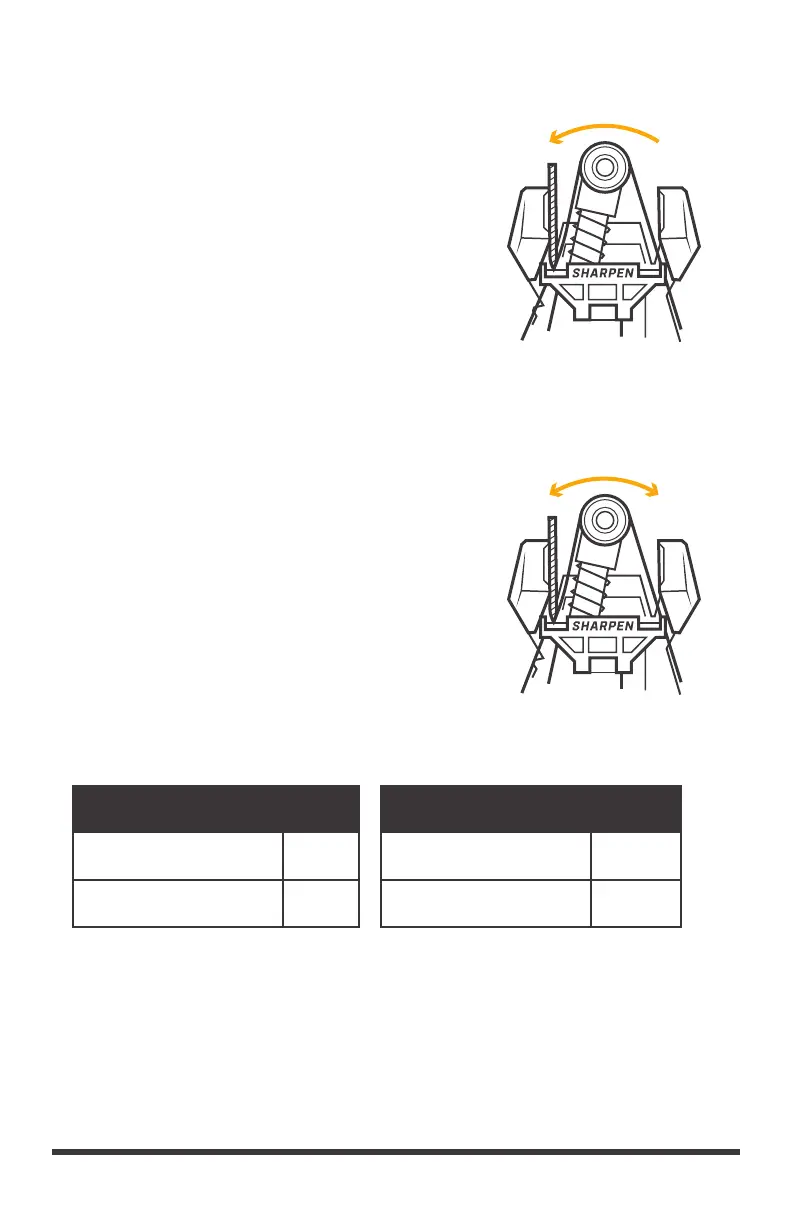
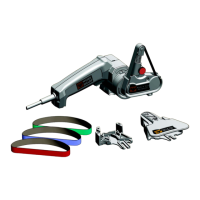
SHARPEN
P220 RED × 10
6000 PURPLE × 10
RE-SHARPEN
P220 RED × 2 - 6
6000 PURPLE × 10
ALTERNATE
LEFT SIDE
* Some knives with thumbstuds, flipper tabs, or forward swept handles may require
you to lower the Edge Guide to allow the entire length of the blade to be sharpened.
** If the knife is very damaged, and/or if chips need to be removed use #2 Speed.
STEP 3 (OPTIONAL)
Remove red belt, install PURPLE 6000 BELT.
Hone the knife by alternating sides evenly until burr is
removed (5 strokes per side, 10 strokes total).
RE-SHARPENING: When re-sharpening, use the RED
BELT until a burr is formed, then the PURPLE BELT for
5 strokes per side.
STEP 2
Repeat STEP 1 now using the LEFT SIDE of guide.
Make the same number of strokes as performed on
the right side.
Your knife should now be “toothy sharp”. If you
choose, you can proceed with the PURPLE 6000
GRIT BELT and hone the edge for even sharper
results!