oPeraTinG inSTrucTionS
NOTE: Before using the tool, read the instruction
book carefully.
INTENDED USE
The machine is intended for ripping and cross-cutting
wood and other materials in straight cutting lines, while
resting firmly on the work piece.
aSSeMBly
1. INSTALL /CHANGE THE BLADE
WARNING:
• Before any work on the machine itself, unplug
the saw.
• Wearprotectivegloveswhenmountingthe
saw blade. Danger of injury when touching the saw
blade.
• Onlyusesawbladesthatcorrespondwith
the characteristic data given in the operating
instructions.
• Donotusegrindingdiscsonthiscuttingtool
under any circumstances.
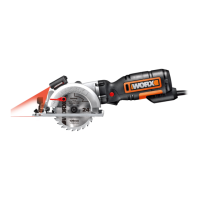
1) Insert the small “L” spanner(4) into the center bolt hole
on the back of the spindle assembly. ( See Fig. A)
2) Place the large “L” spanner (3) into the blade spindle
clamping screw (17) , while keeping the small
“L” spanner in the center bolt hole on the back of
the spindle assembly. Turn the large “L” spanner
clockwise while holding the small “L” spanner
stationary. Remove the screw (17) and the blade
clamping washer (18). After the washer is removed,
slide the blade off the spindle and through the blade
slot at the bottom of the saw.
( See Fig. B1, B2)
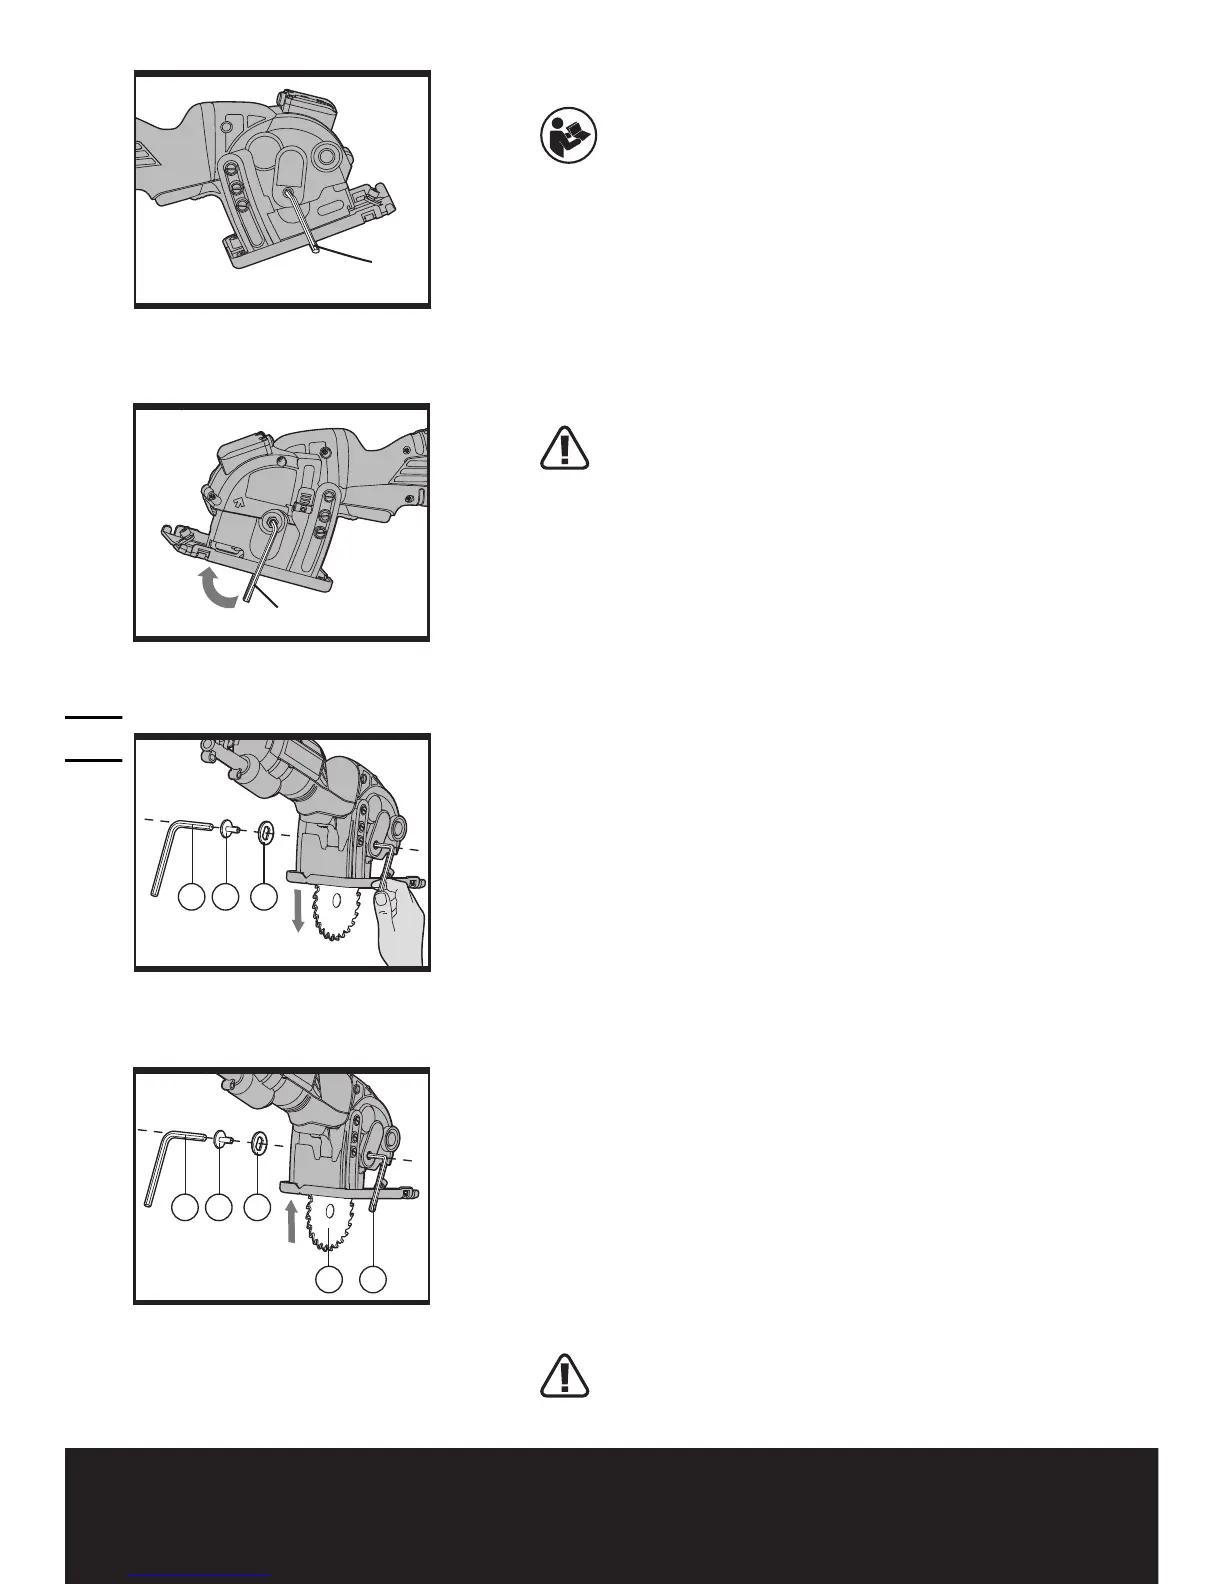
3) Clean the replacement saw blade and all the
clamping parts to be assembled. Slide the saw blade
up through the slot and fit it onto the inner spindle.
Assemble the blade clamping washer (18) and the
spindle clamping screw (17). Use the two spanners
to tighten the spindle clamping screw thoroughly.
(See Fig. C)
NOTE: The steps involved in changing the blade are
the same as the steps used when installing the blade.
NOTE: Remove both spanners after the saw blade
is tightly attached.
WARNING: When mounting, ensure that the
cutting direction of the teeth (direction of arrow

 Loading...