13
Compact circular saw WX427
to hold down the spindle lock button (5) and attempting
to manually rotate the blade. If installed correctly, the
blade should not spin.
For best cutting results, use a saw blade suited to the
material and cut quality desired.
3. ADJUSTING THE CUTTING DEPTH
- Release the Depth Adjustment Lever (11) by lifting it
up.
- Manually push the base plate (12) up or down to the
desired depth on the scale.
- Push the Depth Adjustment Lever (11) back down to
lock the base plate at the desired depth.
- Always add 1/8” (3 mm) to the depth of cut to ensure
the blade has enough clearance to cut completely
through the material.
4. PARALLEL GUIDE (See Fig. B)
The parallel guide is used for making long, straight rip
cuts.
Slide the parallel guide (16) through the parallel guide
clamping fixture (17) to the desired cutting distance and
tighten the clamping screw to lock into position. Do not
over tighten. It can be used from either side of the base
plate (12).
5. ADJUSTING THE CUTTING ANGLE
(See Fig. C1, C2)
Release the Bevel Adjustment Lever (18) by pushing it
in the counter-clockwise direction.
-Manually tilt the base plate (12) up or down to the
desired depth on the scale.
-Secure the Bevel Adjustment Lever (18) by pushing
it back down (clockwise) to lock the base plate at the
desired depth.
NOTE: The location of the blade cut-line will change
depending on the bevel angle that is being used. The
blade cut-line location when cutting at 90 degrees or 45
degrees is marked with a notch on the front of the base
plate (12).
The base plate (12) must always be held firmly against
the material being cut to reduce saw vibration, blade
jumping, or blade breakage.
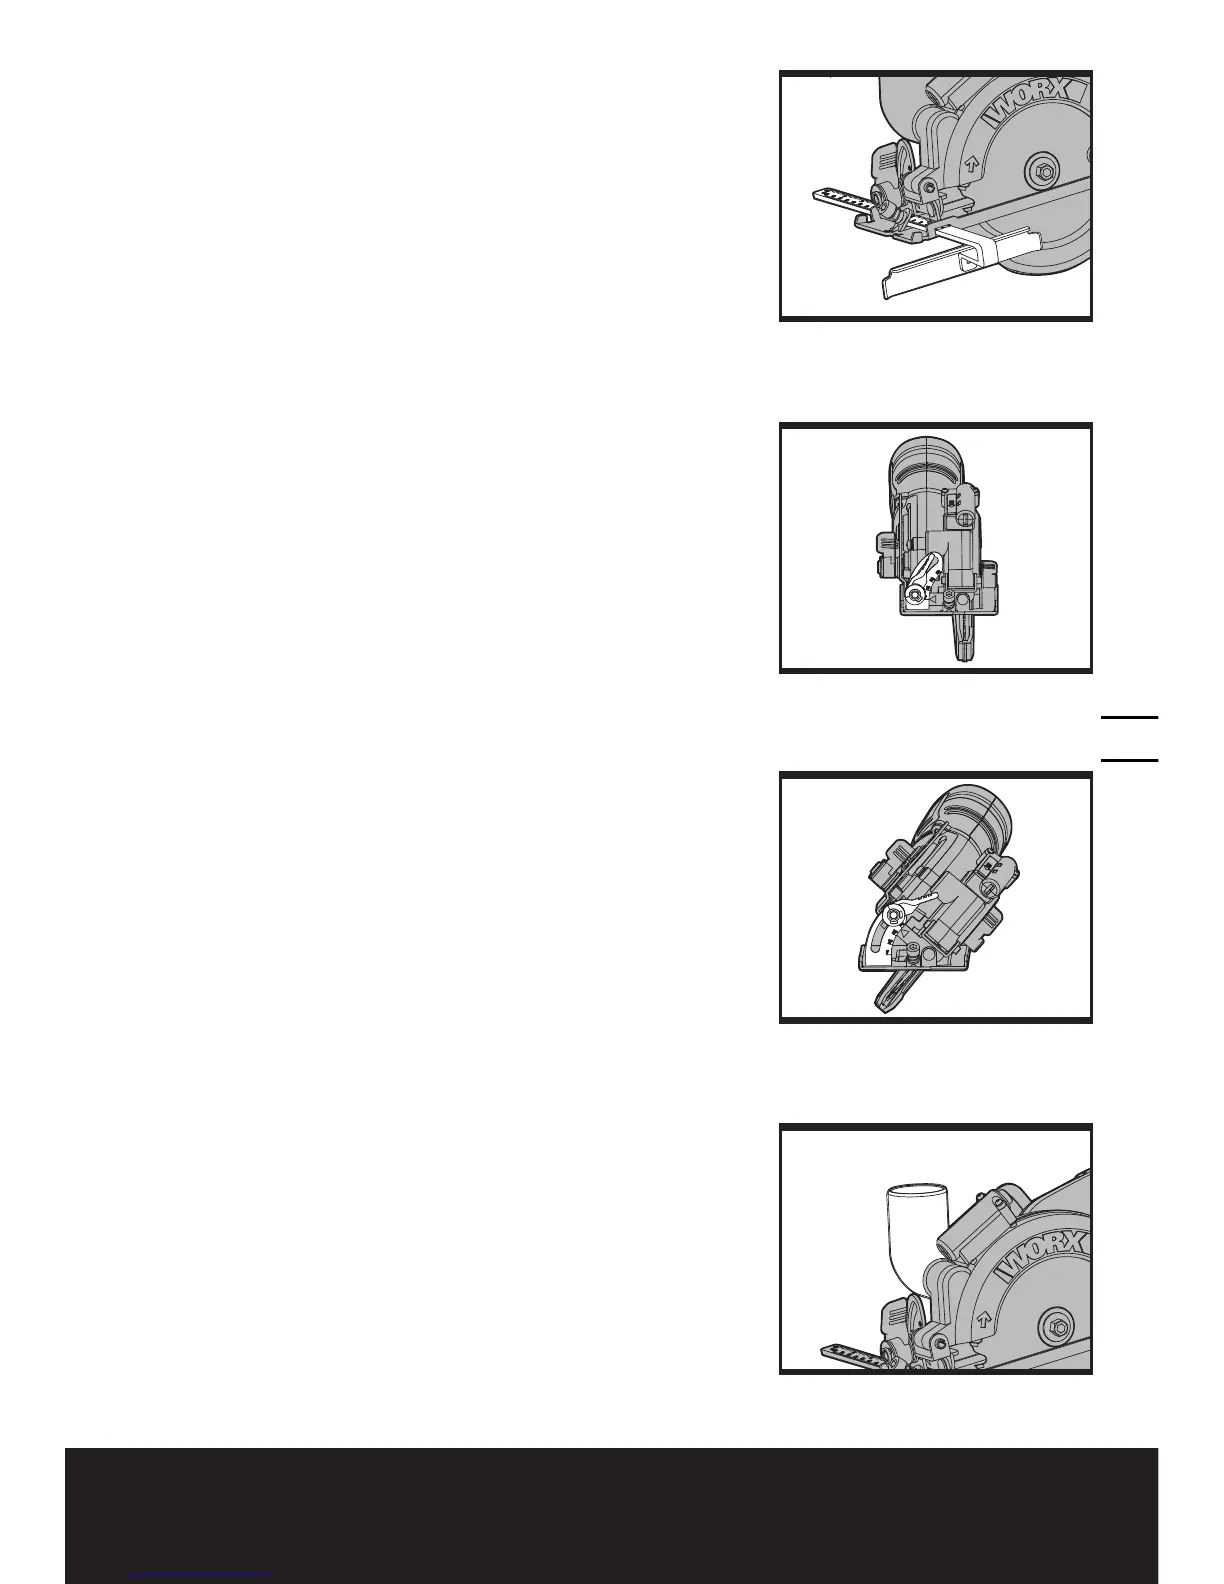
6. SAWDUST REMOVAL (See Fig. D)
Your saw includes a vacuum adapter (10) that attaches
to the dust extraction outlet (9) on the saw. This
adapter port can be attached to a vacuum cleaner
(sold separately). The use of the vacuum is strongly
recommended as it keeps the work area clean,
dramatically increases cut visibility and reduces

 Loading...