Release 1.2 19
Section 2. Installation
Introduction
This section provides recommendations and procedures for inspecting, installing,
and testing the power supply.
Basic Setup Procedure
Table 2.1 Basic Setup Procedure
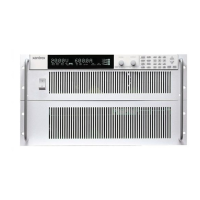
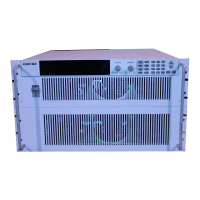
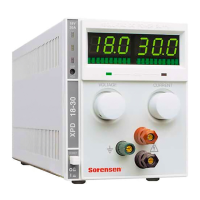
Initial Inspection
Verify that the power supply was shipped with an IEC power cord set appropriate to
the destination country, two 2-position terminal block jumpers, and an operating
manual. When you first receive your unit, perform a quick physical check.
1. Inspect the unit for scratches and cracks, broken switches, connectors, terminals,
and missing accessories.
2. Have a service technician check the unit if you suspect internal damage.
If the unit is damaged, save all packing materials and notify the carrier immediately.
See instructions in “Packaging for Shipping or Storage” on page 21.
Periodic
Cleaning
No routine servicing of the power supply is required except for periodic cleaning.
Whenever a unit is removed from operation, clean the outside surfaces with a weak
solution of soap and water. If required, use low-pressure compressed air to blow dust
from in and around components on the printed circuit boards.
Step# Description Action Reference
1 Inspection Perform an initial physical
inspection of the supply.
“Initial Inspection” on page 19
2 Installation Install the supply and
ensure adequate ventilation.
“Location and Ventilation” on
page 22
3 Test Perform functional tests for
voltage mode operation,
current mode operation, and
front panel controls.
“Functional Tests” on page 24
 Loading...