EasyManuals Logo

Xerox DocuMate 252 User Manual

Xerox DocuMate 252
133 pages
To Next Page IconTo Next Page
To Previous Page IconTo Previous Page
Page #86 background imageLoading...
Page #86 background image
DocuMate 252 Scanner User’s Guide 81
Scanning
To Transfer Documents to a Server or Mapped Drive
When selecting the storage location for scanned documents, you
can select a local folder, or a folder on a server or mapped
drive.You select a mapped drive using the Browse button. See
“The Storage Options Tab (Archive)” on page 57 for more
information about storage options.
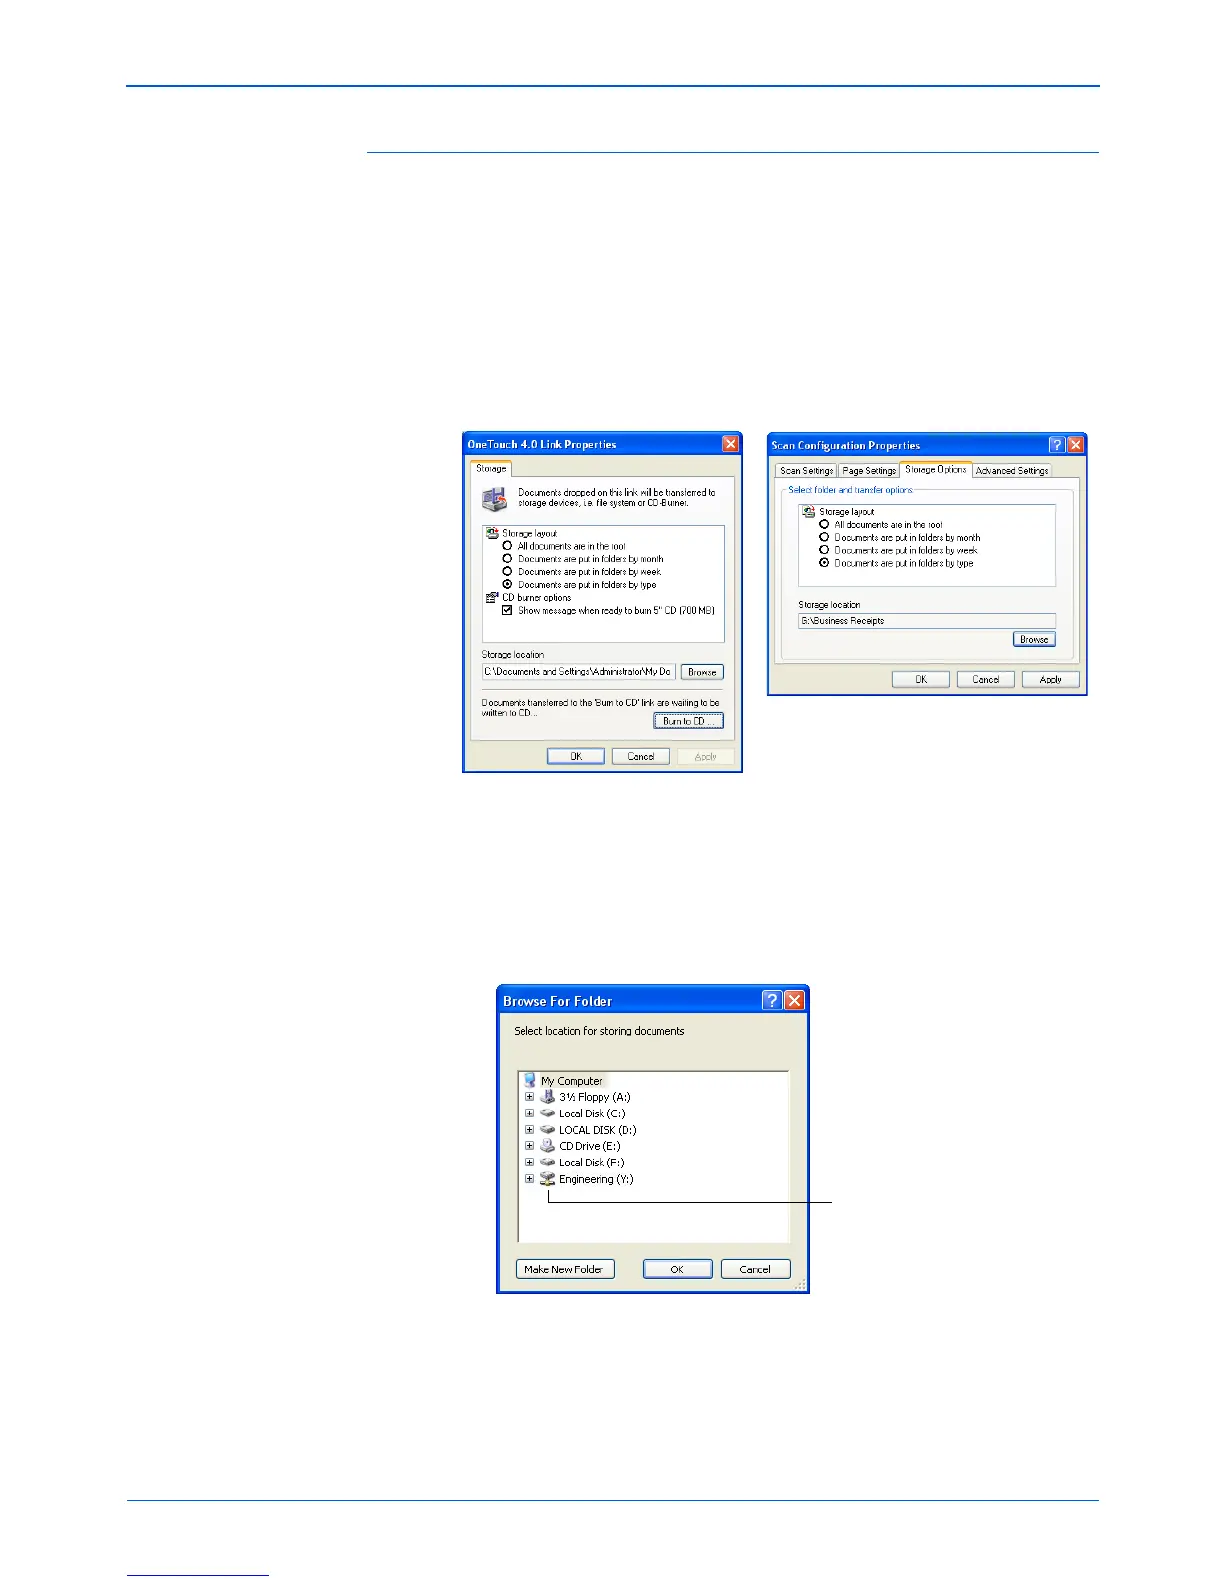
1. On either the One Touch 4.0 Link Properties window, or from
the Scan Configuration Properties window, click the Browse
button.
The Browse For Folder window opens.
2. Select a storage location on the mapped drive or server for the
scanned documents.
Servers and mapped drives are represented by an icon that
indicates its network connection.
3. Click OK.
Now when you scan using Transfer to Storage as the
Destination Application, the documents are stored on the
server or mapped drive.
Select a mapped drive or
server as indicated by the
icon.

Table of Contents

Questions and Answers:

Question and Answer IconNeed help?

Do you have a question about the Xerox DocuMate 252 and is the answer not in the manual?

Xerox DocuMate 252 Specifications

General IconGeneral
Film scanningNo
Color scanningYes
Input color depth48 bit
Maximum scan size215 x 355 mm
Optical scanning resolution600 x 1200 DPI
Scanner typeSheet-fed scanner
Sensor typeCCD
Dimensions (WxDxH)330 x 310 x 150 mm
Minimum system requirements- Pentium II - Windows 2000/ME/XP - 128MB of RAM - 200MB hard disk space - CD-ROM - USB
Sustainability certificatesENERGY STAR
Weight and Dimensions IconWeight and Dimensions
Weight3900 g

Related product manuals