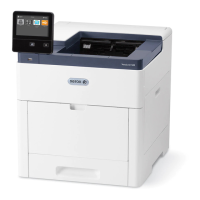
Configuring the Primary Network at the Control Panel
You can set the primary network connection type at the device control panel.
Note:
• A Primary Network setup is required only if the optional Wi-Fi network connection kit is installed and
enabled.
• By default, without a Wi-Fi network connection, the primary network is set to Ethernet. When the kit is
installed and enabled, the device acquires two network connections. One network connection is primary,
and the other network connection is secondary.
• The following features are available only over the primary network connection:
– IPsec
– SMTP
– SNTP
– WSD scan
– Scan to SFTP, Scan to SMB, Scan to Email
– LDAP
– UPnP discovery
– ThinPrint
– EIP Web Service
• If you remove the Wi-Fi network connection module, the primary network connection is set to Ethernet.
To configure the primary network at the control panel:
1. At the printer control panel, press the HHoommee button.
2. Log in as administrator. For details, refer to the System Administrator Guide at www.xerox.com/support/
VLB600_VLB610docs.
3. Touch DDeevviiccee >> CCoonnnneeccttiivviittyy >> PPrriimmaarryy NNeettwwoorrkk.
4. Select the appropriate network connection type for the device.
5. To apply the changes and restart the device, at the prompt, touch RReessttaarrtt NNooww.
Resetting Wireless Settings
If the printer was previously installed in a wireless network environment, it could retain setup and configuration
information. To prevent the printer from attempting to connect to the previous network, reset the wireless settings.
To reset the wireless settings:
1. At the printer control panel, press the HHoommee button.
2. Touch DDeevviiccee >> CCoonnnneeccttiivviittyy >> WWii--FFii.
3. Touch the network selection that you want to reset.
4. Touch FFoorrggeett TThhiiss NNeettwwoorrkk.
Xerox
®
VersaLink
®
B600/B610 Printer User Guide 45
Getting Started

 Loading...


