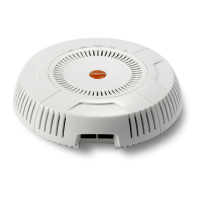
Wireless Access Point
Using Tools on the Wireless AP 417
• history/saved-yyyymmdd-hhmm.conf: The setting values that were
explicitly saved using the Set Restore Point button (see Step 4
below).
Click Update to update your configuration settings by appending to the
current AP configuration. Click Restore to replace the AP configuration
with the configuration file selected.
Note that the History folder allows a maximum of 16 files. The oldest file
is automatically deleted to make room for each new file.
4. Save to Local File: There are a few options for explicitly requesting the
AP to save your current configuration to a file on the AP:
• To view the list of configuration files currently on the AP, click the
down arrow to the right of this field. If you wish to replace one of
these files (i.e., save the current configuration under an existing file
name), select the file, then click Save. Note that you cannot save to
the file names factory.conf, lastboot.conf, and saved.conf - these files
are write-protected.
• You may enter the desired file name, then click Save.
• Click Set Restore Point to save a copy of the current configuration,
basing the file name on the current date and time. For example:
history/saved-20100318-1842.conf
Note that the configuration is automatically saved to a file in a few
situations, as described in Step 3 above.
5. Apply Quick Configuration Template: This offers predefined
configuration options such as Classroom and High-Density that capture
best practices from years of field experience. If one of the options in the
drop-down list is appropriate to your deployment, select it and click
Important! When you have initially configured your AP, or have made
significant changes to its configuration, we strongly recommend that you
save the configuration to a file in order to have a safe backup of your working
configuration.

 Loading...