Page 14 MX Series — MX36 Operating Instructions
t
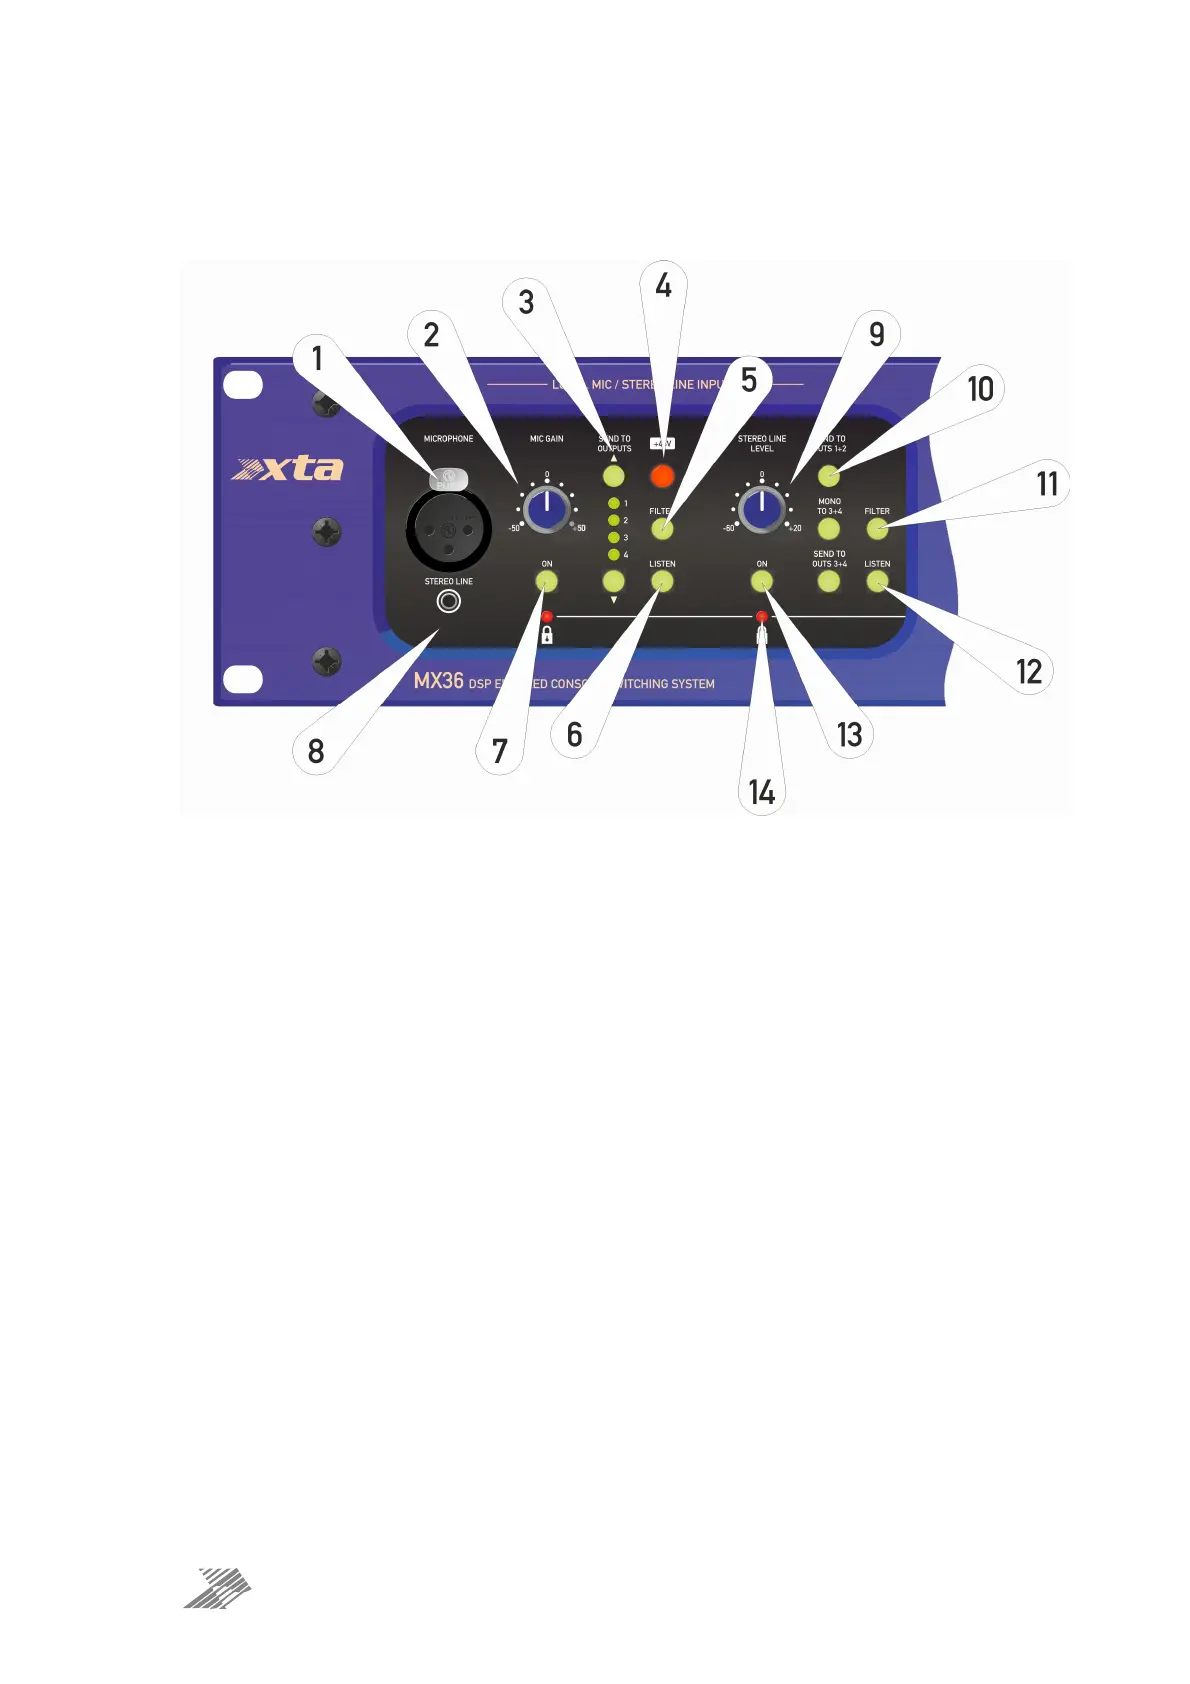
Outside Your MX36: Front Panel Controls and Indicators
Local Mic / Stereo Line Inputs
1: Microphone Input: Plug in a balanced mic to use for announcements — this socket is
mirrored on the rear panel (both sockets are connected in parallel).
2: Microphone Gain: The gain range has been designed to cater for passive, active and
wireless mic systems. The 12 o’clock position is 0dB gain and should be used when
connected to the output of a wireless microphone receiver. Turn the control clockwise from
12 o’clock to increase the gain for use with passive microphones. Turn the control anti-
clockwise from 12 o’clock to adapt the input to line levels.
3: Microphone Send to Outputs Selects: Use the up and down buttons to cycle through preset
routings to the main outputs, as shown on the LED column.
4: 48V phantom power: Press and HOLD to enable phantom power on both front and rear
mic XLR sockets.
5: Microphone Filter: Enable a high pass filter and sweetening EQ for the mic input. This
effect can be previewed via the listen function. The filter’s response is shown in Appendix I on
page 30.
6: Microphone Listen: Press to hear the microphone signal through the headphones. Set the
gain accurately by using the meter in Line Monitor section. Note that this will interrupt the
current line signal being monitored. The button will flash to show this is active.
7: Microphone ON: Toggle the Microphone signal to the outputs as selected by 3.