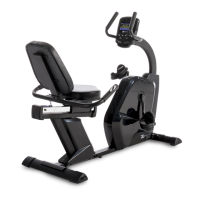
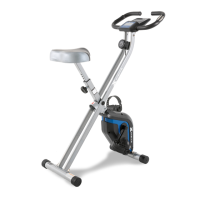
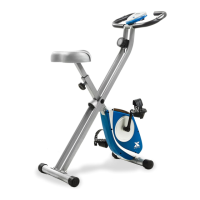
SB250 Recumbent Bike
9
Seat Assembly
4
Hardware Step 4
1 Ball End Cap (#35)
Preassembled on
Cover:
4 Self Tapping Screws
(#26)
Preassembled on
Tube:
6 Screws (#28)
Preassembled on
Front Post:
2 Self Tapping Screws
(#55)
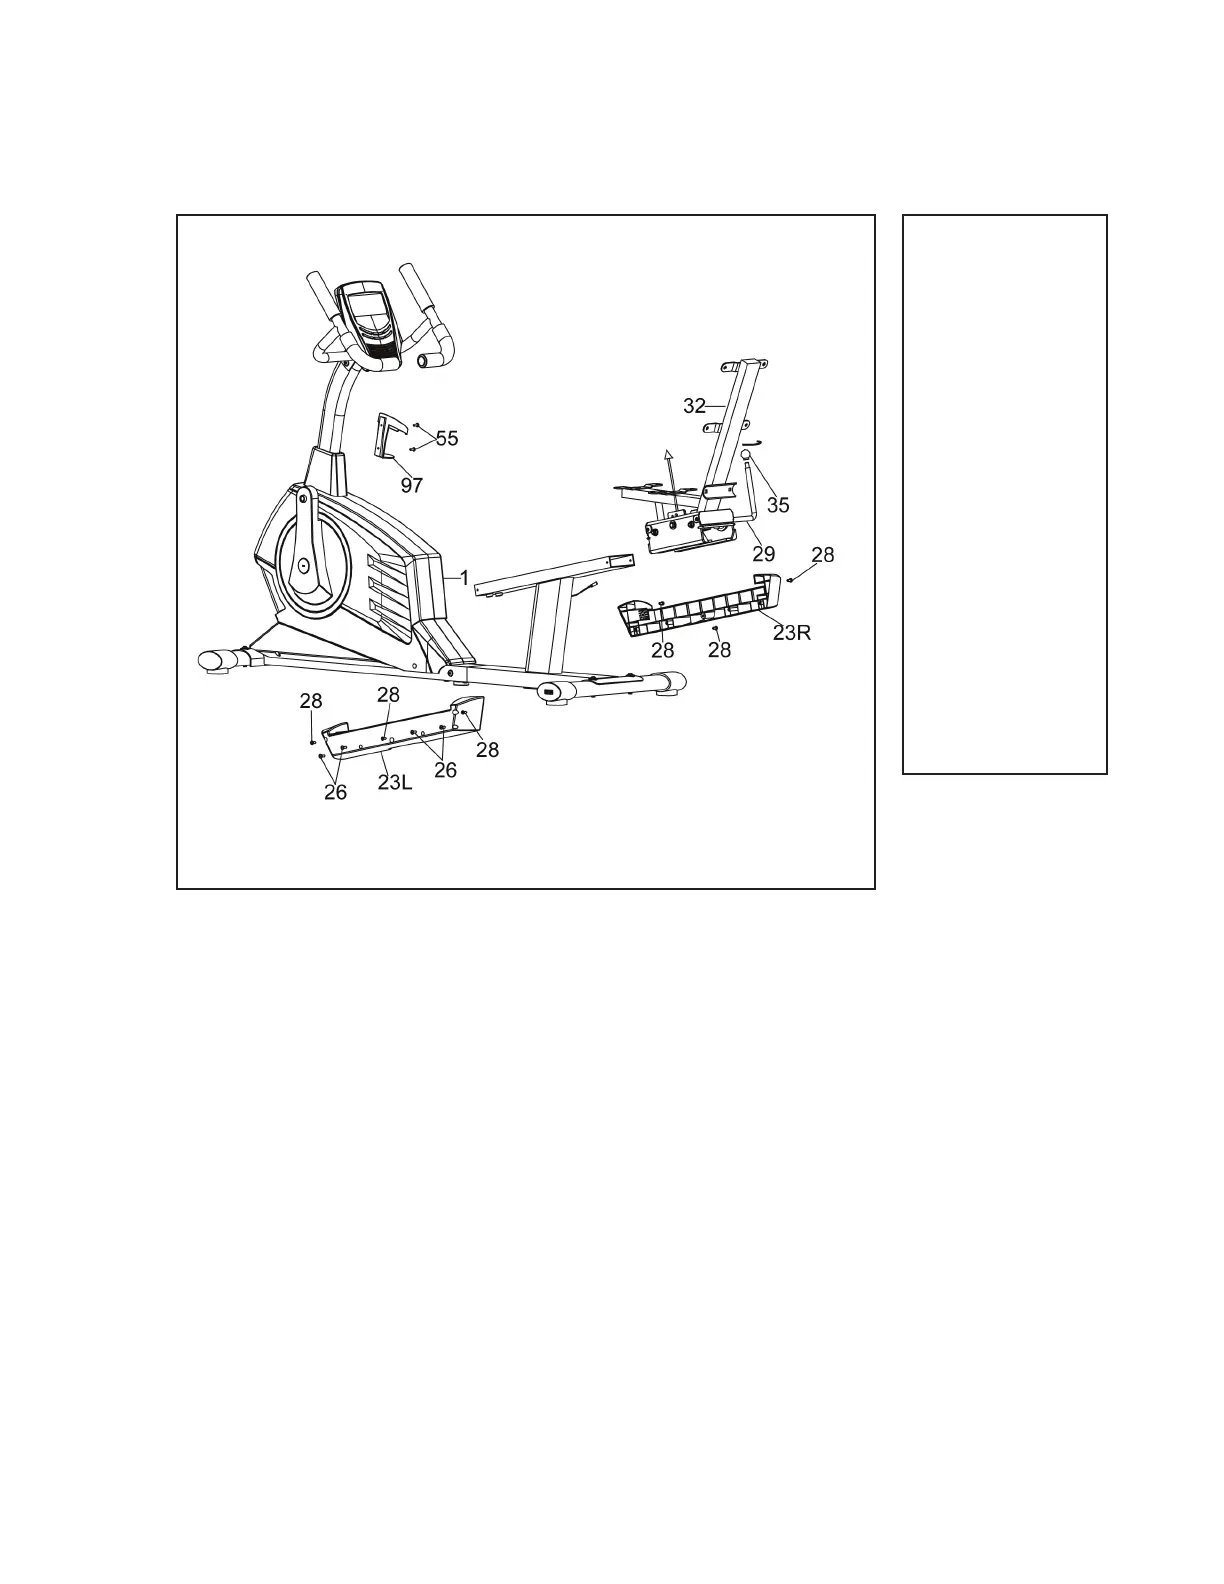
1. Thread the ball end cap (35) to the quick release handle (29). Note thread on clockwise.
2. Pull up the brake bracket (94) and the quick release handle (29).
3. Slide the seat support bracket (32) into the rear support tube (7). Secure by pressing
down the brake bracket (94) and quick release handle (35). Attach left sliding tube cover
(23L) to the left side of the seat support bracket (32). Secure using four self tapping
screws (26) which are pre-assembled on the left cover for sliding tube (23L) and three
screws (28) which are pre-assembled on the rear support tube (7).
4. Attach the right sliding tube cover (23R) to the right side of the seat support bracket (32).
5. Secure using three screws (28) which are pre-assembled on the rear support tube (7).
6. Attach the bottle holder (97) to the front post (4). Secure using two self tapping screws
(55) which are pre-assembled on the front post (4).
 Loading...