115 V models are supplied with an input power supply cable with NEMA 5-15 plug.
Connect the plug to a NEMA 5-20 GFCI receptacle. 230V models are supplied with an
input power supply cable with a NEMA 6-20 plug. Connect the plug on 230V models to a
NEMA 6-20 GFCI receptacle. The receptacle must be protected by a circuit breaker. Refer
toTechnical data on page 7 for circuit breaker sizing. The receptacle must be wired and
installed according to the environmental conditions of the installation. Install the system
making sure that the plug and socket can be easily accessed for deactivating the system.
Do not attempt to replace the power cables included with the controller. All models must
be connected to a dedicated circuit. The receptacle must be installed to comply with the
environmental conditions of the installation. All wiring must comply with the NEC, CEC
and authority having jurisdiction. The power cable of the motor must NEVER be laid
parallel to the power cable of the controller. Do not route the wires feeding the receptacle
in parallel with other wires for more than 12".
Although the controller has a single-phase power supply, some models have a 3 phase
230V pump motor. The missing phases are created by the controller.
4.4.3 Low water input connection
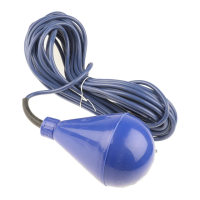
The Low Water Input allows connection of a pressure or float switch which is used to start
and stop the pump. Refer to Table 3 for details on how to enable the input. When the
input is enabled, the pump will run when the input is closed. The controller will stop the
pump and issue an A1 alarm when the input is open.
1. Turn off power and wait 5 minutes.
2. Unfasten the 6 screws and open the FRONT cover.
Figure 5
3. If required, connect the cable of the level switch or pressure switch to the digital input
to prevent dry running of the pump. The electrical contact must be normally open
when an alarm is triggered. Use 2 conductor, 18 to 14AWG cable will fit in terminals
for input. Tighten terminals to 4 in-lb.
4. Insert the cable in the cable gland in the cover.
4 Installation
14 ResiBoost INSTRUCTION MANUAL
 Loading...