10
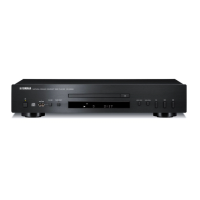
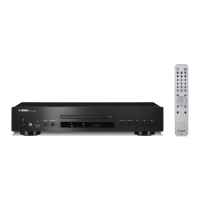
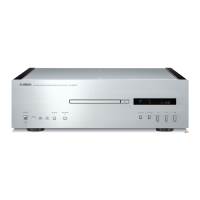
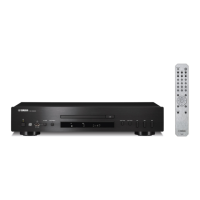
CD-C600
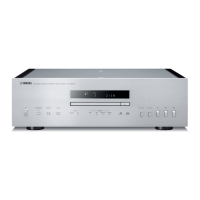
CD-C600
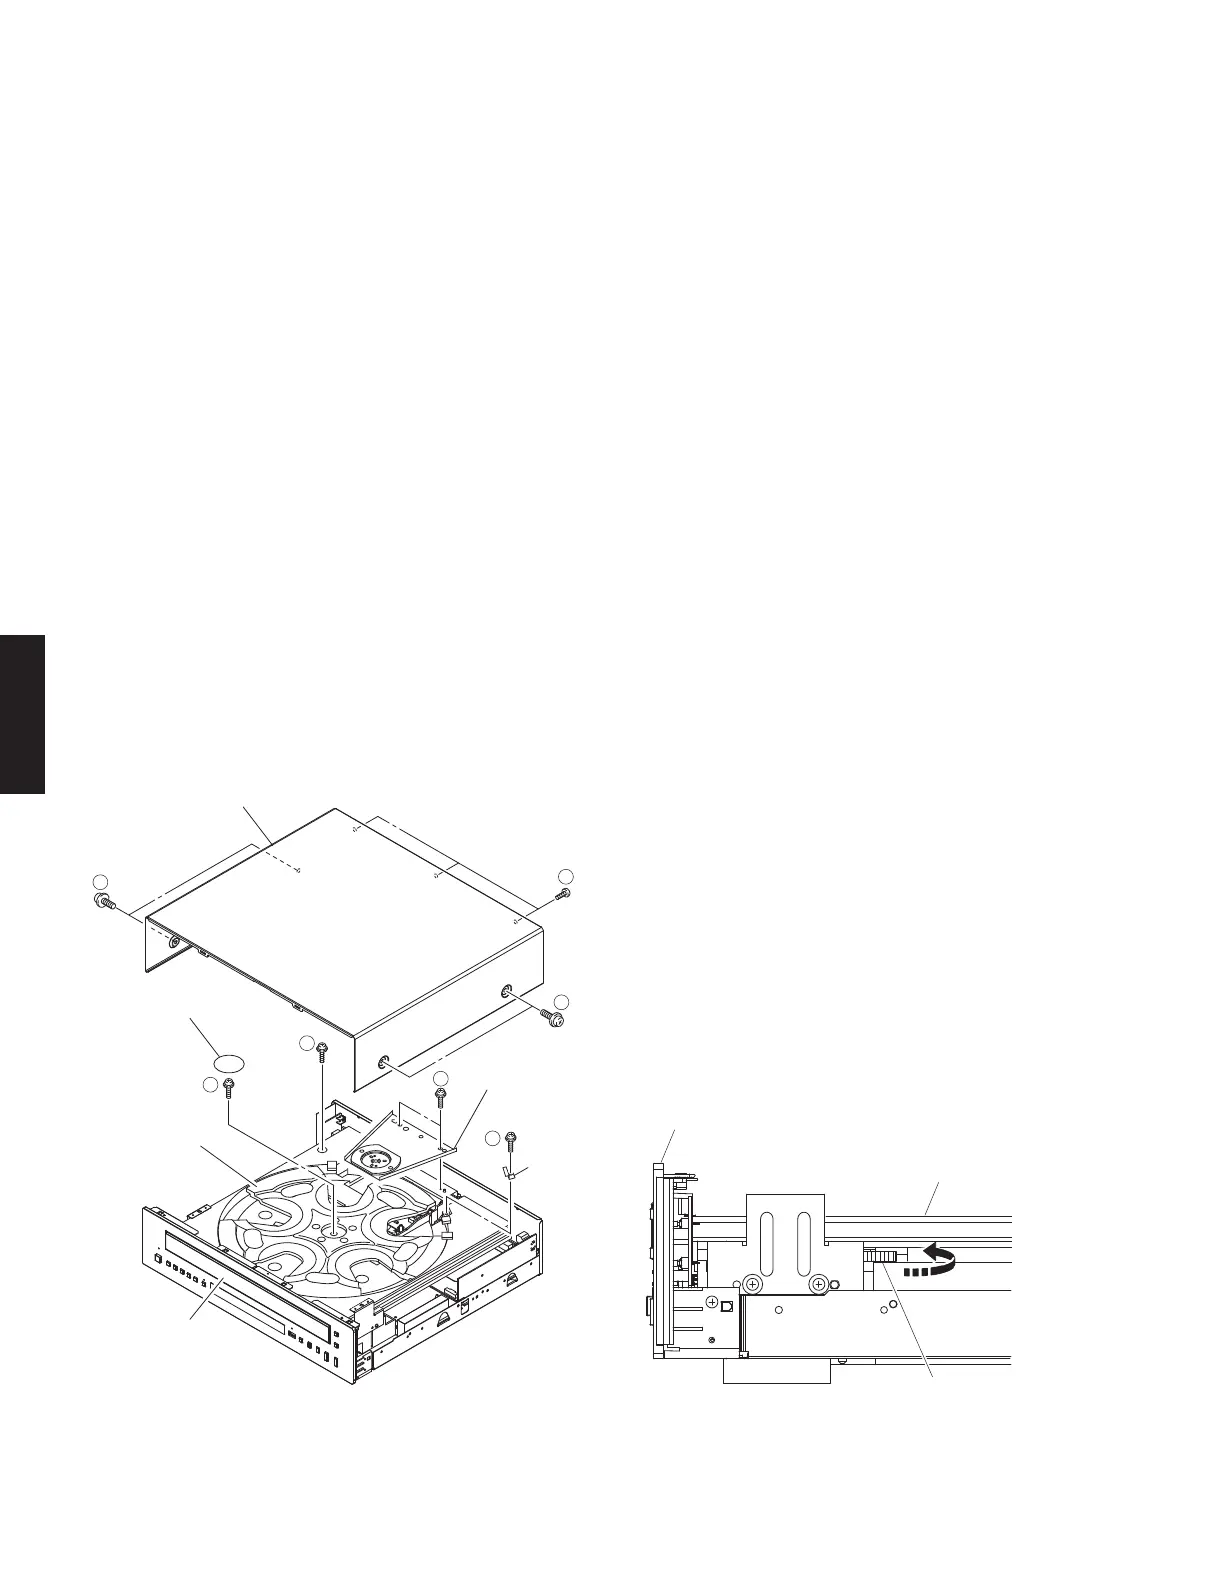
Disc tray ass'y
Gear/L0
Front panel unit
Top cover
Plate / Table
Ta bl e
Clamp ass'y
Support / T
Disc tray ass'y
1
2
1
5
3
6
4
Fig. 1 Fig. 2
■ DISASSEMBLY PROCEDURES
(Remove parts in the order as numbered.)
1. Removal of Top Cover
a. Remove 4 screws (
①
) and 3 screws (
②
). (Fig. 1)
b. Lift the top cover at the rear and move it rearward slantingly.
2. Removal of Clamp Ass’y
a. Remove 2 screws (
③
). (Fig. 1)
b. Remove the clamp ass’y. (Fig. 1)
3. Removal of Disc Tray Ass’y
a. Remove screw (
④
). (Fig. 1)
b. Turn gear/L0 counter clockwise gradually and stop before the disc tray starts to move. (Fig. 2)
CAUTION:
Gear/L0, if turned counter clockwise continuously, will mesh with the gear of the disc tray and the disc tray will come
out. When removing the disc tray, use care so that gear/L0 will not mesh with the gear of the tray.
c. Pull out the disc tray ass’y.
4. Removal of Table
a. Remove screw (
⑤
) and then remove the support/T. (Fig. 1)
b. Remove the plate/table. (Fig. 1)
* The plate/table cannot be reused. When removed, be sure to replace them with new ones.
c. Remove screw (
⑥
) and then take off the table. (Fig. 1)