POWR
Power unit
5-5 67C3K11
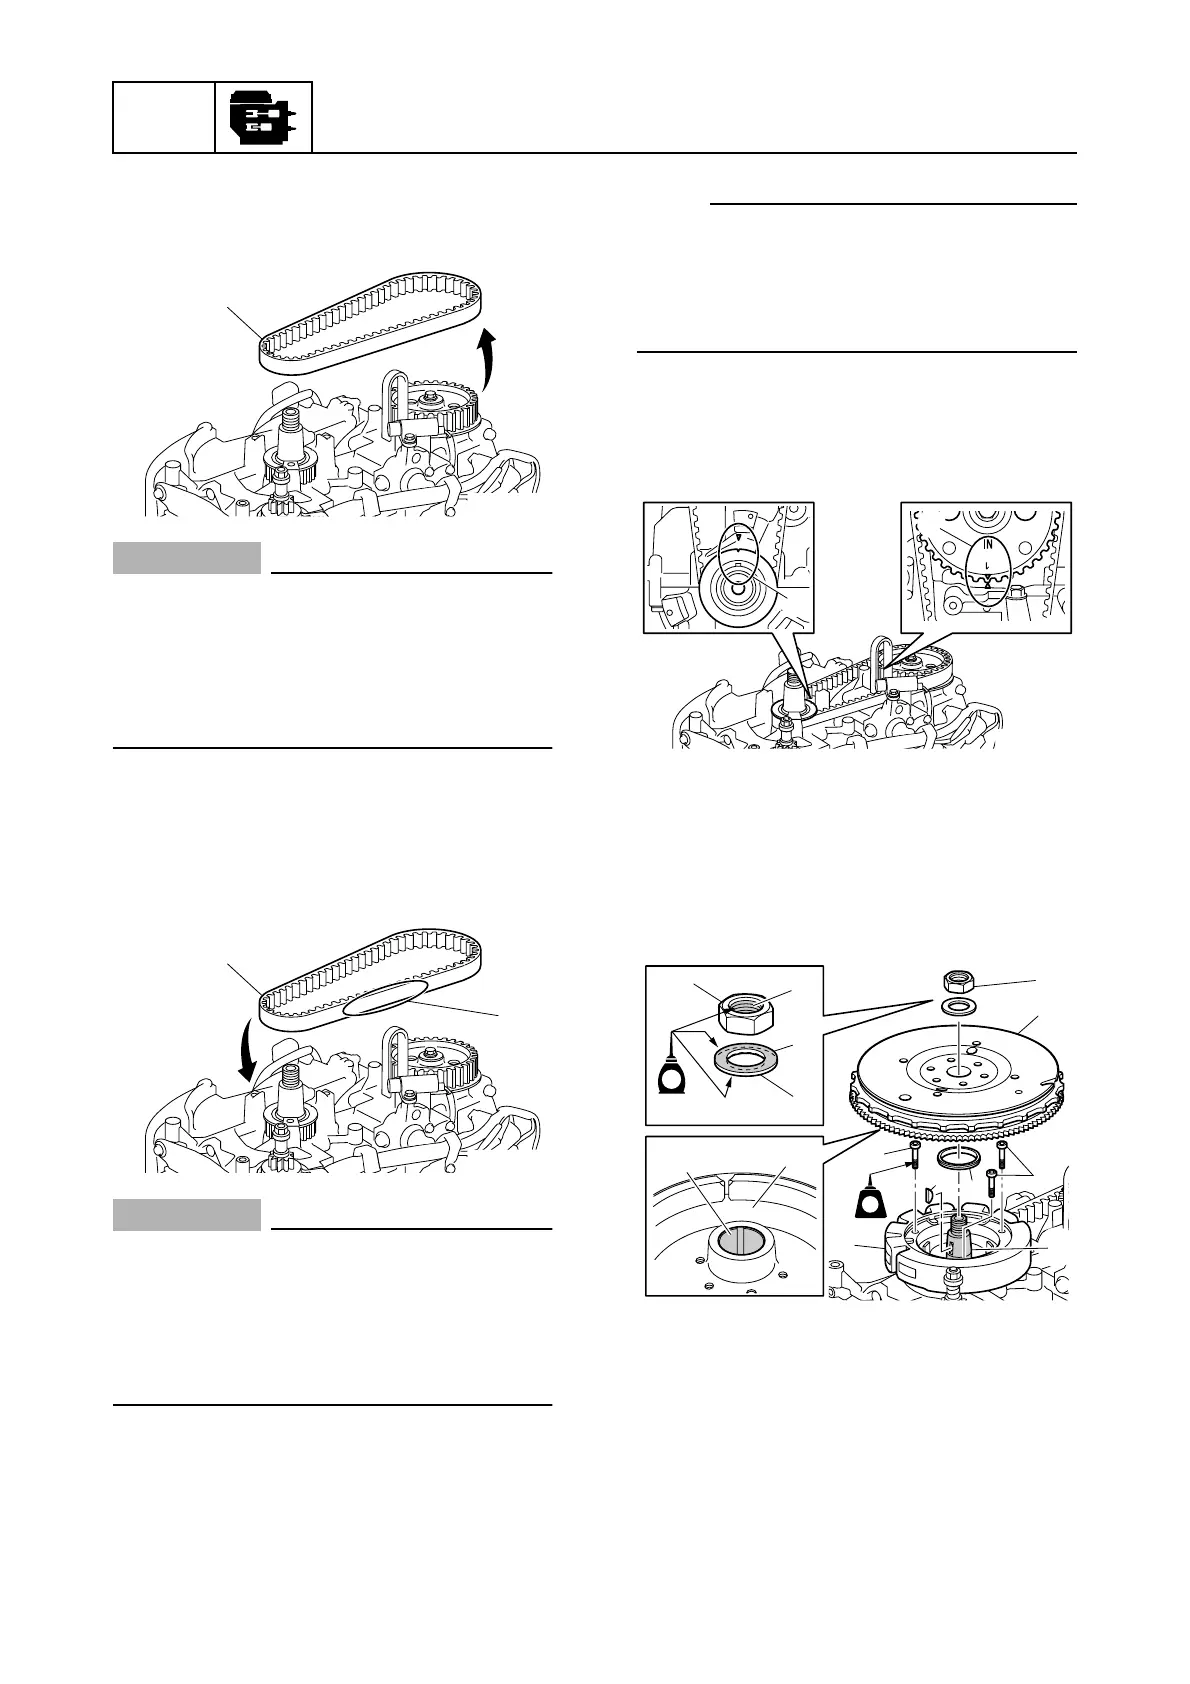
7. Remove the timing belt 3 from the
driven sprocket, and then remove it from
the drive sprocket.
CAUTION:
Unless directed to do so in the following
instructions, do not turn the drive
sprocket or driven sprocket when the tim-
ing belt is not installed. Otherwise the pis-
tons and valves will collide with each
other and be damaged.
8. Install a new timing belt 4 onto the drive
sprocket, and then install it onto the
driven sprocket so that the part number
e on the belt is in the upright position.
CAUTION:
• Do not twist, turn inside out, or bend the
timing belt beyond the maximum limit of
25 mm (1.0 in), otherwise it can be dam-
aged.
• Do not get oil or grease on the timing
belt.
NOTE:
Before installing the timing belt, make sure
that the notch on the drive sprocket and the
mark on the driven sprocket are aligned with
the marks on the cylinder block and cylinder
head respectively.
9. Turn the drive sprocket clockwise 2
turns, and then check that the parts are
aligned at the areas f and g as shown.
10. Install the stator assembly 1 and tighten
the bolts 5 to the specified torque.
11. Install the spring washer 6 and Woodruff
key 7, and then install the flywheel mag-
net 8.
S67C5019
3
S67C5020
4
e
S67C5065
f
g
S67C5022
7
6
8
n
n
8
99
5
1
k
5
h
m
LT
242
E
 Loading...