Maintenance
89
proper assembly can result in a fuel
leak, which could result in a fire or ex-
plosion hazard.
● Dispose of old gasoline according to lo-
cal regulations.
1. Empty the fuel tank into an approved
container.
2. Pour a small amount of suitable solvent
into the tank. Install the cap and shake
the tank. Drain the solvent completely.
3. Remove the screws holding the fuel joint
assembly. Pull the assembly out of the
tank.
4. Clean the filter (located on the end of the
suction pipe) in a suitable cleaning sol-
vent. Allow the filter to dry.
5. Replace the gasket with a new one. Re-
install the fuel joint assembly and tighten
the screws firmly.
EMU29313
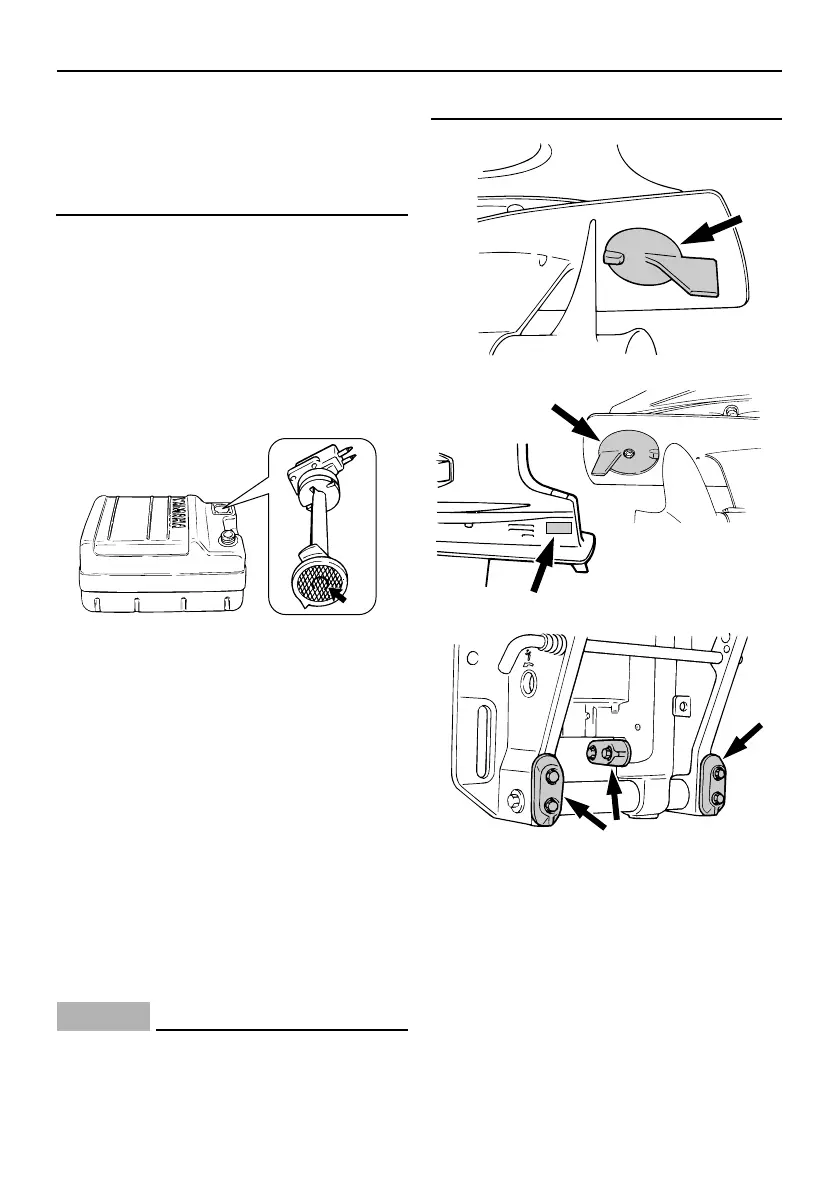
Inspecting and replacing anode(s)
Yamaha outboard motors are protected from
corrosion by sacrificial anodes. Inspect the
external anodes periodically. Remove scales
from the surfaces of the anodes. Consult a
Yamaha dealer for replacement of external
anodes.
ECM00720
Do not paint anodes, as this would render
them ineffective.
Inspect ground leads attached to external
anodes on equipped models. Consult a
Yamaha dealer for inspection and replace-
ment of internal anodes attached to the pow-
er unit.
6C1-9-26-1E0.book 89 ページ 2010年2月10日 水曜日 午後1時53分