T
Thomas CraigAug 18, 2025
What to do if there is no sound and/or no picture on Yamaha HTR-5280 Receiver?
- LLaura PadillaAug 18, 2025
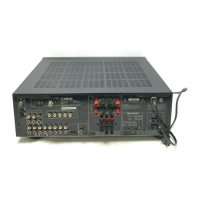
If you're experiencing no sound or picture from your Yamaha Receiver, start by checking all input and output cable connections to ensure they are properly connected. If the issue continues, the cables may be defective. Next, make sure you've selected the correct input source using the INPUT l / h or 6CH INPUT (or the input selector buttons). Also, verify that the speaker connections are secure, the correct main speakers are selected with SPEAKERS A and/or B, and the volume is turned up. Ensure the receiver is not muted by pressing MUTE or any operation buttons to cancel mute and adjust the volume. Finally, confirm that the input source is compatible with the receiver, specifically PCM audio, Dolby Digital, or DTS signals.