*OTUSVNFOUBOEDPOUSPMGVODUJPOT
5-22
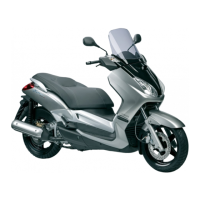
5. Install the windshield to the low
position by installing the bolts, and
then tighten the bolts to the spec-
ied torque. 8"3/*/(" MPPTF
XJOETIJFMEDPVMEDBVTFBOBDDJ
EFOU #F TVSF UP UJHIUFO UIF
TDSFXTUPUIFTQFDJãFEUPSRVF
[EWA15511]
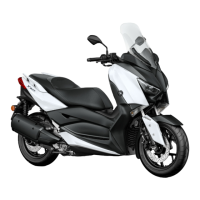
6. Place the bolt access covers, and
then install the quick fasteners.
1. Bolt
1. Bolt
1. Bolt
1
1
1
1
1
1
5JHIUFOJOHUPSRVF
Windshield bolt:
8 N·m (0.8 kgf·m, 5.8 lb·ft)
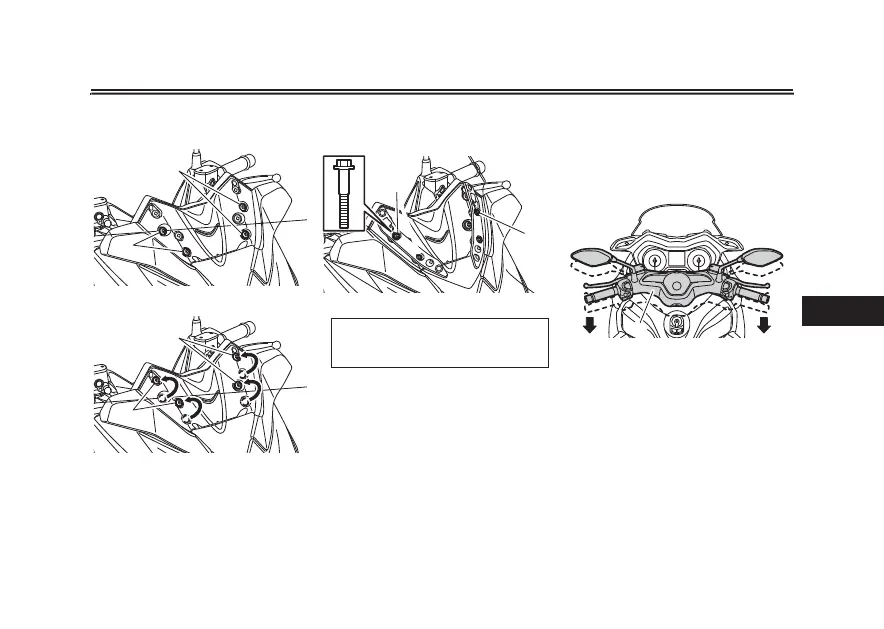
4. Remove the bolts, and then install
the bolts in the desired position.
7. Place number plate bracket with
bolt and collar.
EAU46833
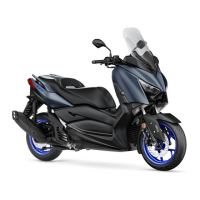
)BOEMFCBSQPTJUJPO
The handlebar can be adjusted to one
of two positions to suit the rider’s pref-
erence. Have a Yamaha dealer adjust
the position of the handlebar.
1. Handlebar
1