PERIODIC MAINTENANCE AND MINOR REPAIR
6-35
2
3
4
5
6
7
8
9
WARNING
EWA10790
Headlight bulbs get very hot. There-
fore, keep flammable products away
from a lit headlight bulb, and do not
touch the bulb until it has cooled
down.
5. Place a new bulb into position, and
then secure it with the bulb holder.
CAUTION:
ECA10660
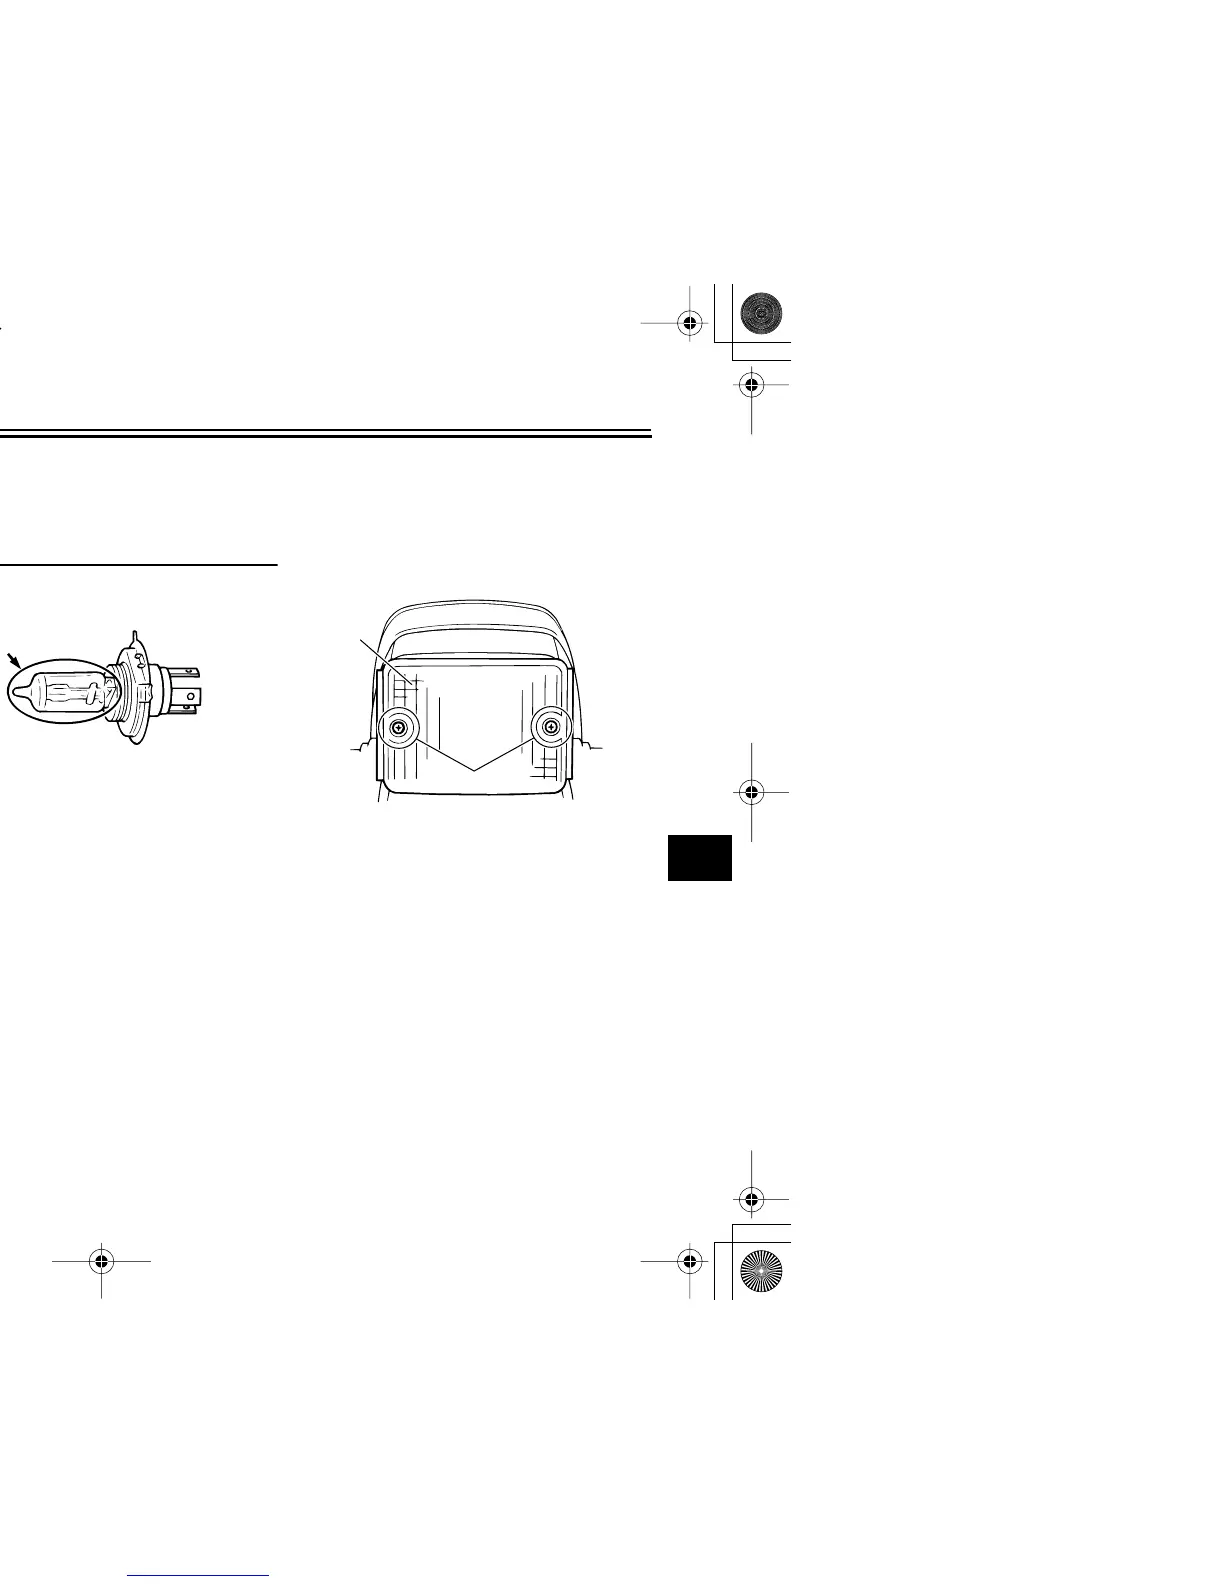
Do not touch the glass part of the
headlight bulb to keep it free from
oil, otherwise the transparency of
the glass, the luminosity of the bulb,
and the bulb life will be adversely af-
fected. Thoroughly clean off any dirt
and fingerprints on the headlight
bulb using a cloth moistened with al-
cohol or thinner.
6. Install the bulb cover, and then
connect the coupler.
7. Install the headlight unit by install-
ing the bolts.
8. Install the cowling.
9. Have a Yamaha dealer adjust the
headlight beam if necessary.
EAU24131
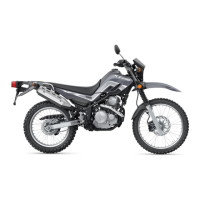
Replacing the tail/brake light
bulb
1. Remove the tail/brake light lens by
removing the screws.
2. Remove the defective bulb by
pushing it in and turning it counter-
clockwise.
1. Headlight bulb holder
1
1. Do not touch the glass part of the bulb.
1
1. Tail/brake light bulb lens
2. Screw