5-67
CRANKSHAFT
EAS00388
REMOVING THE CRANKSHAFT
ASSEMBLY
1. Remove:
• Crankshaft “1”
NOTE:
• Remove the crankshaft with the crankcase
separating tool “2”.
• Make sure the crankcase separating tool is
centered over the crankshaft.
Crankcase separating tool
90890-01135
EAS00394
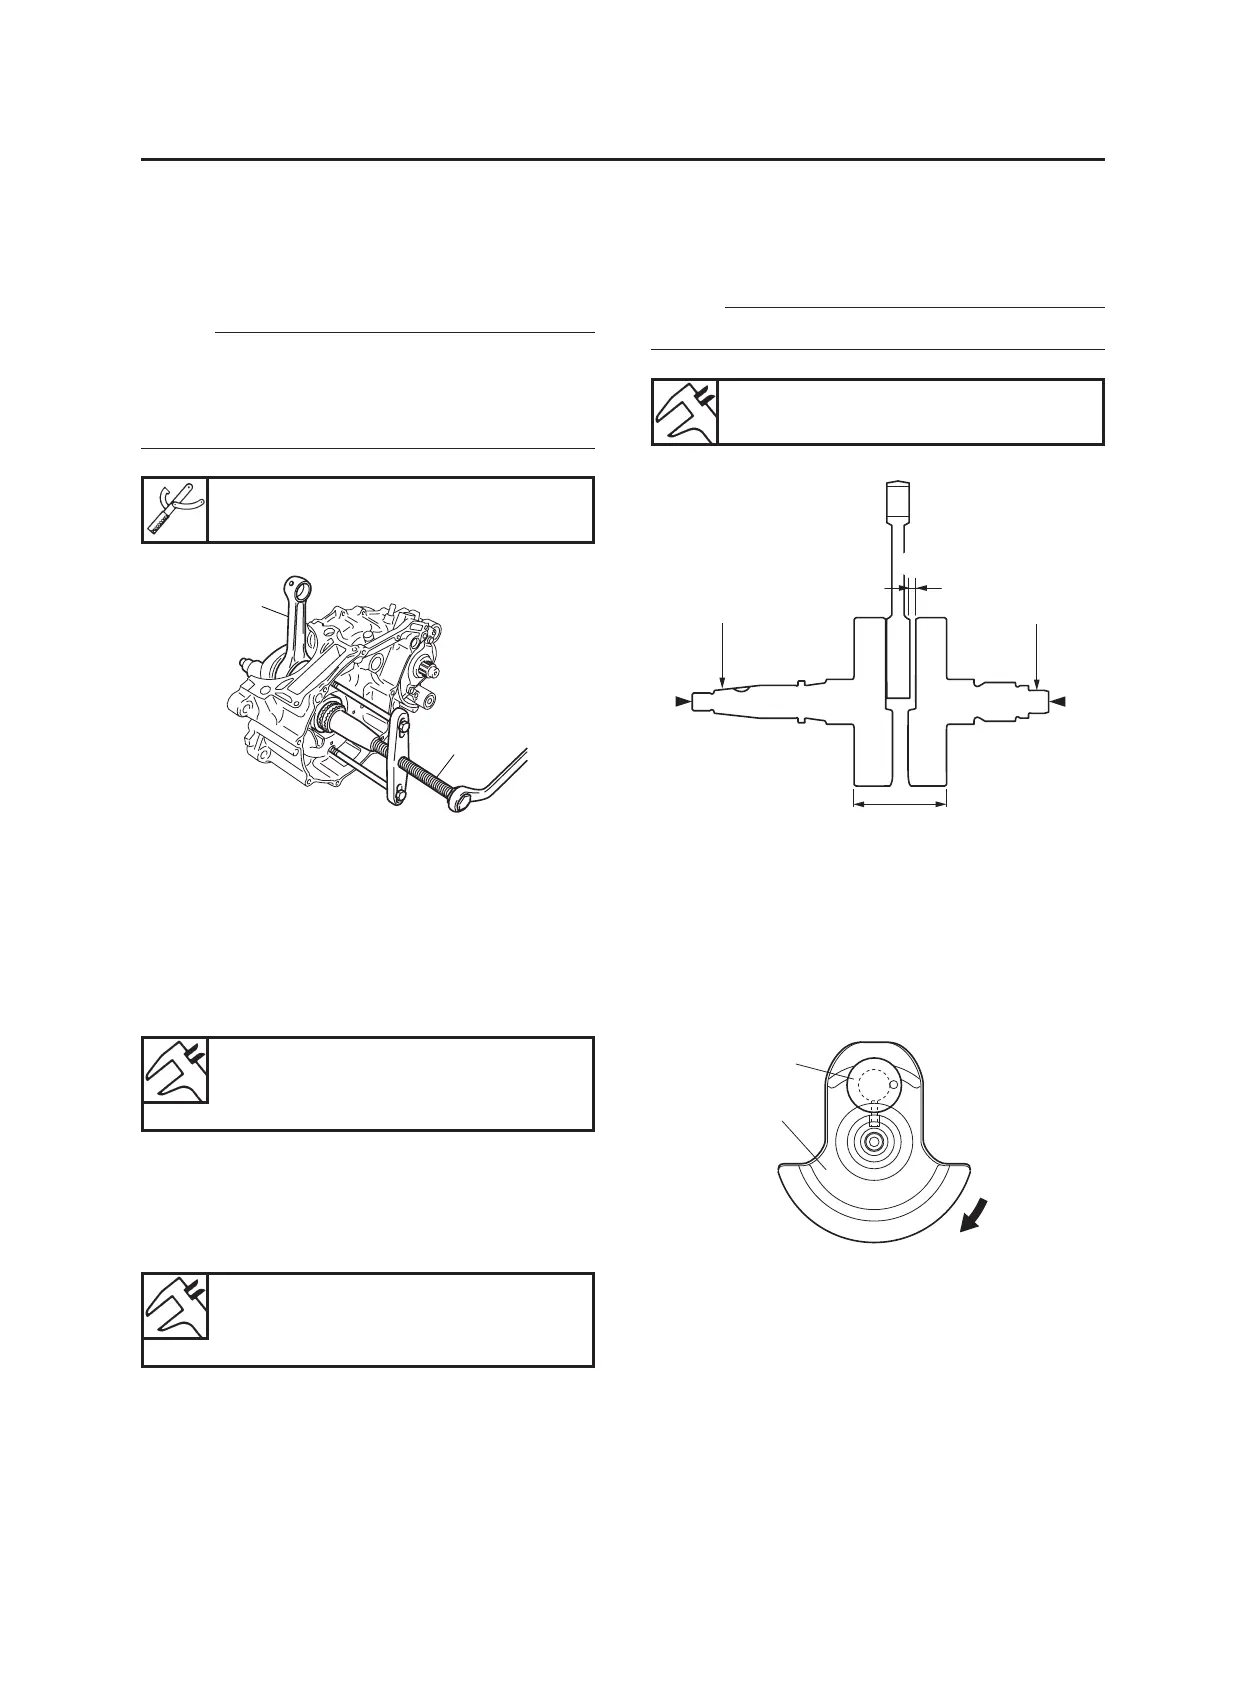
CHECKING THE CRANKSHAFT
1. Measure:
• Big end side clearance “d”
Out of specification → Replace the big end
bearing, crankshaft pin, or connecting rod.
Big end side clearance
0.350-0.650 mm
(0.0138-0.0256 in)
2. Measure:
• Crankshaft width “a”
Out of specification → Replace the crank-
shaft.
Crankshaft width
74.95-75.00 mm
(2.9508-2.9528 in)
3. Measure:
• Crankshaft runout “c”
Out of specification → Replace the crank-
shaft, bearing or both.
NOTE:
Turn the crankshaft slowly.
a. The crankshaft “1” and the crankshaft pin “2”
oil passages must be properly interconnect-
ed with a tolerance of less than 1 mm
(0.04 in).
4. Check:
• Crankshaft sprocket
Damage/wear → Replace the crankshaft.
• Bearing
Cracks/damage/wear → Replace the crank-
shaft.
5. Check:
• Crankshaft journal
Scratches/wear → Replace the crankshaft.
• Crankshaft journal oil passage
Obstruction → Blow out with compressed air.