10.2 Addition of Base and Station Axis
10-19
2 (Cont’d) Select connection
item of desired control group.
The axes are connected as shown in the following manner:
R1(Robot)
S1(Station)
3 Select desired item.
4 Press [ENTER] in the CON-
NECTION window.
The setting in the CONNECTION window is completed and the
window moves to the AXES CONFIG window.
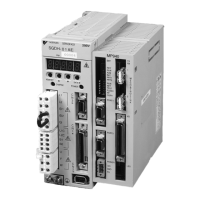
Operation Explanation
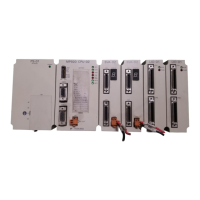
1st axis SERVO Board (SV #1), Connector (1CN)
Contactor Unit (TU #1), Brake Connector (BRK1)
Converter (CV #1)
2nd axis
SERVO Board (SV #1), Connector (2CN)
Contactor Unit (TU #1), Brake Connector (BRK2)
Converter (CV #1)
3rd axis
SERVO Board (SV #1), Connector (3CN)
Contactor Unit (TU #1), Brake Connector (BRK3)
Converter (CV #1)
4th axis
SERVO Board (SV #1), Connector (4CN)
Contactor Unit (TU #1), Brake Connector (BRK4)
Converter (CV #1)
5th axis
SERVO Board (SV #1), Connector (5CN)
Contactor Unit (TU #1), Brake Connector (BRK5)
Converter (CV #1)
6th axis
SERVO Board (SV #1), Connector (6CN)
Contactor Unit (TU #1), Brake Connector (BRK6)
Converter (CV #1)
1st axis
SERVO Board (SV #1), Connector (7CN)
Contactor Unit (TU #1), Brake Connector (BRK7)
Converter (CV #2)
2nd axis
SERVO Board (SV #1), Connector (8CN)
Contactor Unit (TU #1), Brake Connector (BRK8)
Converter (CV #3)

 Loading...