Customizing Your Phone
67
The IP phone enters the local directory directly as there is only Local Directory enabled in
the directory by default.
If Local Directory is removed from the directory (refer to Directory on page 62), press
Menu->Directory->Local Directory to enter the local directory.
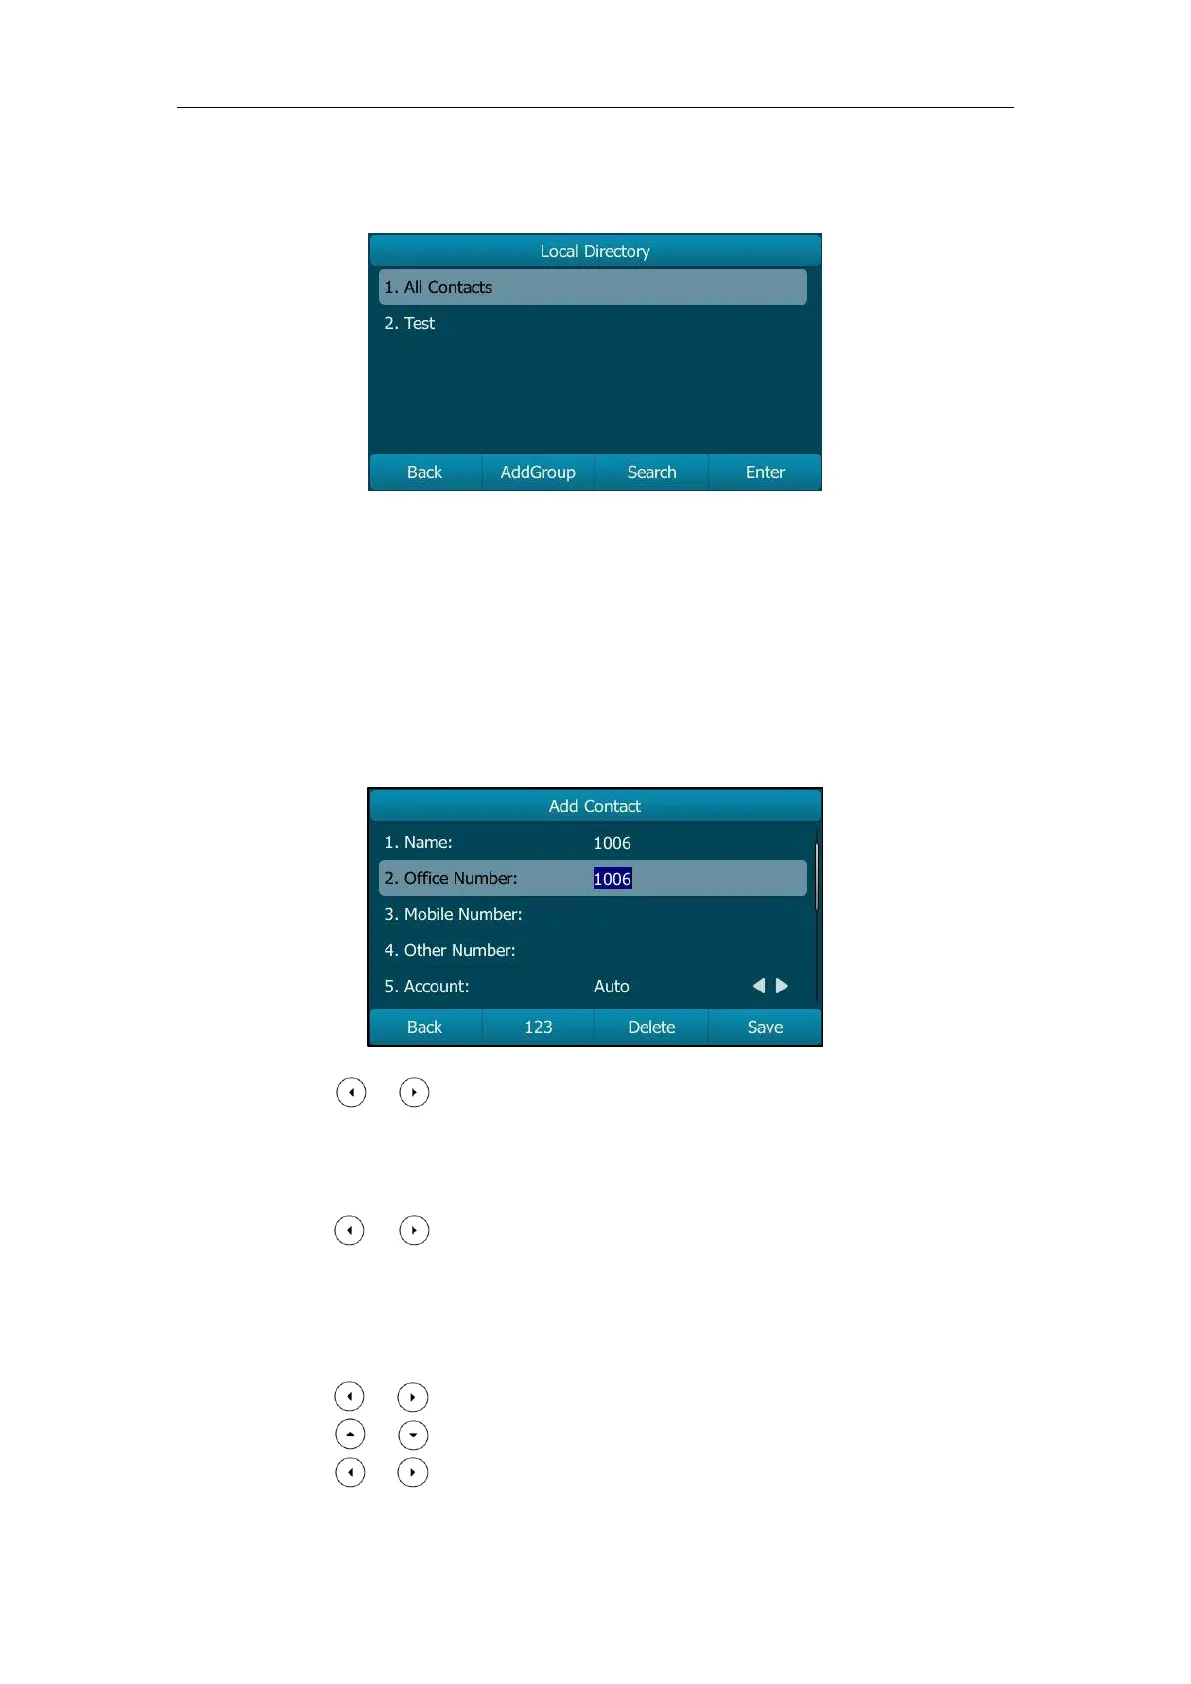
2. Select the desired contact group and then press the Enter soft key.
If the contact you want to add doesn’t belong to any group, select All Contacts and then
press the Enter soft key.
3. Press the Add soft key.
4. Enter the name and the office, mobile or other numbers in the corresponding fields.
5. Press or , or the Switch soft key to select the desired account from the Account
field.
If Auto is selected, the phone will use the default account when placing calls to the contact
from the local directory.
6. Press or , or the Switch soft key to select the desired ring tone from the Ring
field.
If Auto is selected, this contact will use the ring tone according to the priority: Group ring
tone (refer to Adding Groups) >Account ring tone (refer to Ring Tones) >Phone ring tone
(refer to Ring Tones).
7. Press or , or the Switch soft key to select the desired group from the Group field.
8. Press or to select the Photo field and then press the Enter soft key.
9. Press or , or the Switch soft key to select the desired photo from the Photo field.

 Loading...