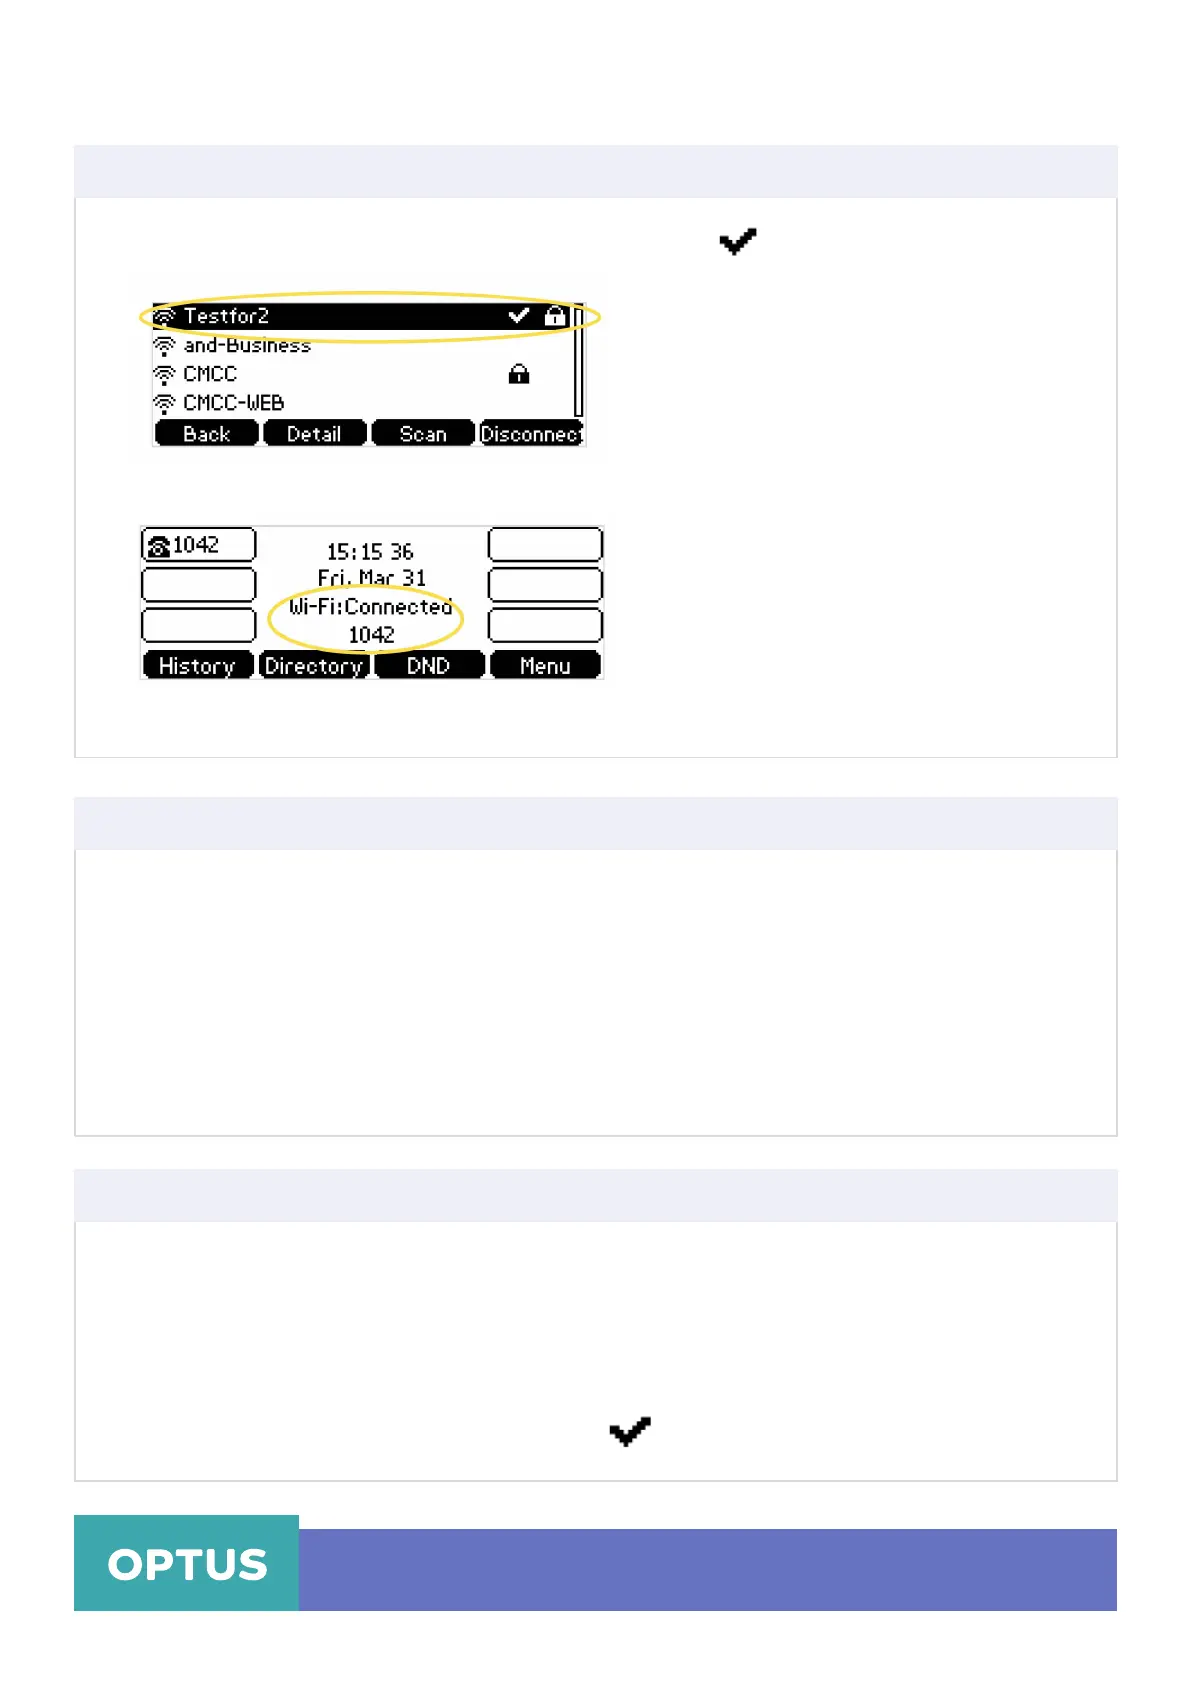
8. Once the connection has completed successfully, the icon appears after the name of the
wireless network
9. The Wi-Fi status displays on the centre of the LCD screen when the phone is idle
Yealink T41S Wireless Settings
Manually Connect to an Available Wireless Network Cont.
Note: For more information on the password of the wireless network, contact your system administrator
Wi-Fi Protected Setup (WPS)
Wi-Fi Protected Setup (WPS) provides simplified mechanisms to configure secure wireless networks.
WPS can automatically configure a wireless network with a network name (SSID) and strong WPA
data encryption and authentication.
Two methods supported by Yealink IP phones in the Wi-Fi protected setup:
• Push Button Configuration (PBC): The user simply has to press WPS key on both the IP
phone and gateway/router to connect.
• Personal Identification Number (PIN): The user has to enter a PIN generated randomly by
the IP phone on the gateway/router to connect.
Push Button Configuration (PBC)
To connect to the wireless network using PBC method:
1. Press Menu > Settings > Basic Settings > Wi-Fi
2. Press the WPS soft key, then select WPS
3. The LCD screen prompts “WPS has been activated, connect in 120s”
4. Long press the WPS
key on your gateway/router
5. Once WPS setup has completed successfully, the icon appears after the name of wireless network
Optus Loop – Yealink T41S Wireless Settings QRG
3

 Loading...