OPERATION
WORK PIECE CLEANING BEFORE WELDING
Please keep the workpiece clean, remove existing rust, greasy dirt, water and paint, etc.
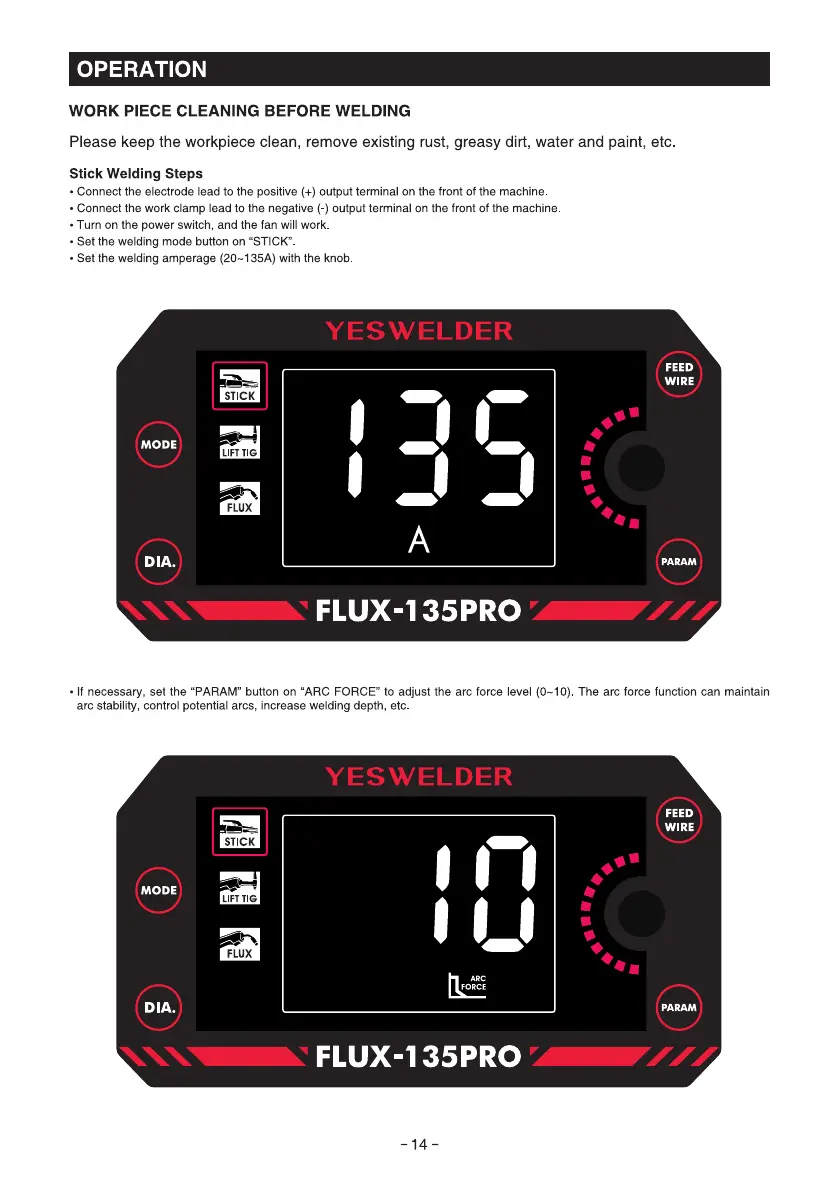
Stick Welding Steps
• Connect the electrode lead to the positive (+) output terminal on the front of the machine
• Connect the work clamp lead to the negative (-) output terminal on the front of the machine.
• Turn on the power switch, and the fan will work.
• Set the welding mode button on "STICK"
• Set the welding amperage (20-135A) with the knob
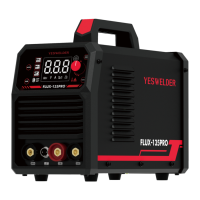
STICK
MODE
LIFT TIG
FLUX
DIA.
YESWELDER
FEED
WIRE
PARAM
FLUX-135PRO
• If necessary, set the "PARAM" button on "ARC FORCE" to adjust the arc force level (0-10) The arc force function can maintain
arc stability, control potential arcs, increase welding depth, etc
YESWELDER
MODE
DIA.
FEED
WIRE
FORCE
PARAM
FLUX-135PRO
-14-