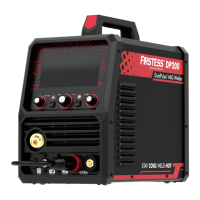
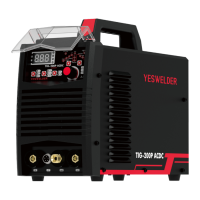
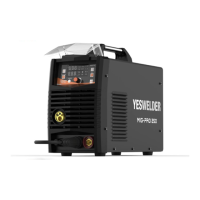
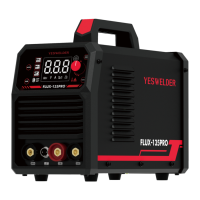
OPERATION
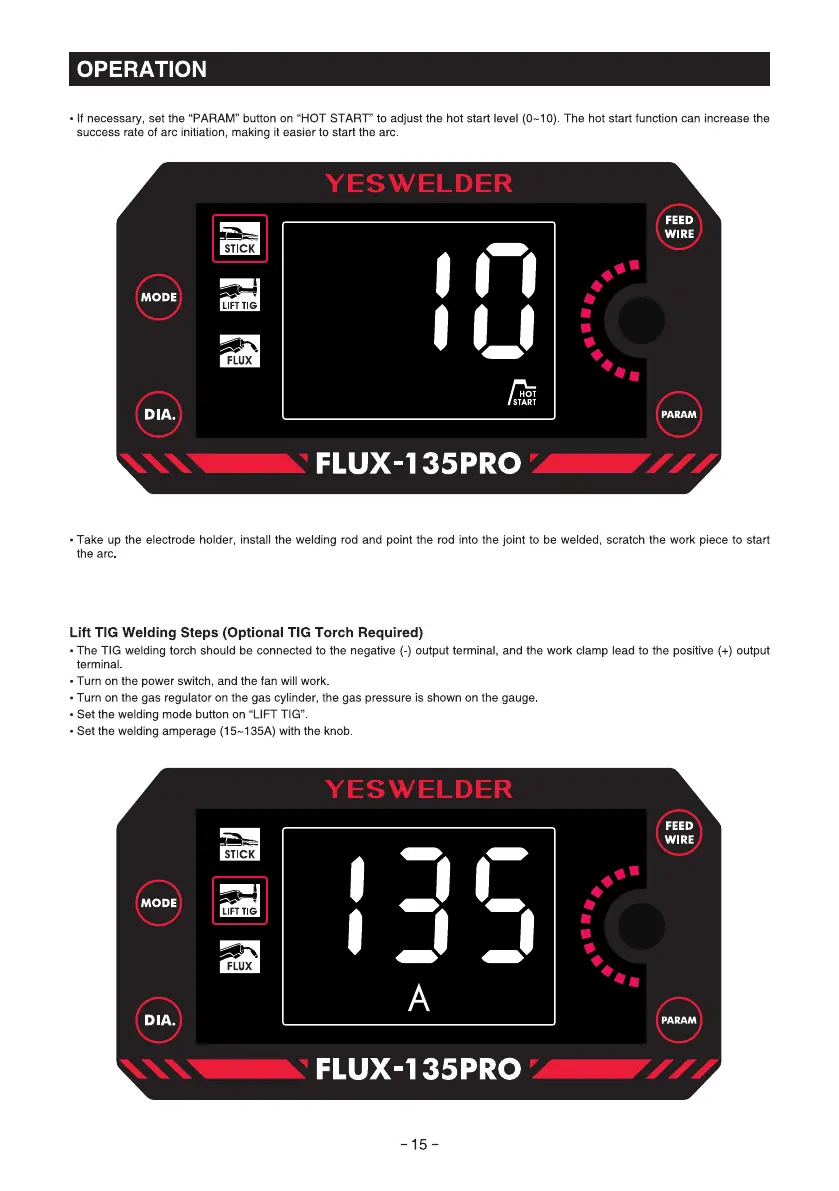
• If necessary, set the "PARAM" button on "HOT START" to adjust the hot start level (0—10).The hot start function can increase the
success rate of arc initiation, making it easier to start the arc
STICK
MODE
LIFT TIG
FLUX
DIA.
YESWELDER
FEED
WIRE
HOT
PARAM
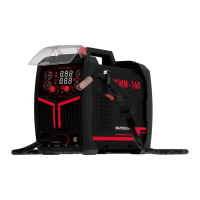
FLUX-135PRO
• Take up the electrode holder, install the welding rod and point the rod into the joint to be welded, scratch the work piece to start
the arc
Lift TIG Welding steps (Optional TIG Torch Required)
• The TIG welding torch should be connected to the negative (-) output terminal, and the work clamp lead to the positive (+) output
terminal
• Turn on the power switch, and the fan will work.
• Turn on the gas regulator on the gas cylinder, the gas pressure is shown on the gauge
• Set the welding mode button on "LIFT TIG"
• Set the welding amperage (15-135A) with the knob
YESWELDER
STICK
MODE
LIFT TIG
FLUX
DIA.
FEED
WIRE
pARAM
FLUX-135PRO
-15-