22
FlexFob Settings: Scenes, Cont.
K
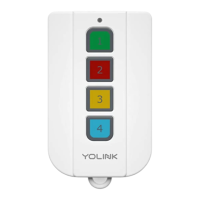
Recently activated scenes are identified by dark
green and square (instead of round) icons. This
let’s you know which scene is active (such as
your “Armed” scene) or if it was a
temporary/momentary scene, this indicates the
most recently activated scene.
To assign a scene to a FlexFob button, follow
these steps:
1. Open the fob’s main screen. Tap the Edit Fob
button.
2. Select the button for this scene, and tap the +
button on the appropriate button behavior
(click/short-press or long-press)
3. Select the Scene option. Select your scene,
then tap Execute Scene.
4. Tap Confirm to approve your selection.
5. Review your settings. Tap the Save button to
save, or Cancel to exit without saving (or you can
tap the Delete button, or left swipe on the
behavior to delete it).
As noted previously, it’s always a good idea to
test any changes you’ve made to devices or to
the app.