804050NZ- CS Commercial HydroTap - Installation Instructions - 09.2016 v3.01 Page 3 of 20
HydroTap Specifications
Installation check list ....................................................................................................................4
Important Safety Instructions .......................................................................................................5
Warnings and Regulatory Information ..........................................................................................6
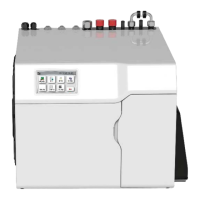
Major components and Accessories ............................................................................................7
Technical Specification ................................................................................................................8
Before Installation and site requirements .....................................................................................9
STEP 1 -
Measure and cut all the tap holes before fitting the taps
Section 1 - See Tap Installation instructions, (supplied with the tap ) No. 803341NZ
STEP 2 - Check for adequate ventilation
Section 2 - Ventilation
2.1 - Ventilation - All Models .............................................................................................10
2.2 - Ventilation diagram - CS Models ..............................................................................10-11
2.3 - Alternative Ventilation ...............................................................................................11
STEP 3 -
Fit the CO
2
Gas cylinder
Section 3 - CO
2
Cylinder and Regulator
3.1 - Connect, secure and test the CO2 gas cylinder .......................................................12
3.2 - Connect the regulator ...............................................................................................12
3.3 - Connect the gas hose to the regulator ......................................................................12
STEP 4
- Install the underbench unit
Section 4 - Underbench unit installation
4.1- Hose and Tube fittings ; J.G. Fittings .........................................................................13
CO
2
regulator ....................................................................................................................14
4.2- Connect the gas hose to the undersink unit ...............................................................15
4.3- Test for gas leaks .......................................................................................................15
4.4- Installation and connection ........................................................................................15
4.5- Chilled Sparkling Models CS175 ...............................................................................16
4.6- Celsius Chilled Sparkling Model CSHA175 ...............................................................17
STEP 5
- Commission the HydroTap
Section 5 - Commissioning
5.1- CO
Purge ..................................................................................................................18
5.2- Filter Flush .................................................................................................................18-19
Trouble Shooting
Trouble Shooting Table ................................................................................................................19
End of life disposal .......................................................................................................................19
Contact details .............................................................................................................................20
Index