Install the MXK
48 MXK Hardware Installation Guide
Connecting power to the rear of the MXK 823 and grounding
the chassis
Use the following procedure to connect the wiring between the MXK terminal
block and the power supplies in the rear of the MXK chassis.
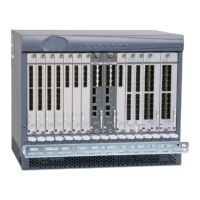
1 Remove the plastic safety cover (Figure 21).
Figure 21: Remove plastic safety cover
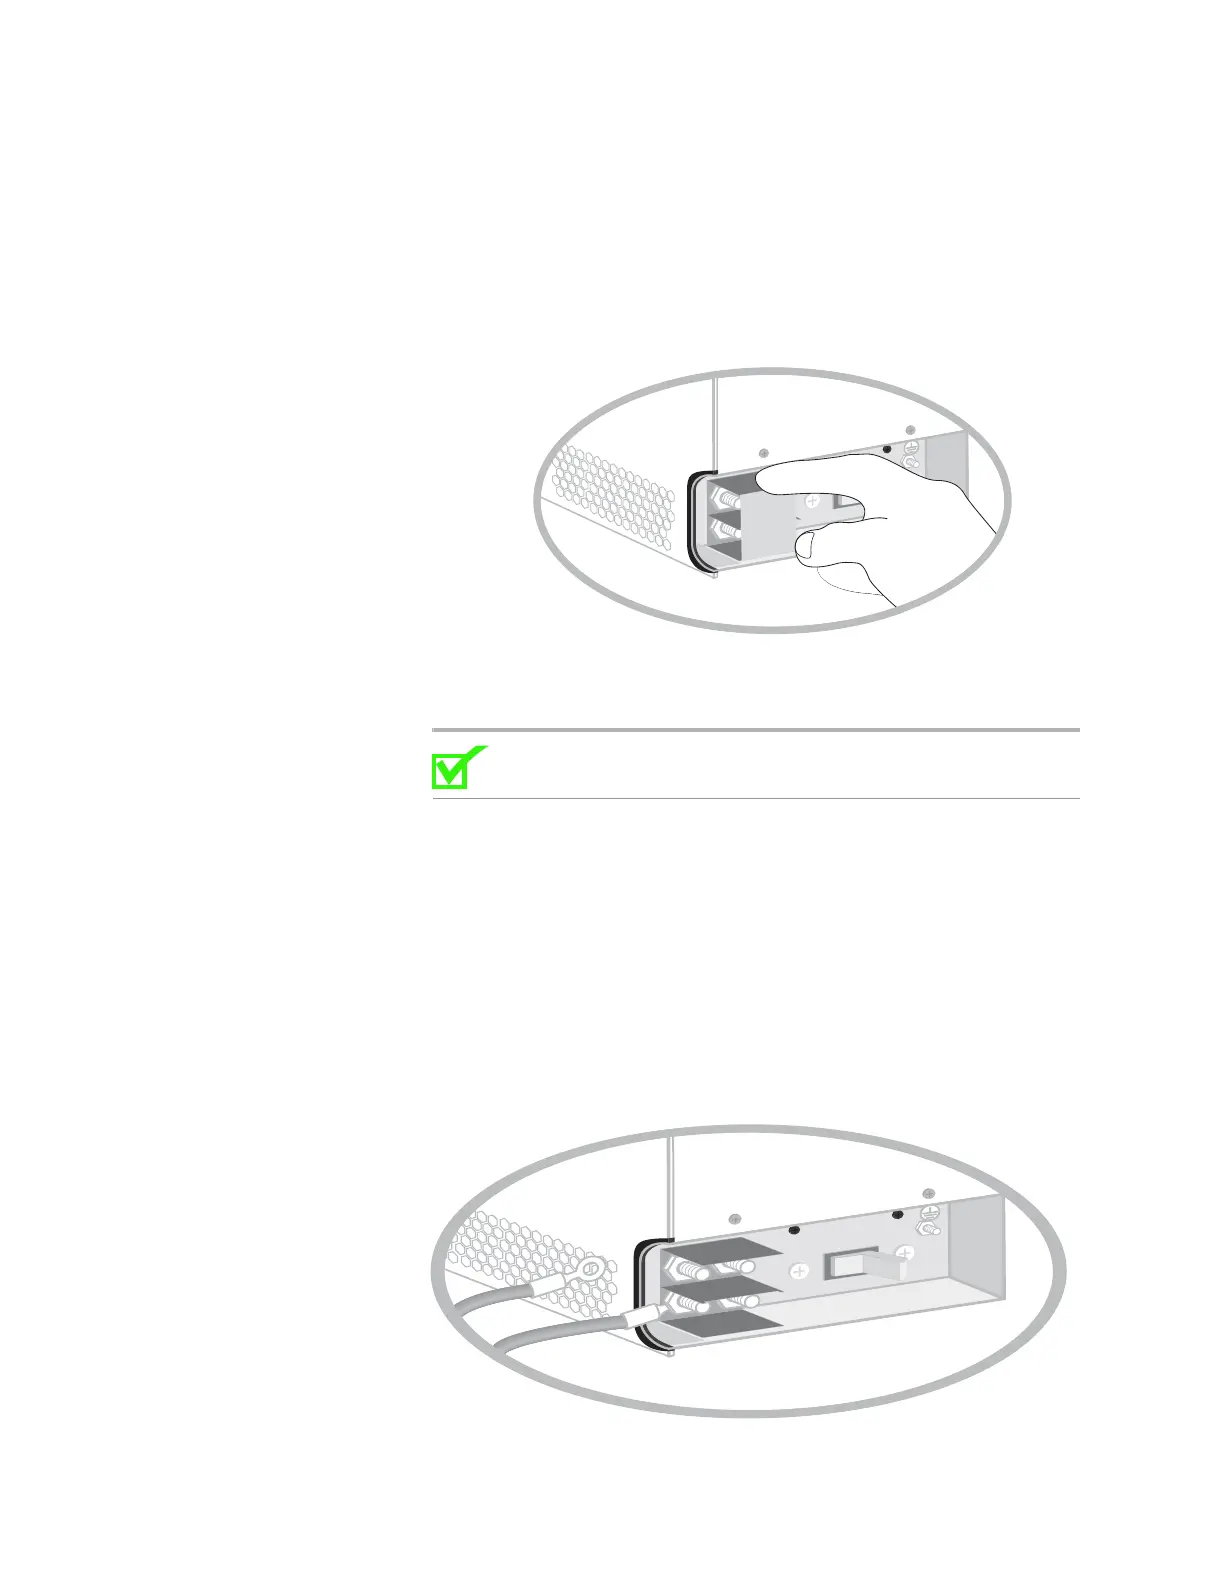
2 Connect the positive and negative wires to the proper terminals as shown
in Figure 22:
Note: For the power terminal 1/4”-20 studs and hex nuts, the
recommended torque is 32 to 36 in/lbs.
a Connect the negative wire from power supply A to the terminal
marked –48 DC.
b Connect the positive wire from power supply A to the terminal
marked RTN.
c Connect the negative wire from power supply B to the terminal
marked –48 DC.
d Connect the positive wire from power supply B to the terminal
marked RTN.
Figure 22: Connecting positive and negative power wires
A
RTN
-48VDC
OFF
A
RTN
-48VDC
OFF