Install the MXK
MXK Hardware Installation Guide
49
3 Replace the plastic safety cover.
4 Route a 10 AWG conductor from each chassis to a common 2 AWG
frame ground collector that connects to the single point building ground
in an IBN. Make sure all ground connections are made with bare metal to
bare metal.
Note: For the #8-32 ground stud and hex nuts the recommended
torque is 12 to 16 in/lbs.
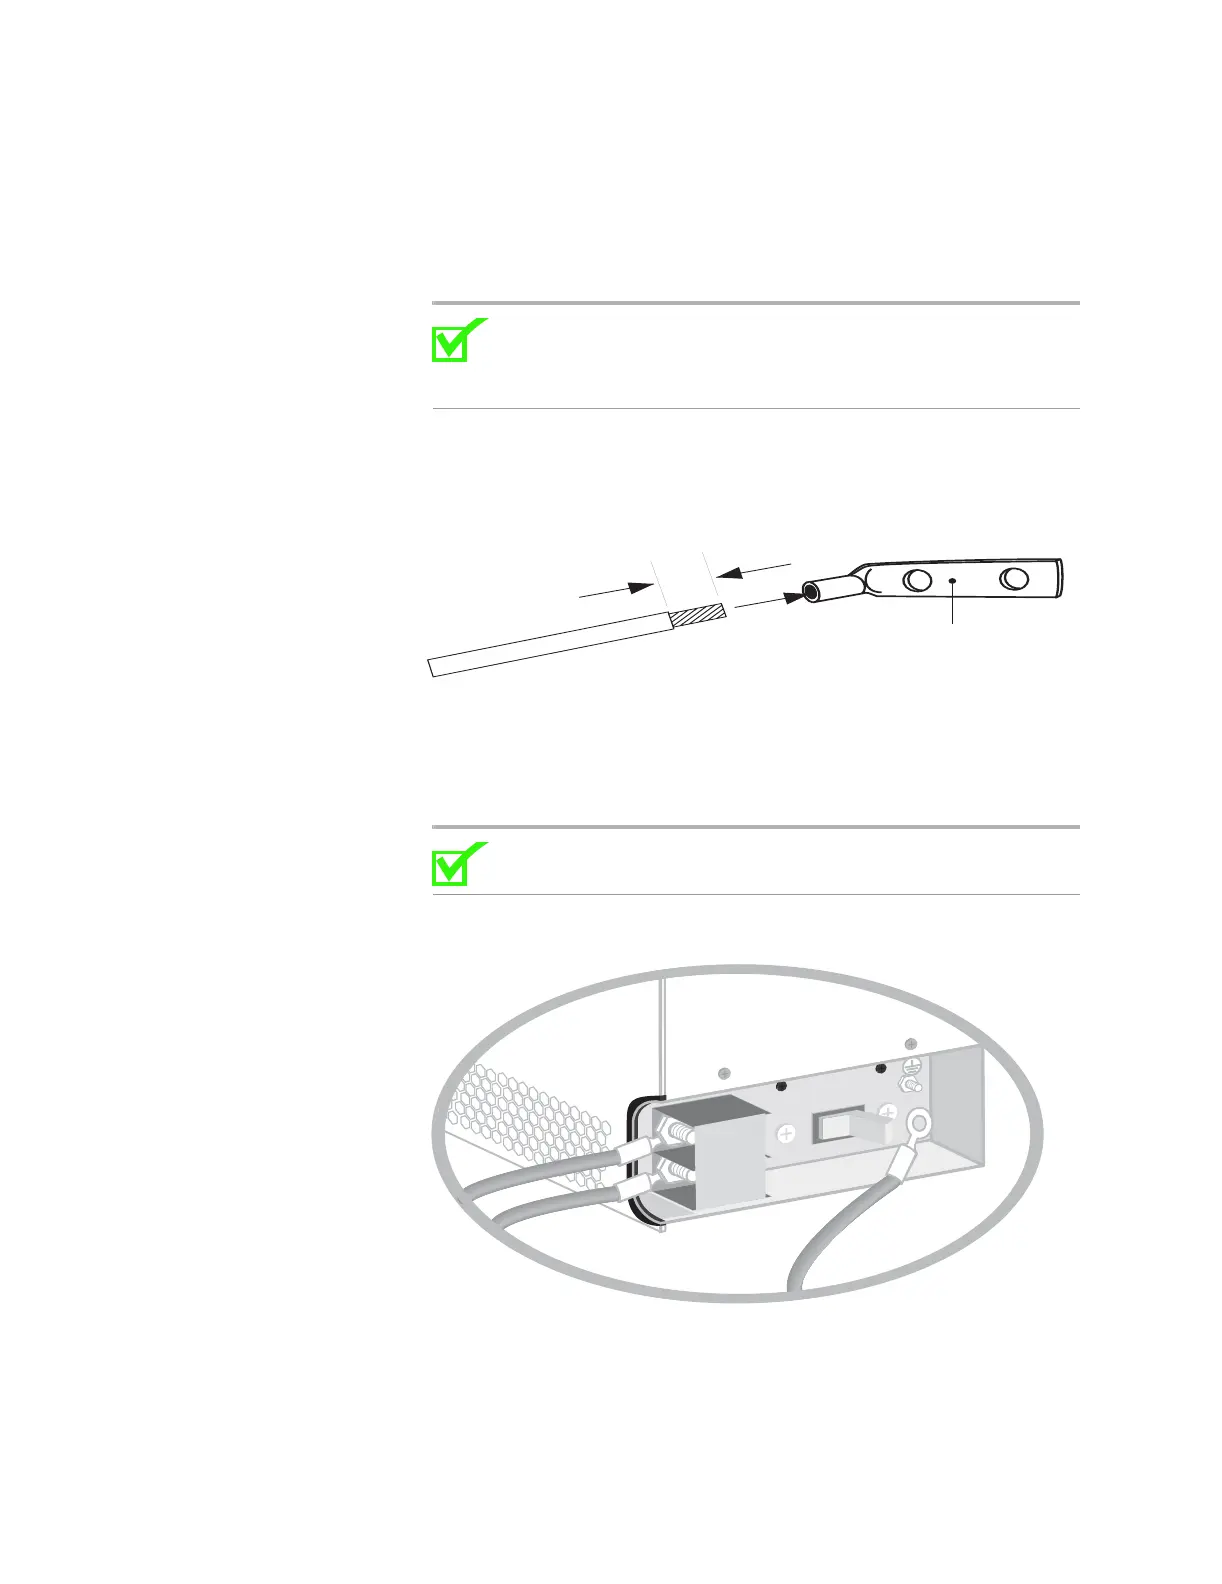
5 Strip the 10 AWG conductor and crimp a grounding lug to the end of the
conductor (Figure 23).
Figure 23: Crimp grounding lug
6 Secure the nuts to the chassis.
7 Connect the ground cable(s) already routed and tighten the bolt.
(Figure 24).
Note: For the #8-32 ground stud and hex nuts the recommended
torque is 12 to 16 in/lbs.
Figure 24: Connect ground wire
8 The system is now ready to run power.
9 Flip the on/off switch to on (Figure 25).
13 mm (0.5 in.)
Crimp-type 2-hole lug
FW-10119
A
RTN
-48VDC
OFF