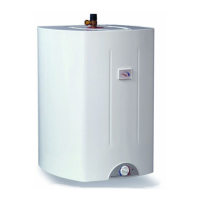
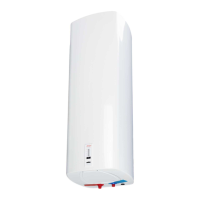
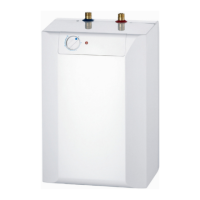
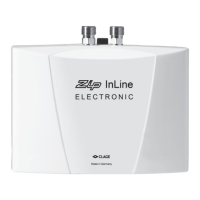
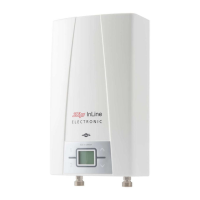
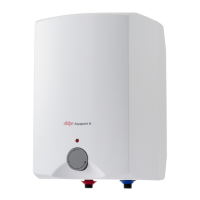
Plumbing
1. Check the incoming water supply pressure as this will determine the layout
and safety controls required. Remember that the mains water pressure can
increase considerably at night.
2. Refer to diagrams 1 to 3 to determine accessories required and layout.
3. Position the heater and controls to allow for future maintenance.
4. All control and safety valves are marked to show the direction of water flow
and will not function if incorrectly orientated. Do not break any seals or
attempt to adjust any safety valve; to do so may impair the safety of the
installation and will invalidate the warranty.
5. To ensure a watertight seal use fibre washers for connecting the inlet
and outlet pipes to the heater. Complete the seal by applying PTFE tape
to the threads but do not over-apply or extend beyond the limits of
the thread as this will lessen the effectiveness of the joint. Do not
use plumbers paste to secure joints as this can impair the operation of
any valves connected to the heater.
6. An isolating service valve (not supplied) should be fitted in the cold water
supply pipe-work as shown in diagrams 1 to 3.
7. Flush all pipe work thoroughly before making the final connections to the
valves, accessories and cold feed to the heater to ensure that any debris is
removed. Failure to do this may result in irreparable damage to the controls
and will invalidate the warranty.
Electrical
1. Switch off the mains electrical supply before carrying out any work involving
a live circuit or access to components that may be live.
2. The Zip Aquapoint is pre-wired with a length of 3 core cable suitable for
connection to a mains 240v supply. Connection must be made in
accordance with current IEE wiring regulations to a double pole isolating
switch on a dedicated circuit or a double pole switched spur.
3. If the cable length is insufficient it is recommended that the entire length is
replaced and no joins made to the original. To replace the cable:
a. Prise the temperature control knob off the spindle and remove the fixing
screw located beneath
b. Release the two fixing screws at the top of the cover assembly
c. Remove the cover by lifting forwards and upwards
d. Release the locknut on the cable grommet assembly
AP3/10, AP3/15 Installation Instructions 9
 Loading...