Zip Hydroboil - Installation & Operating Instructions - 81447 - April 2013 v1.03 Page 8 of 12
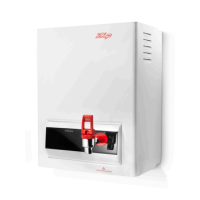
Tap Operation
ZipHydroboilisfittedwithatwo-waytapforinstantboilingwater.
Care should be taken not to touch the metal body of the tap which can
become very hot.
Forinstantboilingwater,gentlypullthetapleverforward.Boilingwaterwill
flowuntilthetaphandleisreleased.
Thisoperationgivesfingertipflowcontrolforsafefillingofcupsandmugs.
To fill larger vessels such as teapots and saucepans, rotate the lever 180
degreesanddepressituntilitlocksintoahorizontalposition.
Boilingwaterwillflowuntiltheleverisreturnedtoitsnormalvertical
position.Thisoperationallowsthevesseltobefilledwithoutholdingyour
handwhereitmaybeaffectedbysteam.
Inlet water
temperature
15°C 10°C
10Litremodels 38minutes 40minutes
15Litremodels 40minutes 43minutes
25Litremodels 47minutes 50minutes
40Litremodels 60minutes 64minutes
Operating Procedures
Step 4 - Assembling
Placetheheatercasebackontothechassisandsecurethetwotopand
fourbottomfixingscrews.
Caution! To ensure correct fitment of the tap assembly, follow the
instruction a to c below carefully.
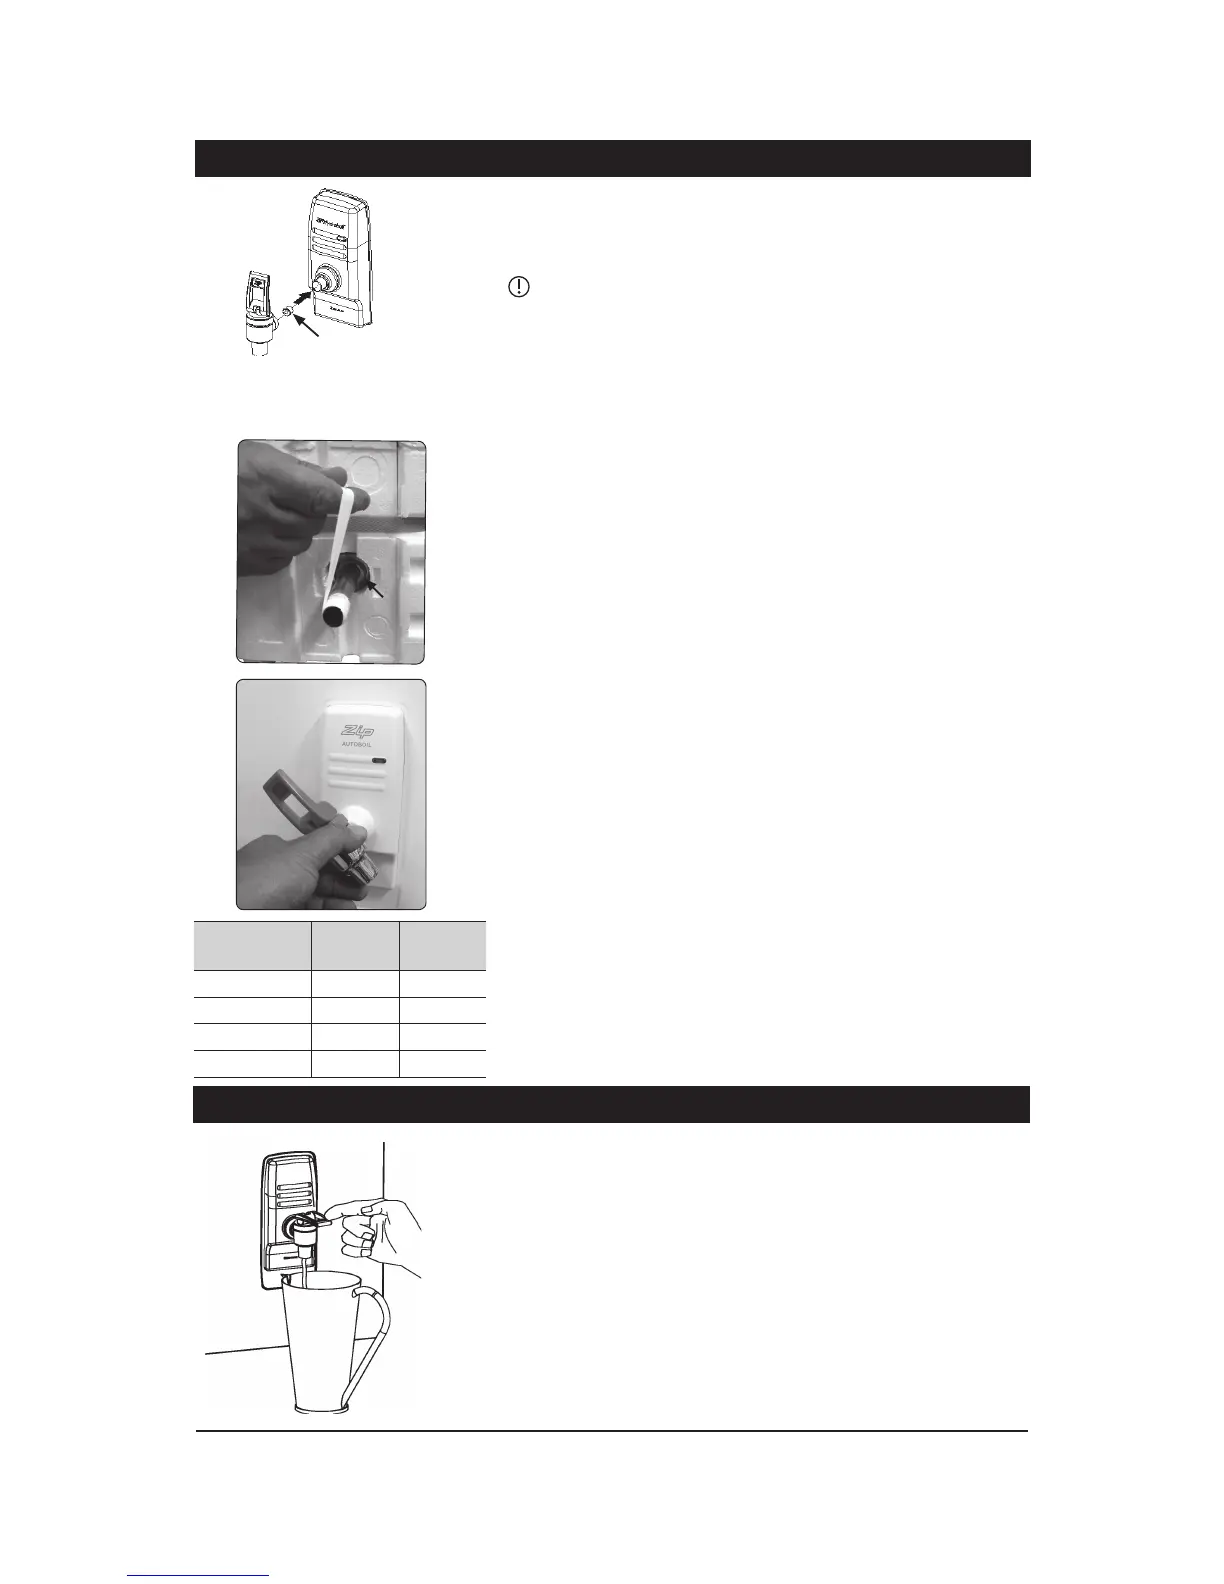
Removetheblackplasticcapfromthehotoutlettube.PTFEtapehasbeen
pre-appliedtothehotoutlettube(checkitisingoodconditionbefore
proceeding).
IfnotremovethedamagedPTFEtapeandcarefullyapplytwotothree
completeturnsofnewPTFEtapeontothethreadsinaclockwisedirection
asshownalongside.
a. Screwthetapassemblyclockwiseontothetapoutlettube.
b. Continueturningclockwiseuntilthetapassemblyjusttouchesthe
fasciawithoutpressure.
c. Continuetoturnthetapuptoonefullturnmaximumuntilthetap
leverisintheuprightposition.(Donotforcethetapupright;ifyou
cannotgetthetaptotheuprightpositionwithoutapplyingundueforce,
removethetap,startthethreadinanewpositionorapplyafewmore
turns of PTFE and repeat the procedure.
Step 5 - Commissioning
Checkprevioussteps.TurnwatersupplyON.Waterisnowflowinginto
theheater,checkallconnectionsforleaks.Waitapproximately5minutes
andcheckoutlettapforwater.Thisisachievedbypullingthetaphandle
forward.
Do Not turnonthepoweratthisstage.
Ensurethetaphandleiscorrectlyadjustedtoitsoptimumposition.
• Screwtheredknurledcapclockwiseuntilhandtightwithoutusing
excessiveforceoratoolofanykind.
• Slowlyunscrewtheknurledcapanti-clockwiseuntilthetapstartsto
drip.
• Tightentheknurledcapahalfaturnclockwise.Thedrippingwillstop
andthetapwillbesetattheoptimumposition.
Whenthetaphasbeenadjustedandtheunitisfullofwaterturnthepoweron.
Afterashortperiod,boilingwaterwillbeavailableandwillbemaintained
closetoboilingpointthereafter.Initialheatingperiodsareshowninthetableon
the left.
Installation Procedures Continued
o-ring
Note: If the heater is used for filling cups,
theninserttheflowrestrictorintotheoutlet
pipebeforesecuringtapassemblyasabove.
FlowRestrictor