10
INSTALLATION INSTRUCTIONS & USER MANUAL
210006 V2.00 SEPT 2017 - ZIP VPII/103-153(UB)
TECHNICAL SUPPORT TEL: 0345 6 005 005 EMAIL: SERVICE@ZIPINDUSTRIES .CO.UK
WWW.ZIPWATER.CO.UK
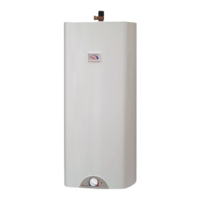
• The Varipoint II must be installed vertically. The connections should be at the rear of the
unit. When facing the heater the hot supply (red) is to the left and the cold supply (blue)
is to the right.
• The heater may be mounted above or below the intended outlets providing the
water connections for the undersink models are at the top and for the oversink
models underneath.
Note: Undersink and oversink models are not interchangeable.
The fixings must be capable of supporting the heater when full of water (see Technical
data page 4).
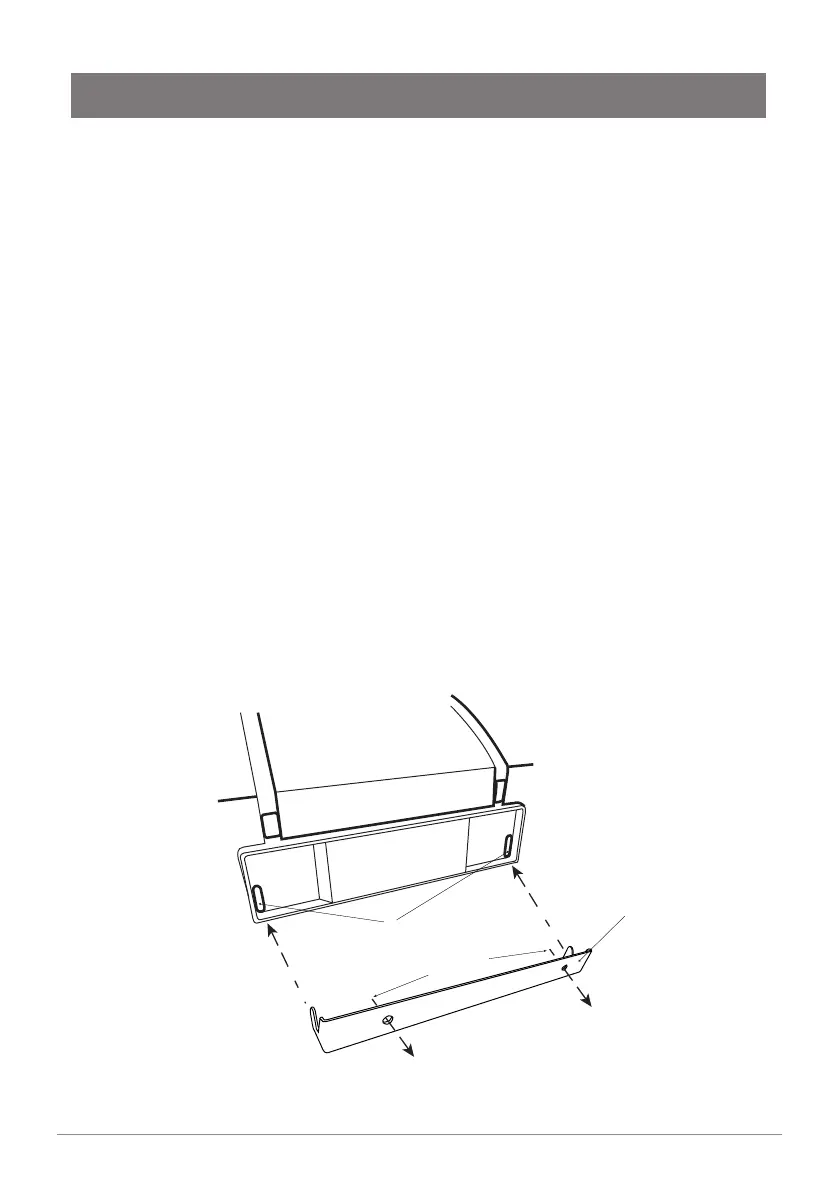
• The undersink unit can be placed unsupported on the floor or cupboard base, but if
additional support is required, securing screws are supplied that locate to the rear
of the casing. As shown in Fig.1 below.
• Always position the Varipoint II to allow for its removal for future inspection and
maintenance.
• The Varipoint II is not recommended for installation above false ceilings.
• Do not install in a location where this unit or connecting pipelines can freeze.
• When considering the location of the heater, consideration should be given to the safe
and visible disposal of any water resulting from leaks and seepage.
This is particularly relevant when the heater is located in a roof space, cupboard or any
concealed location. For guidance please call Zip Customer Service on 0345 6 005 005.
Wall Mounting
Fig. 1
Positioning
INSTALLATION
Please ensure that bracket xings
and the wall are adequate to support
the unit when full.
Bracket (supplied)
‘Punch through’ slots for
bracket ‘hooks’
Screw to wall
 Loading...