18
By connecting the Q to a computer or iOS device with a USB cable, you can use it as a
WEB camera, USB mic and card reader.
S
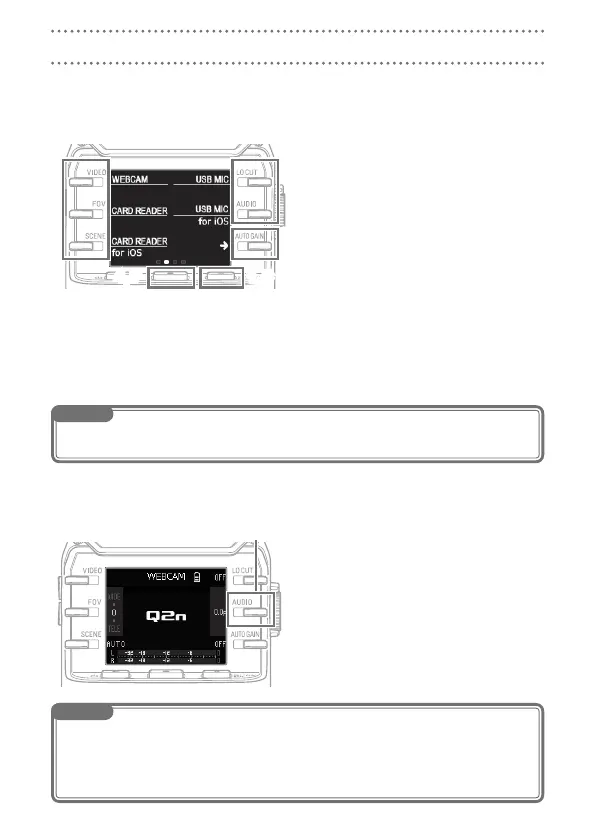
Connecting by USB
1.
When the Recording Screen is open, press
c
to open the Setting Screen.
Press
2.
→ to open the USB Connection
Setting Screen.
Use the buttons to select the desired
3.
function.
On the Confirmation Screen, press
4.
r and select “YES R”.
Use a USB cable to connect a computer or an iOS device.
5.
To end a USB connection, press
6.
c on the Function Screen.
On the Confirmation Screen, press
7.
r and select “YES R”.
This reopens the Recording Screen.
NOTE
For a list of iOS devices that have been confirmed to work with the
•
Q, visit www.zoom.co.jp.
•
An iPad Camera Connection Kit or Lightning to USB Camera Adapter (sold separately) is necessary to connect an iOS device.
S
Using as a web camera (computer)
The Q can be used as a web camera to input audio and video to a computer.
On the computer, open the applica-
1.
tion with which you want to use it as
a camera, and select the Q.
Delay setting
If the application does not have a lip syn-
chronization function, you can set an audio
delay time so that it matches the timing of
the video. The delay time can be set to 0.0
F–10.0 F in 0.5 increments.
(1 F = 33 msec)
USB connections
NOTE
To use as a web camera, an audio driver must be downloaded from the ZOOM website (www.zoom.
•
co.jp) and installed.
The recorder can simultaneously transmit video and audio with resolutions up to HD720p and 48 kHz/16-
•
bit PCM to a computer.
The
•
Q cannot output computer playback signals.