+33 4 7642 9550 www.aaton.com Cantar-X User Manual v2.26 (r13) 2009 April 27
p.7
p.7
Circular screens
These are the largest, easiest-to-read screens found on any
audio recorder. They provide the user with ongoing data
concerning every aspect of the machine's operation.
It takes a few hours getting used to them since five display
paradigms are used for the many functions they handle.
Once you are familiar with these functions, you will be driv-
ing the fastest machine you have ever driven.
1 input grids. The six iso tracks graphically display their
links at the push of a button, even while recording.
2 output maps. Thanks to the three screen layout emulating
the left, both and right 'ears', the monitor maps are immedi-
ately understood.
3 progressive pan-pots. The contribution of each track to
the mixdown has never been so clear.
4 circular modulometers. Their round shape makes the sig-
nal level easy to appreciate in a wink.
5 monitoring physical status. Permanent control of the disks,
tracks, and setups.
1 Input grids
The available 'Inputs' are shown in each circular screen:
line 1 to line 4, mic 1 to mic 5, digi 1 to digi 6. The six tracks
to which they can be connected are grouped in pairs, e.g.
T1T2, T3T4, T5T6 on the three screens.
The method to create routing-configurations by linking inputs
and tracks is explained in the section Routings (p.27).
With the [SoloMixPan] slider pushed toward the battery,
the [routing] button (top-left of the swiveling panel) instantly
displays the 'inputs to tracks' grid, even while recording.
(In the picture above, the middle screen displays 'A4', the
routing in use).
Fifteen preset routing grids are stored in three banks. Each
bank holds five grids to help you sort and memorize your
configurations (e.g. A1 to A5 for mic only setups, B1 to B5
when some line-inputs are on duty, C1 to C5 for complex
setups that include digi-ins). The [config] crown gives instant
sequential access to all of them.
2 Output maps
Here is where Cantar's three screen 'mapping' is at its best.
Audio signals going to the left ear show on the left screen,
signals to be listened to in mono show on the middle screen
and those going to the right ear are on the right screen.
All inputs, recorded or not (very useful in Rec&Play), and all
tracks can be monitored along different configurations for
each of the eight independent output channels: Ph Phones,
Lo Line-out, Fb Foldback and Do Digital-out. 26 different 'out-
put routing' maps are available; the black [monitor] crown
gives instant access to all of them (p.29).
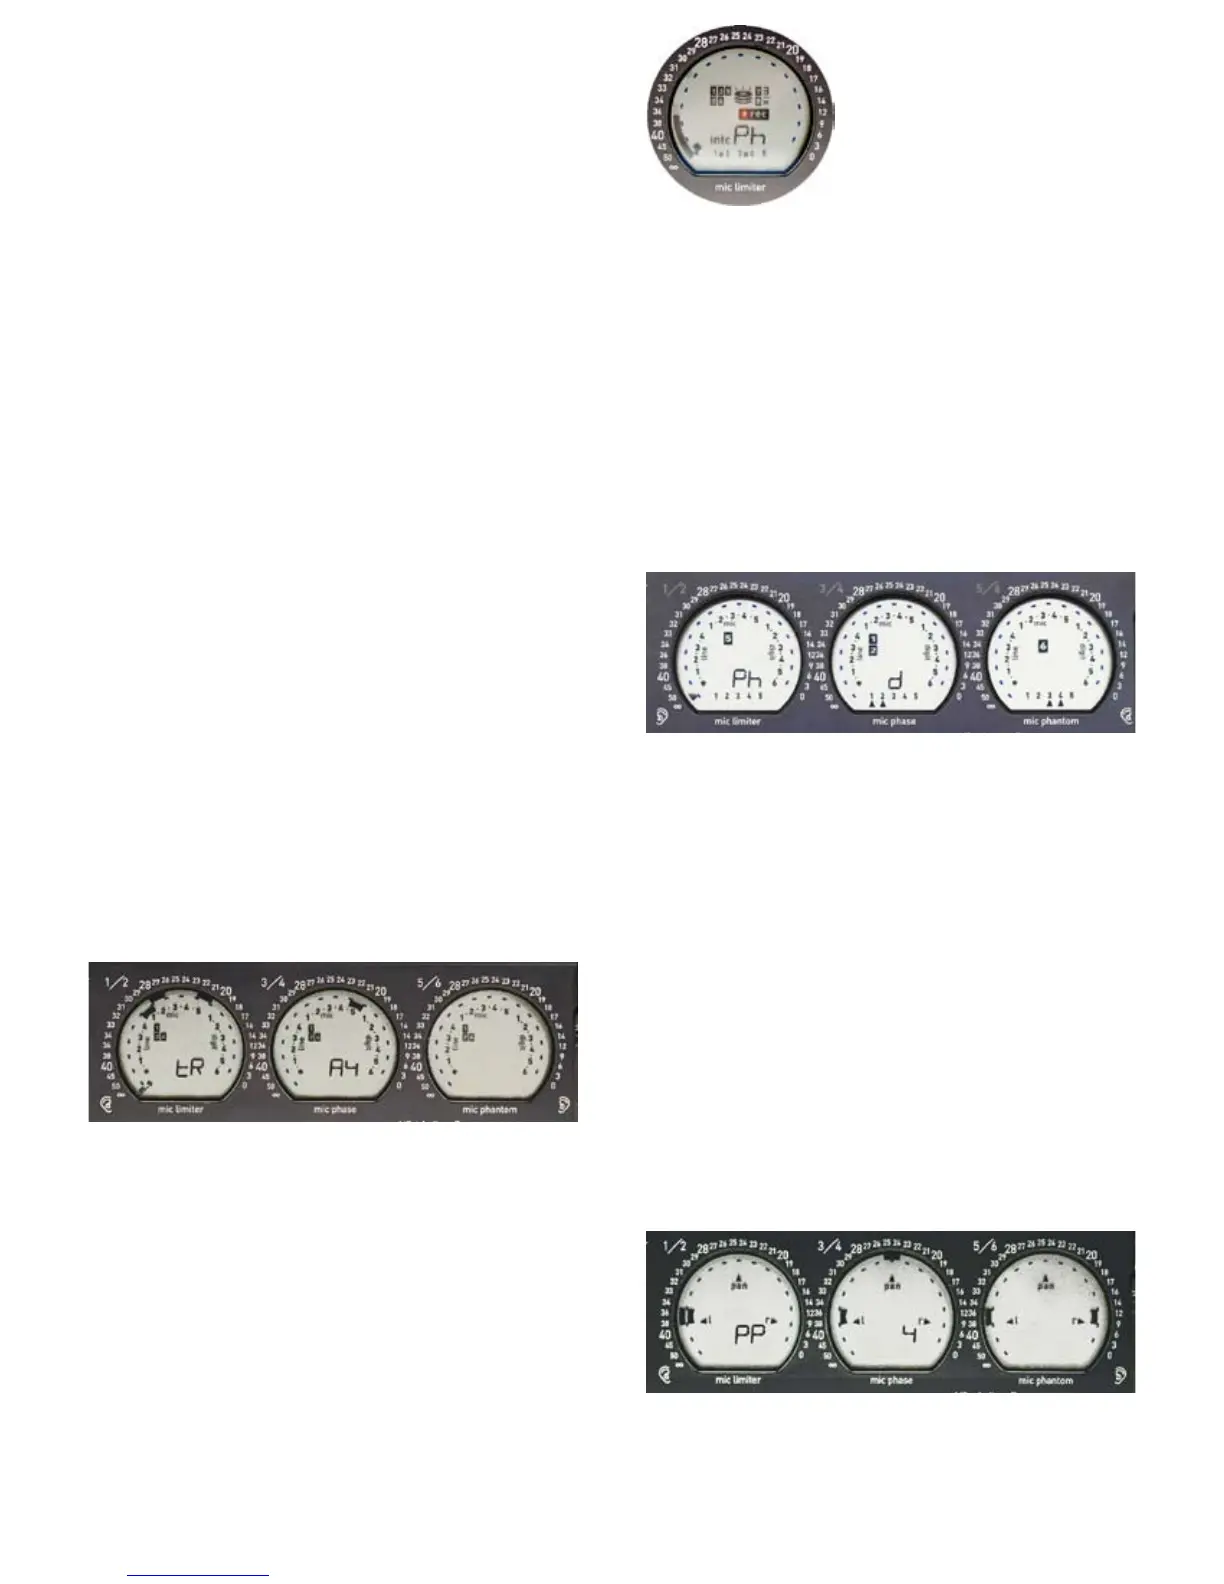
In the example above, the 'Ph d' phone routing indicates:
track 5 goes to the left ear, track 1 and track 2 go to the
center (both ears) and track 6 goes to the right ear. With
the [SoloMixPan] slider pulled toward the operator side,
pressure on the [routing] button instantly displays the current
monitor configuration.
note: the [routing] button is required to change from one grid
to another, it is a protection against wild and lethal changes,
but it is not required to change from one map to another in
the course of a recording.
3 Pan-pots to the mixdown
Push the [SoloMixPan] slider toward the battery side, press
the [track-solo] button next to the mixer linear fader: the pan-
pot of this track goes under [jog] control and indicates its
left/right contribution to either channel of the mixdown.
The spatial position of all pan-pots is visible on the circular
screens while the dBFS value of the selected pan-pot is dis-
played in the rectangular screen (see next page).
DESCRIPTION 4, CIRC. SCREENS
T1 & T2 left T3 center, T4 left T5 left, T6 right