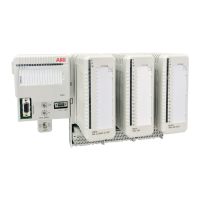
Auxiliary Block
WBPEEUI240751C0 7 - 9
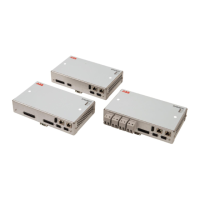
operations switch (SW2) on the back of the I/O module allows
manually initializing a block:
1. Halt operation by depressing the stop/reset button once.
2. Remove the I/O module.
3. Set switch SW2 to initialize (refer to Fig. 7-2 for its loca-
tion).
4. Insert the I/O module. The block is initialized after the
front panel status indicators appear as follows and FAULT
turns on.
5. Remove the I/O module.
6. Set switch SW2 for normal operation.
7. Insert the I/O module.
8. Redefine the device label or insert the I/O module as a
backup module. If inserted as a backup, the primary will auto-
matically define the device label.
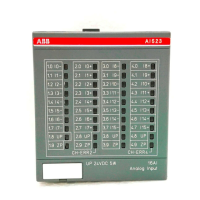
Auxiliary Block
There are no startup or initialization procedures for auxiliary
blocks. The front panel of an auxiliary block contains a block
type and model number, and a label covered by a removable
clear plastic lens for customer use (Fig. 7-3).
Status Indicators (On)
123456––
NOTE:–=LEDoff.
87654321
ON
OFF
T00902A
87654321
ON
OFF
T00884A

 Loading...